Easiest Homemade Vinegar
It started with leftover wine.
Not just any wine, but the white from my father’s funeral. At the end of the bittersweet evening, hugs were exchanged and goodbyes said. Wine under one arm, flowers under the other, I made my way into the winter night.
The flowers lasted nearly two weeks. Since I am more of a red wine drinker, the wine held on into summer. Open but refrigerated, I wondered if it would turn (become vinegar). But I was not throwing it away.
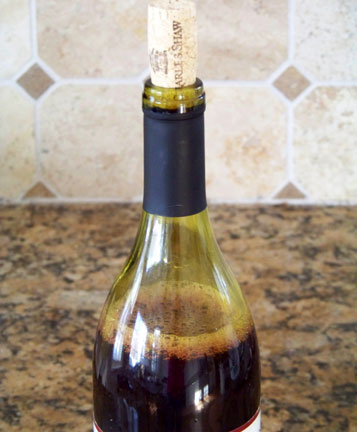 Around that time I finished off a bottle of white wine vinegar and the idea hit. Why not “turn” the wine myself.
And so my first homemade vinegar was born. My father was a serious food lover and I like to think he would have approved.
Safety note: You should not use homemade vinegar to make pickles or other preserved foods because the acid levels may not be high enough to preserve safely. But they are awesome in salad dressings!
Homemade Vinegar
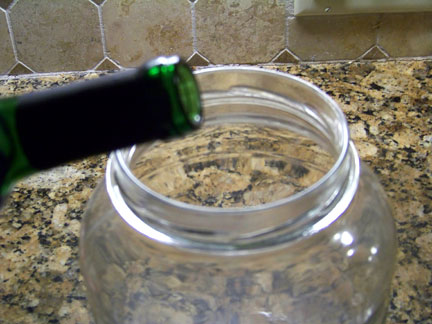
.1. Put about a bottle of wine into a large clean jar. I use a gallon jar “sterilized” in the dishwasher.
Some people recommending diluting wine with (non-chlorinated) water on the theory that the alcohol can kill or slow down the vinegar-producing bacteria; others feel that diluting can negatively impact the flavor. I do not dilute when I make it. Some people like to use a jar with a spigot so they can dispense right from the bottle. Since I already have lots of gallon jars (that I use for everything), I decided to be efficient (and lazy and cheap) and use these.
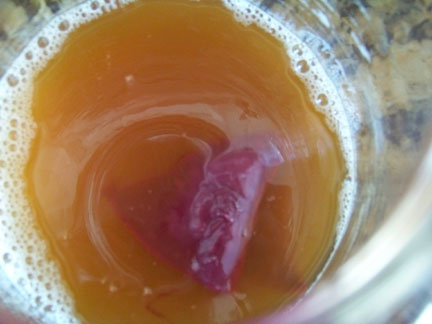
2. Add about 1/2 cup of Bragg’s Apple Cider Vinegar (this contains the active bacteria that produce vinegar—kind of like yogurt) or a chunk of “mother” if you have it. The “mother” is a gelatinous mass that forms during the creation of vinegar which can be used to start new vinegar since it also contains the needed bacteria (more on this below).
Some people say you need to use a mother that is specific to your base (red wine, white wine, cider), but with my focus on easy preparation, this just sounds too hard (and unnecessary). I have recently had some problems with culturing using Bragg’s–if that doesn’t work, it may be “dead” so try asking around to see if you can find someone with some live “mother” to share–or try again with a different bottle of commercial. Anyone who regularly makes vinegar soon gets inundated.
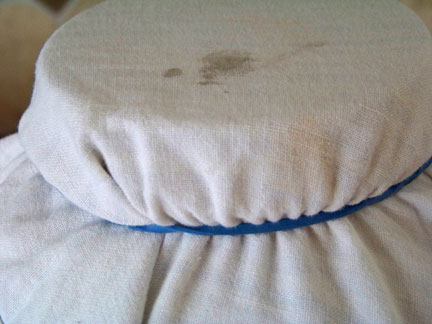
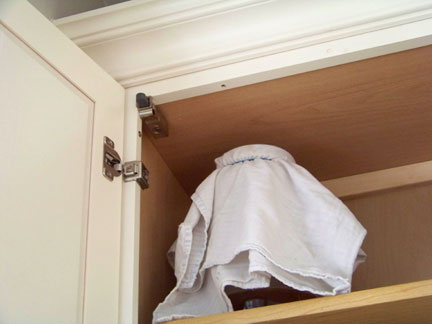
3. Cover jar with a cloth and secure tightly (dish towel and rubber band work great), then put in a warm dark place to “process”. A temperature that is warm but not hot is ideal, though in winter our house goes down to 58 at night and never above 68 and I still get vinegar.
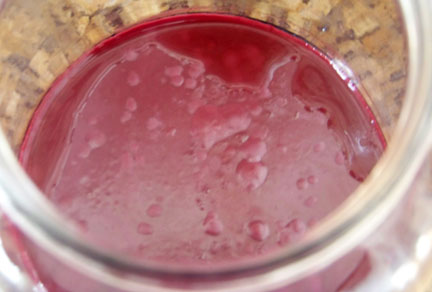
4. Check periodically. After a few weeks, your vinegar will develop a “mother,” a slimy gel that sits on the surface. The “mother” is not pretty but this means it is working! If you grow mold (I have never grown mold on wine but have on cider), toss the mixture, sterilize your jar and start over.
Notes: If you jostle the vinegar too much, the “mother” will slide to the bottom and a new “mother” will form on top. I try to avoid this because it seems to reduce the amount of vinegar produced.
5. After a few months, you will have vinegar—the smell will give it away! I strain it though a mesh strainer, though cheesecloth or a coffee filter are other good choices to minimize sediment. You can use part of the mother to start a new batch (I composted the rest).
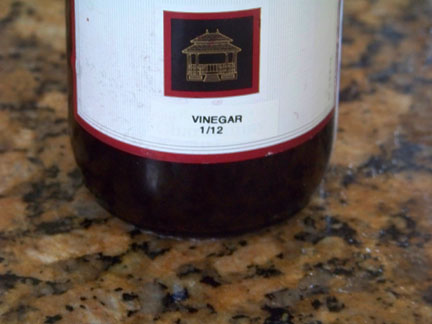
6. Store finished vinegar in the refrigerator to reduce the activity of the bacteria.
Even the strained, refrigerated vinegar may continue to produce a new mother. I like the idea that I am getting the “live” product, but if this becomes annoying, the vinegar can be heated to kill the bacteria and the mother should stop forming. (Just don’t try to use pasteurized vinegar to begin a new batch.)
—–
Since my first vinegar success, it has become a habit. Get a bottle of wine that is less than stellar, make vinegar. Too many bottles opened for a party, make some more. Red wine vinegar, white wine vinegar… and hopefully the cider will work this time!
A nice winter project … If you can’t grow veggies, make vinegar!
Postscript on apple cider vinegar: After my second occurrence of mold growth while attempting to make apple cider vinegar, I decided the sugar content in cider is just too high to make this work and am now using a new method. I add only a small amount of cider to the starter vinegar–for example add 1/4 cup of apple cider to 1/2 cup of apple cider vinegar, wait two weeks, add a little more, wait two weeks, add more and so on. It’s a slow process but I have just completed a number of successful batches since changing techniques.
- Warm Your New Year with Hot Buttered Rum
- Shortbread Cookie Snowflakes… or Squares… or Thistles if You Are Lucky


Bittersweet…So sorry Inger…I’ve never made vinegar but I sure would like to give it a go…
Thank you so much for sharing…
Sorry about your loss…
My mum makes vinegar too but I never watched her making it. Its been a while too since I was for longers in Europe. We make Vinegar of pretty much any ingredients (Fruits, nuts, Peppercorns,….) and its mostly much stronger then the commercial ones. we use our home made vinegar for ghirkin pickle too. Lovely post and very interessting! thanks so much for sharing.
In looking into this I saw a lot of posts about people making vinegar from fruit scraps. Perhaps I’ll need to try that in the future!
I’ve never tried making vinegar before, my friends in France do it all the time. your post has inspired me to give it a go when I get home. Thanks 🙂
Perhaps you can even get a piece of “mother” from one of your vinegar-making friends before you leave!