Low Sugar Fresh Strawberry Pie
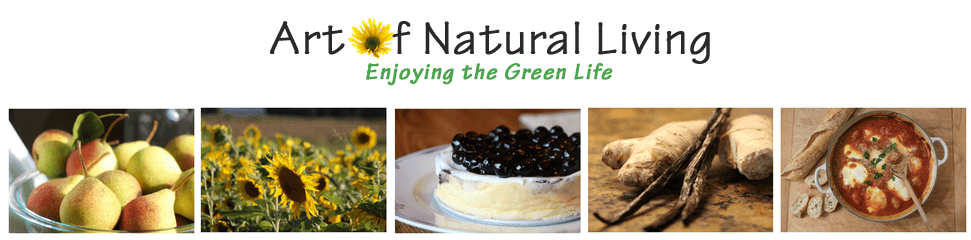
Fresh Strawberry Pie brings together the goodness of berries and the fun of pie. Ripe strawberry halves are placed in a crust then held together with thickened berry juice. It’s a perfect summer treat!

Fresh Strawberry Pie
My first memory of Fresh Strawberry Pie comes from the days when Poppin’ Fresh Pie restaurants were all over the Midwest! As penny-pinching newlyweds, my husband and I would stop in there for a “budget” dinner out, splitting a dinner and single piece of pie — two if we were feeling indulgent!
Not collapsed 🙂
So when I saw pictures of Fresh Strawberry Pie floating around the internet (I hear this version originated at Cooks Illustrated), I had to give it a try.
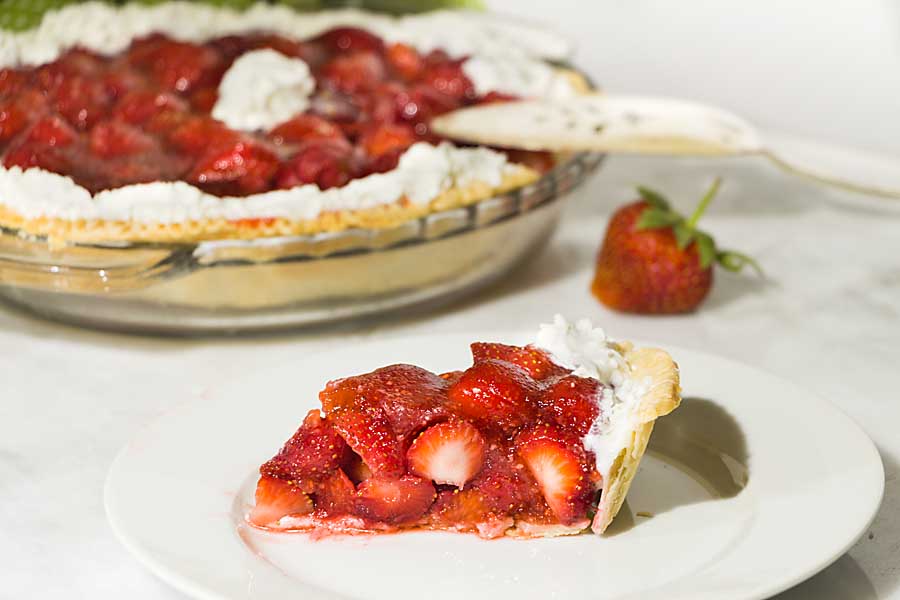
Start with the pie crust of your choice
Unfortunately, the first pie I made promptly fell apart. As the berries sat in the pie, touching the sugary gel coating, the sugar drew moisture from the berries and re-liquified the gel. Collapse! Day 2 was even worse.
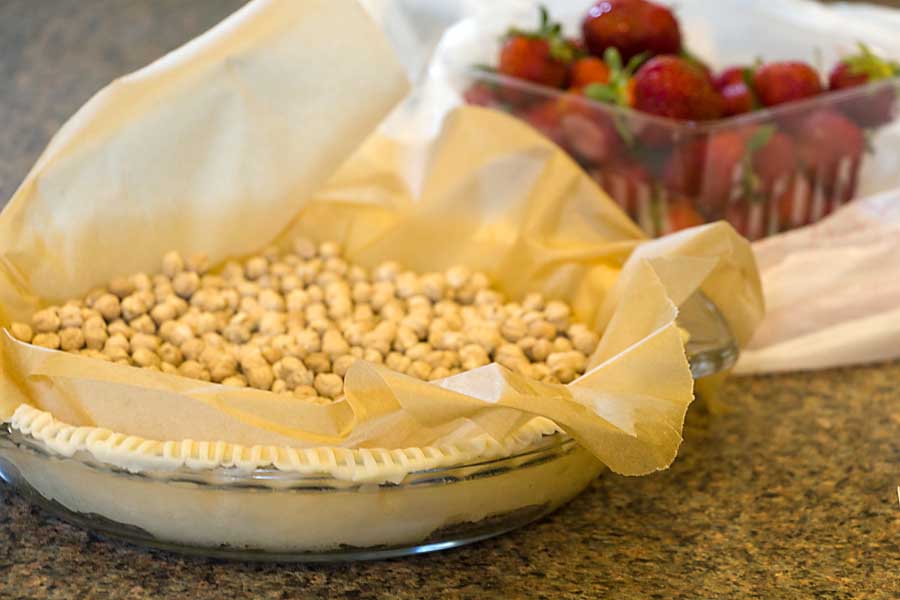
Closeup
Now I don’t know if my farm fresh organic berries are different and it would have worked with dry old store berries… But I’m not changing my berries, so I knew the recipe had to change.

Mmmm
In version two, I replaced cornstarch with tapioca, because I’ve generally had better luck with that in berry pies. But my main change was to macerate the berries first (halve them and sprinkle them with sugar to draw out some of the juice). Finally, I reduced the sugar a bit. ‘Cause who doesn’t want a beautiful piece of pie with just 235 calories per slice!
This lengthened the working time, but it was still super easy and, in the end, I had a pie that held together. Even on day 2.
After that it was gone.

Backyard wild strawberry plants

Fresh Strawberry Pie

Ingredients
- 1 pie crust of your choice
- 2 quarts strawberries fresh, rinsed and hulled (see note)
- 1/2 cup sugar
- 1 1/2 teaspoons Sure-Jell for low sugar recipes pink box
- 2 Tablespoons Instant Tapioca ground finer in the blender
- whipped cream (optional) for serving
Instructions
- Bake a pie crust of your choice. This can be blind baked (baked using pie weights) or pricked and baked for this recipe.
- Clean and halve berries and place in a strainer over a bowl. Sprinkle the berries with a couple tablespoons of sugar and let drain, saving juices. Continue sprinkling the berries with remaining sugar, a couple tablespoons at a time, and stirring gently to get more juice out. I did this over the space of about 3 hours.
- Keeping the juice separate, pour cut, macerated berries into the crust, trying to guide the nicest to the top. Turn the berries on the top layer cut side down for a professional look.
- Measure strawberry juice, then transfer to a small saucepan. You should have a scant 1 cup of juice; mash a couple berries finely and add if you are short. Whisk tapioca & sure gel into the juice mixture
- Bring the juice mixture to a full boil, whisking as needed so that no lumps form. Simmer a full minute; mixture will begin to thicken (and will thicken more as it cools). Pour over the berries in the crust reserving a couple tablespoons. Brush any dry top berries with the remaining juice mixture so they look shiny. Chill until set, a couple hours, then serve with whipped cream.
Notes
I always buy a third quart of berries when I make this. Then if there are a few more bad berries, or I can’t stop myself from munching, or if the pie pan is a bit bigger, I am covered.
your pie is positively stuffed with strawberries! i would love this, i get so excited when the strawberries are good. 🙂
Thanks for sharing this recipe Inger! I find it of the upmost importance to PIN it right now!!! Thanks for sharing, it sounds sooooooo yummy!!! And strawberry season is still in full swing!!!
Thanks Louise! I got 3 15-pound cases of berries last week and am enjoying them so much (plus freezing for winter)!
This is a beautiful looking pie, Inger! I want to eat the whole thing! The little extra time you need to invest is well worth it for the perfect end result.
Thanks Thao. I don’t mind putting in a little extra time–especially when it is really just waiting (and an occasional sprinkle and stir) time!
Oh, I have had that “weeping” problem, too…. so annoying especially when you have guests coming! Thanks for the tips to help keep that from happening, Inger!
I had read other comments about too much moisture so I knew I wasn’t the only one. I’ll have to say it was fun perfecting this 🙂
This looks and sounds delicious!
Thanks! I wish I could share a piece!