
Peanut Butter Ice Cream
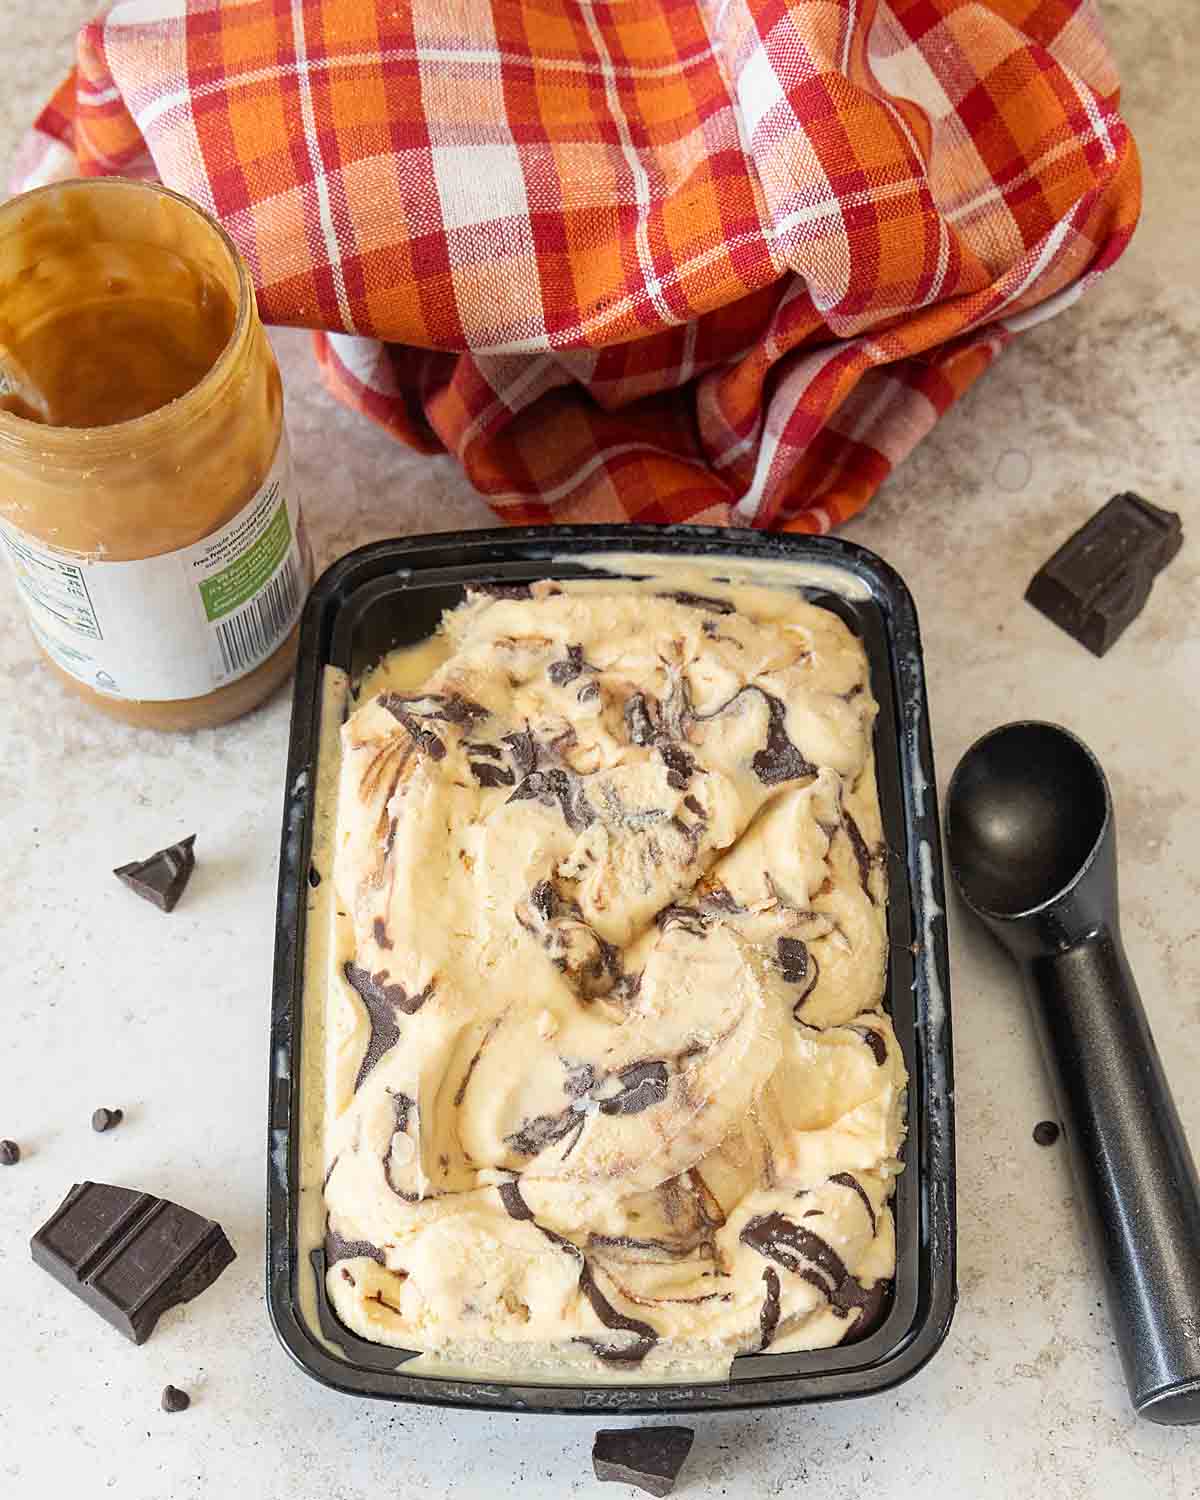
This Peanut Butter Ice Cream is cool, creamy, tasty–and super easy. Add a fudge ribbon for even more fun. Sugar free option included.
Summer hot enough for you? Even in Wisconsin, where we usually avoid the worst of the heat, there have been multiple days in the 90s.
It takes me back to my childhood where temps over 90 meant special treats. Things like running through the sprinkler or taking out the wading pool. And the best treat? Ice Cream!
Today’s Peanut Butter Ice Cream (with an optional fudge ribbon) has all the flavor of a peanut butter cup but is cool and refreshing for summer. And it’s a no cook recipe so it’s also easy. Just blend the ingredients in a blender and freeze per your freezer’s instructions.
So good, I’d even eat it in winter!
Why You’ll Love This!
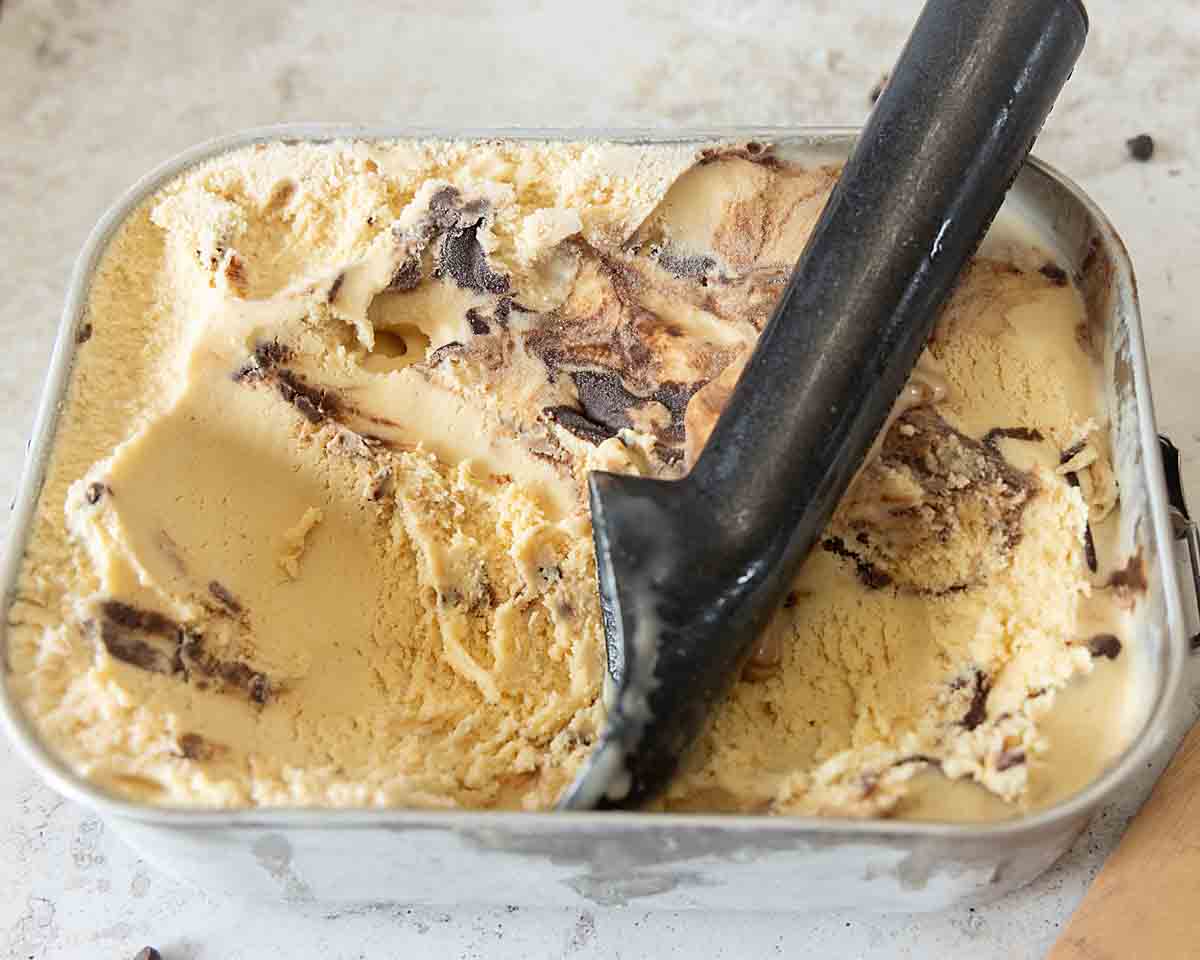
Flavorful. Rich peanut butter flavor accented with a fudge ribbon (optional) makes this a cool tasty treat!
Easy. The prep for this ice cream is super easy. Just blend everything up in a blender, pour into your ice cream freezer and freeze.
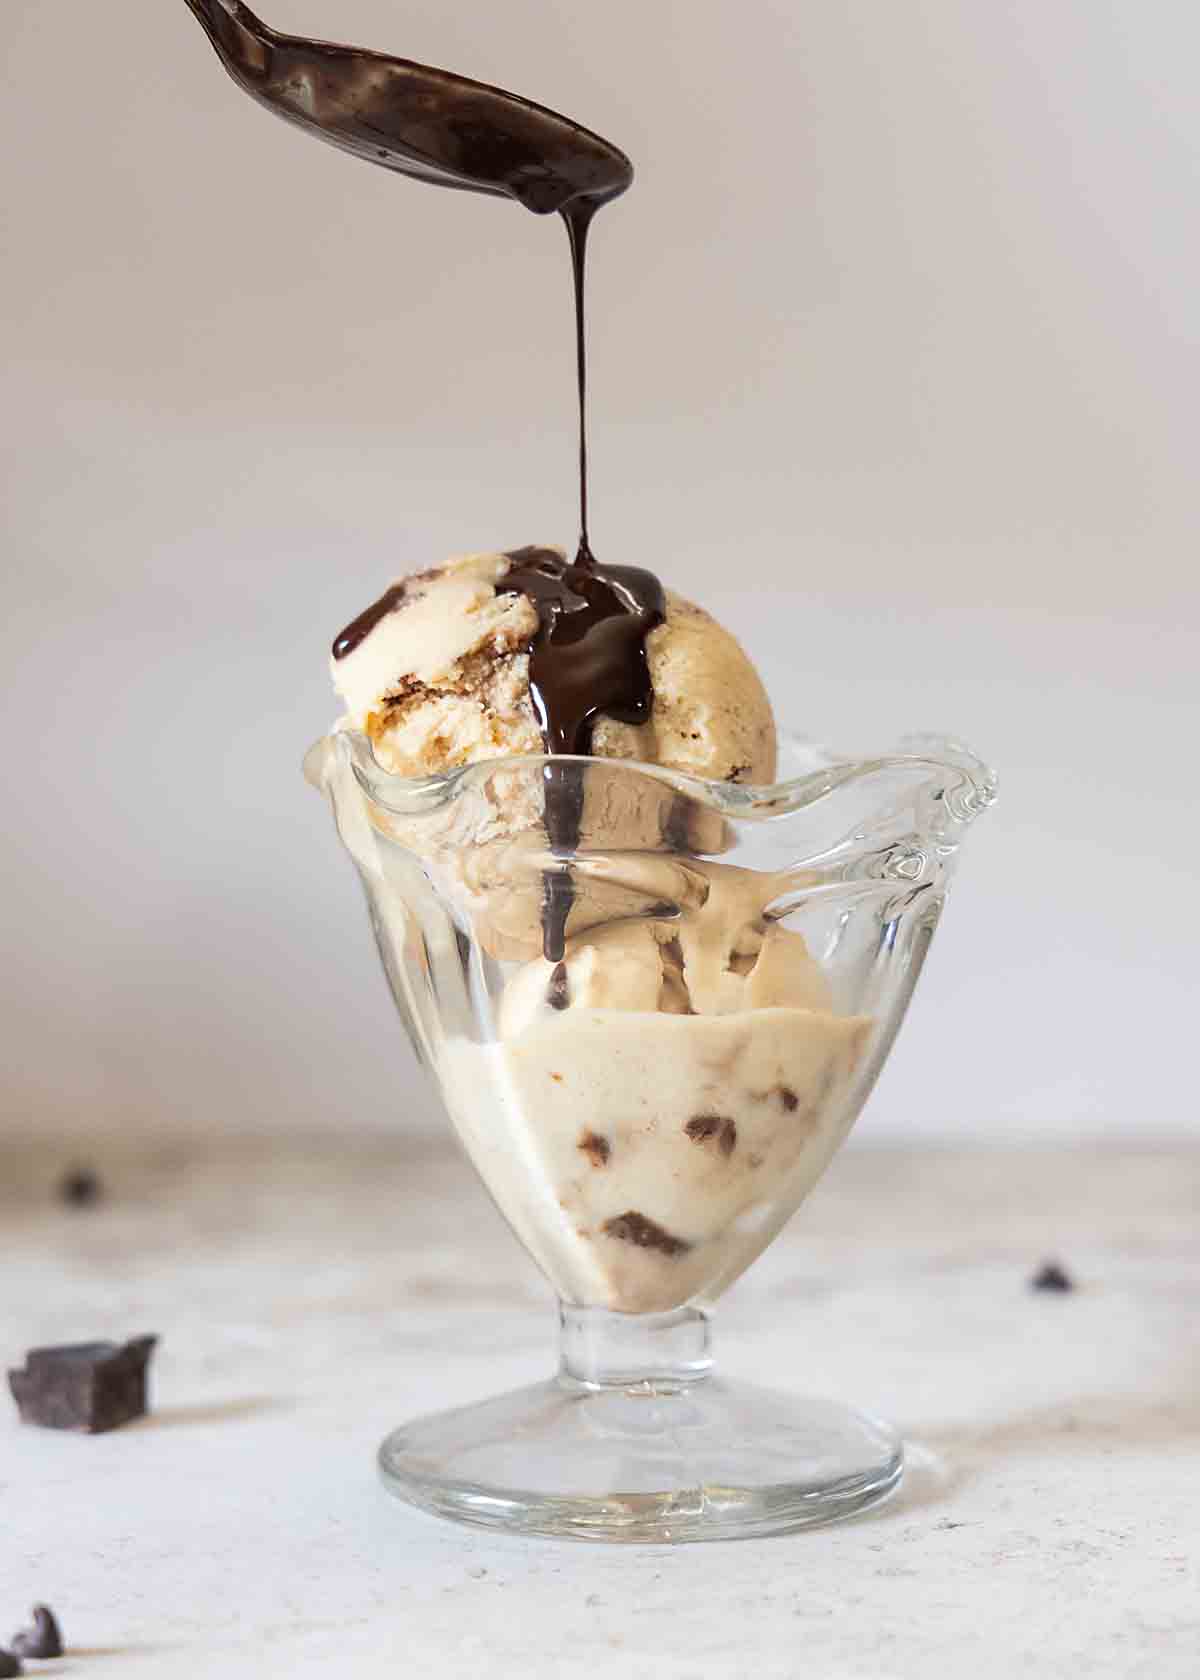
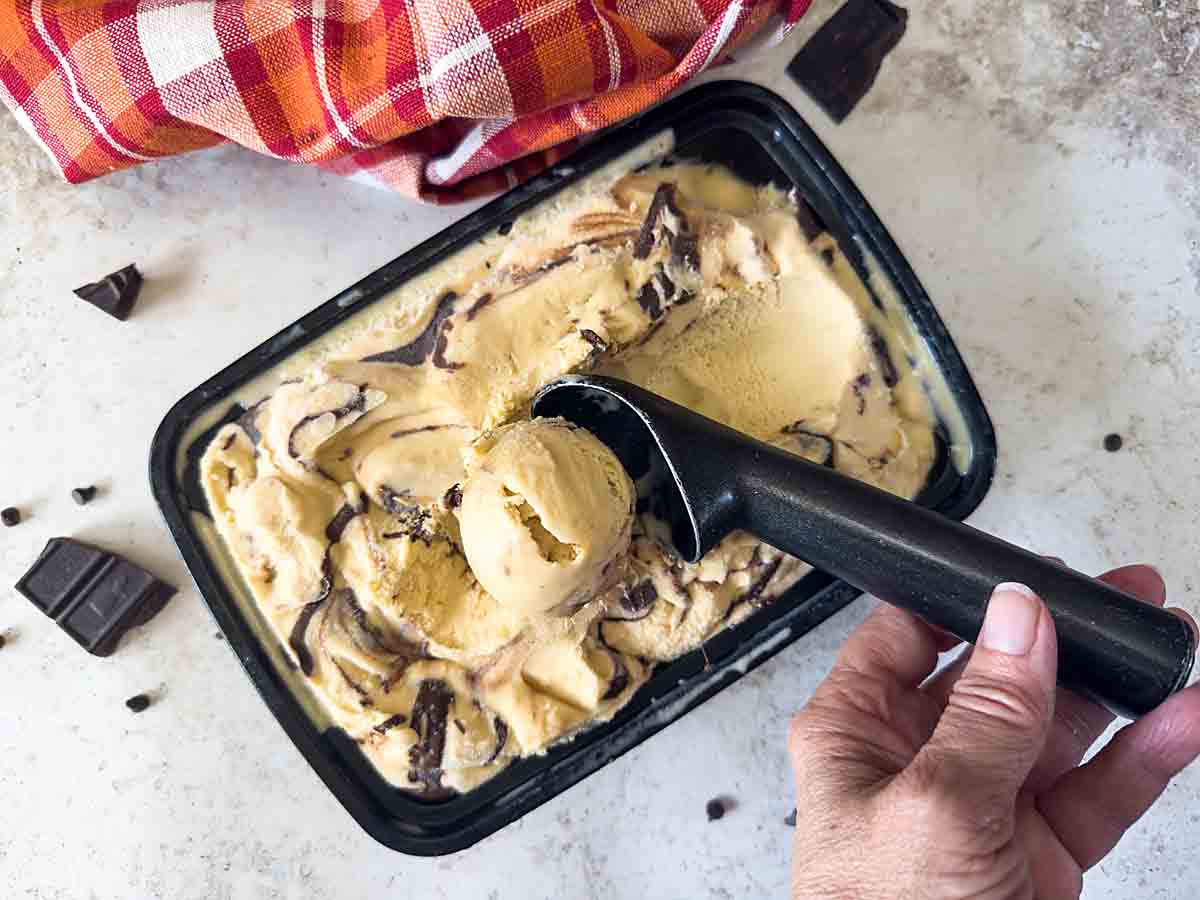
Fun. Scoop into ice cream cones or make a Sundae with more fudge sauce. The possibilities are endless!
Step by Step Overview
Put the milk and cream in a blender, then start blending on low.
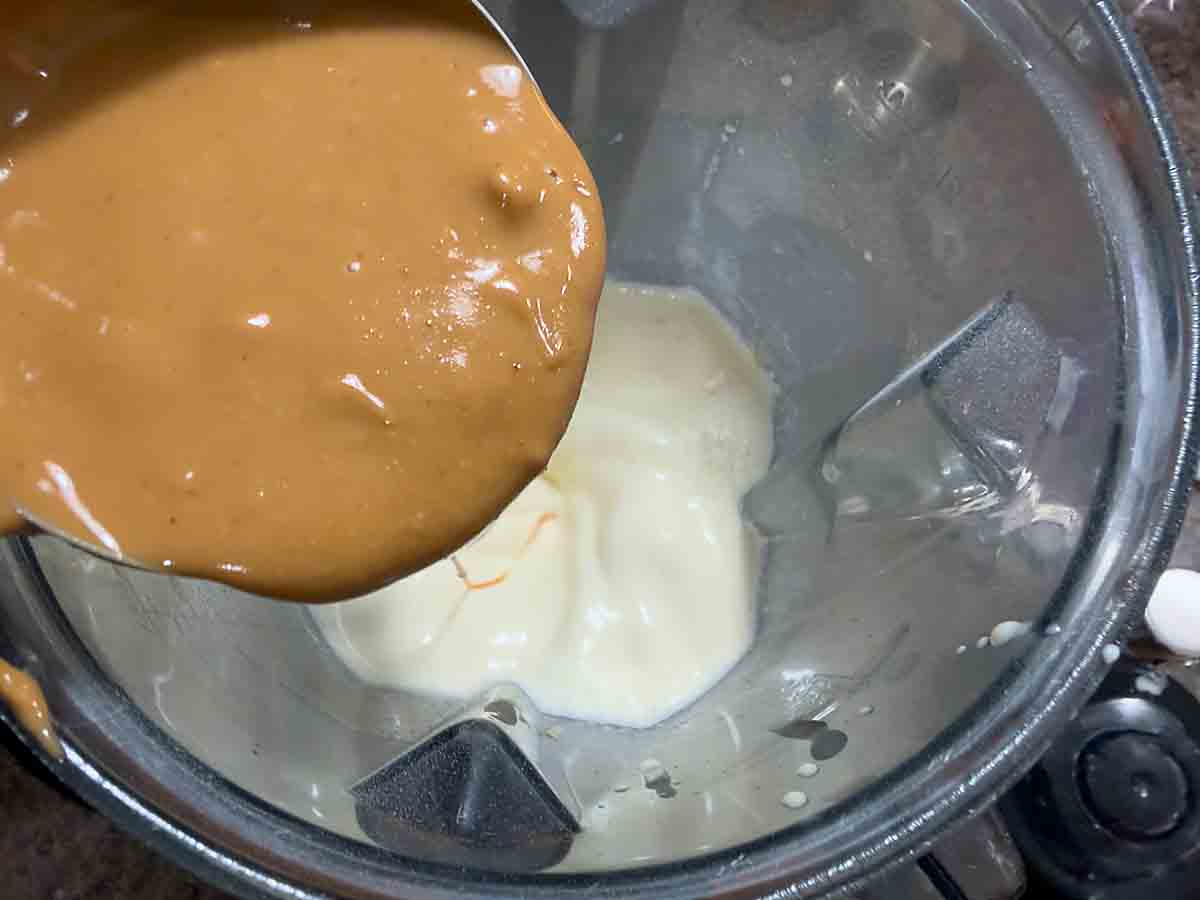
Heat the peanut butter very briefly, if needed, to become soft enough to blend. Do not let it get hot. Drizzle into the blender with the swirling milk/cream mixture (so it combines rather than clumps up). Turn off the blender when well combined.
In a small bowl, combine the nonfat dry milk, sugar or sweetener, salt and guar gum if using. Stir together and break up any lumps.
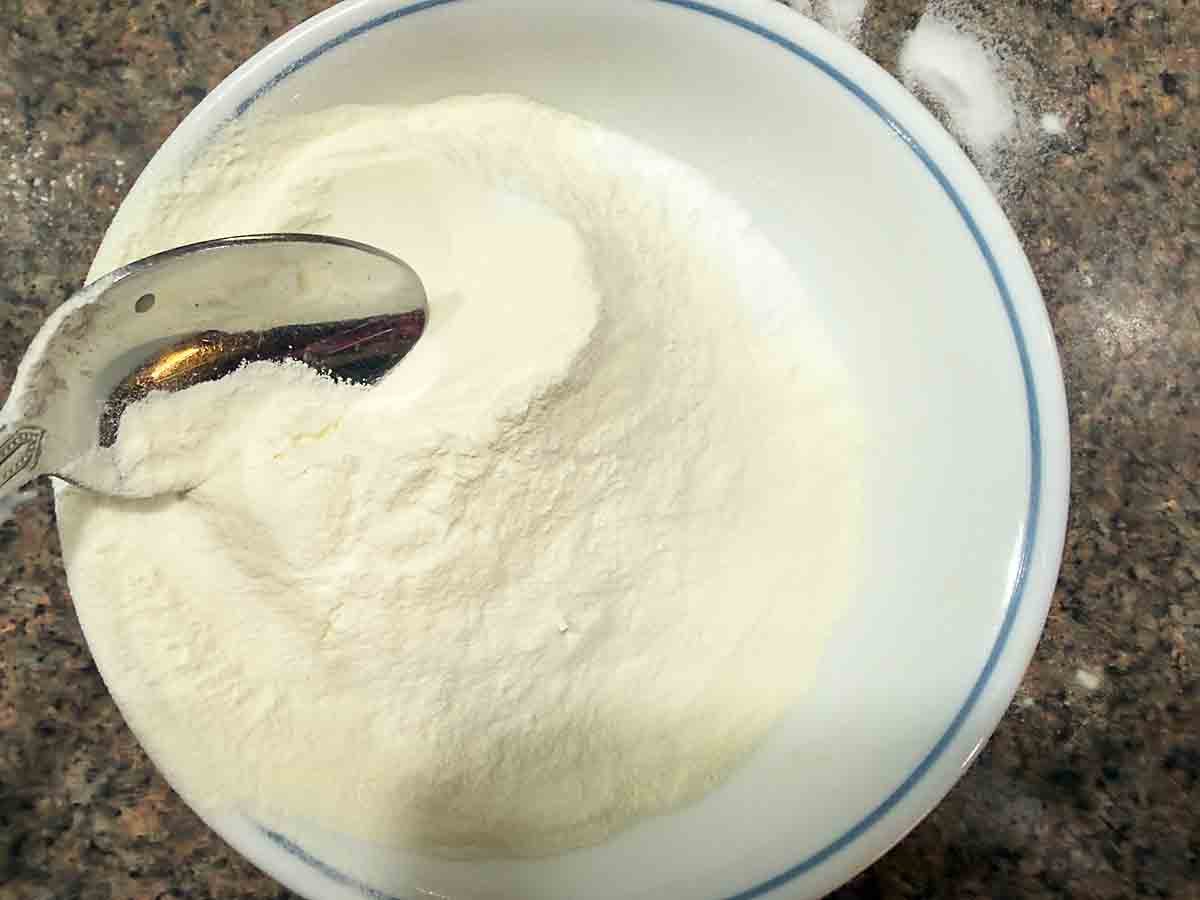
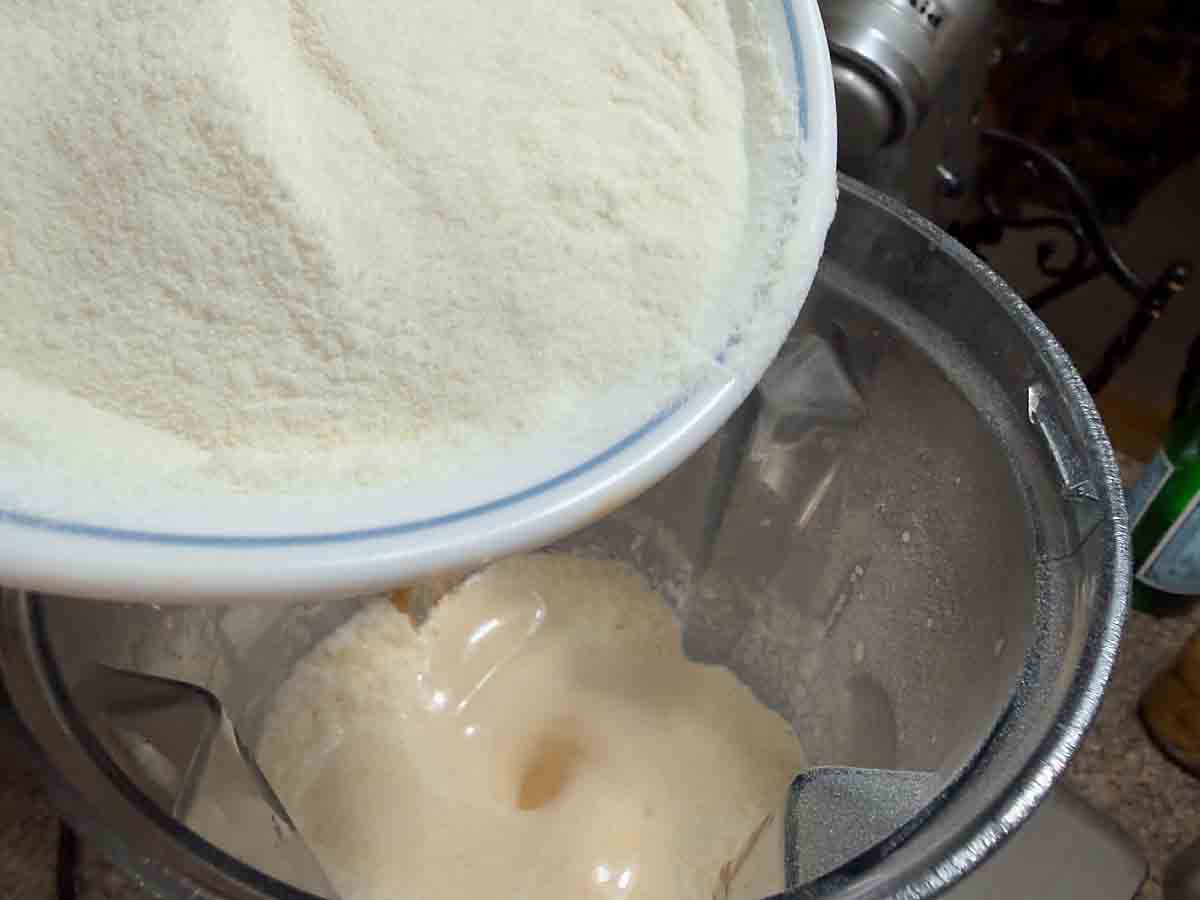
Turn the blender on low again, then slowly add the dry ingredient mixture until well blended. Taste and add additional salt and stevia if needed.
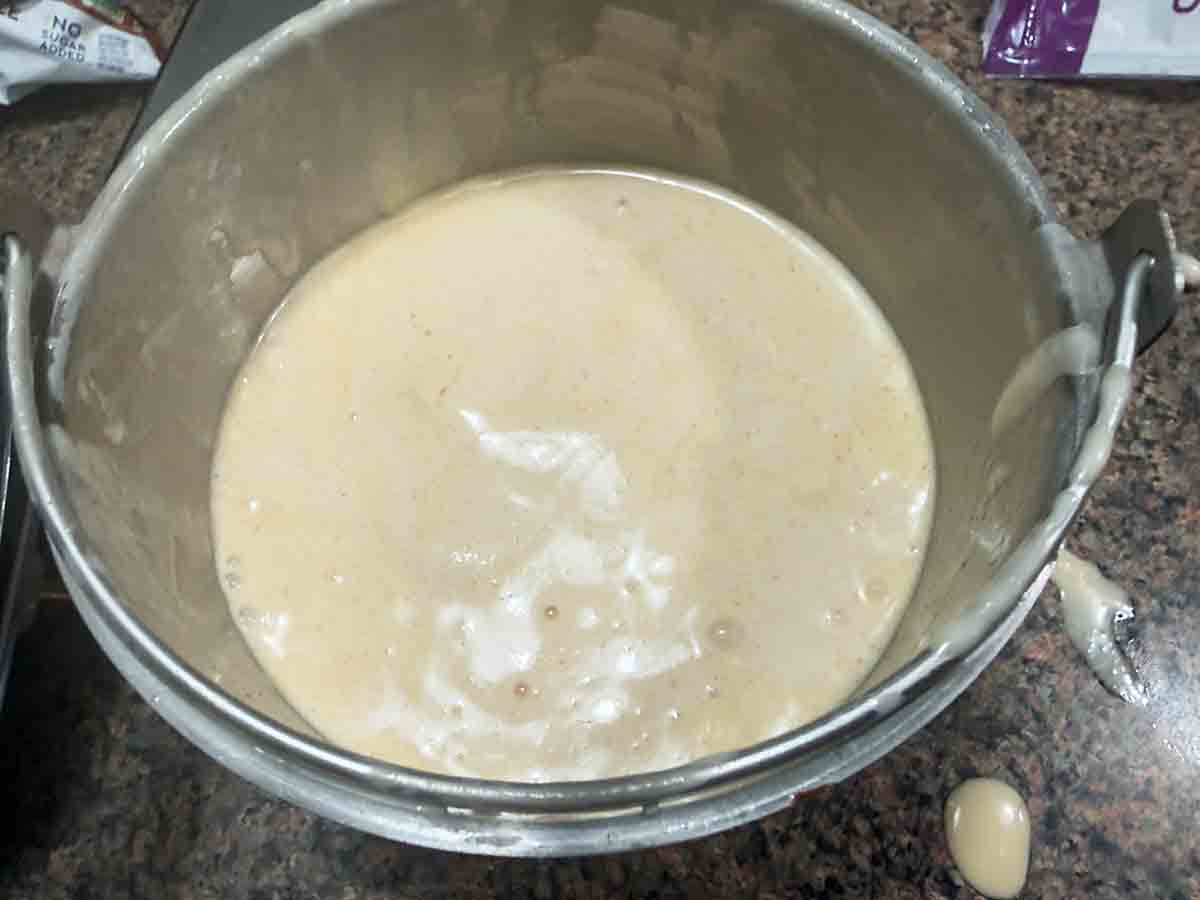
Pour mixture into ice cream freezer, then process according to manufacturer directions.
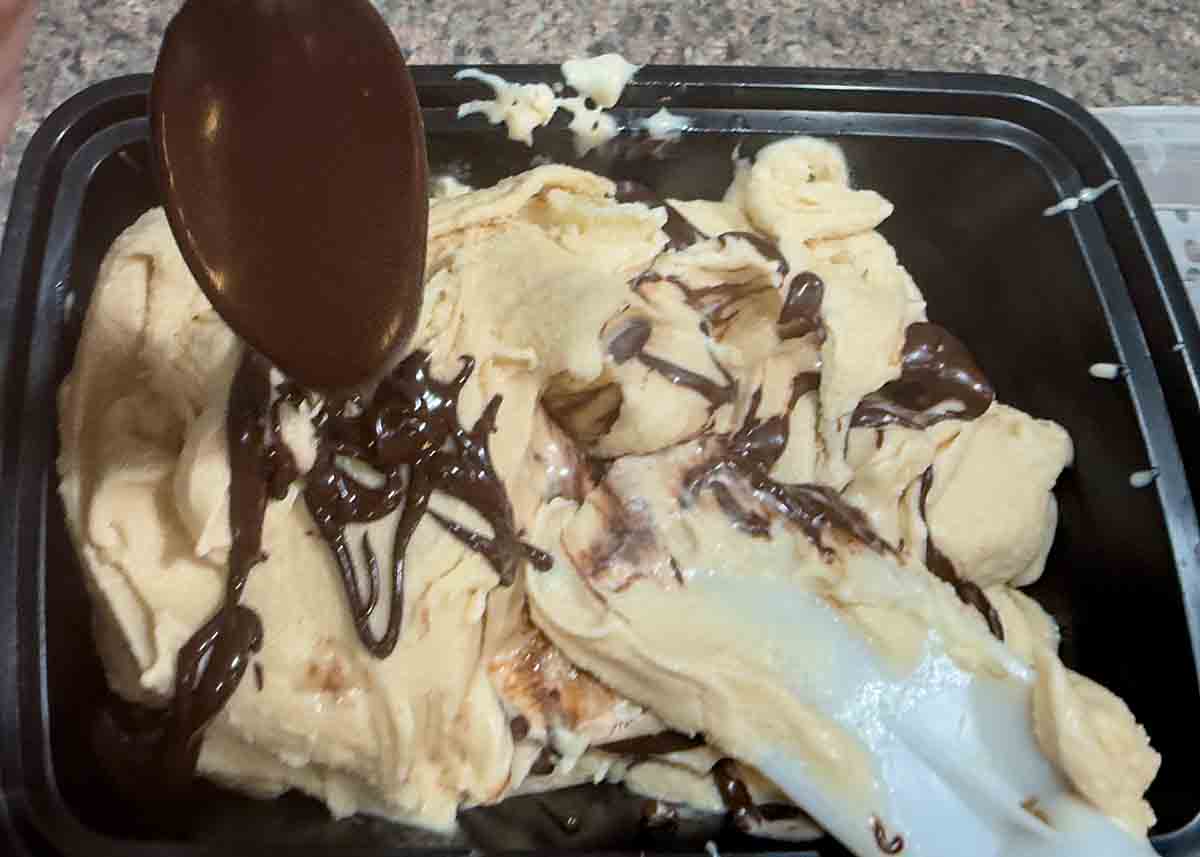
If adding a fudge ribbon, one option is to drizzle into the machine at the VERY end (to keep it separate). Otherwise drizzle over the ice cream as you transfer it to the freezer container. (I alternate scooping in ice cream and drizzling–don’t be a perfectionist).
Put your full ice cream container in the freezer. Keep overnight before serving for best results.
Variations
Want to turn this into Peanut Butter Cup Ice Cream? Just chop up some Reese’s then swirl them in at the end instead of (or in addition to) the fudge ribbon.
I also offer a sugar free version of this ice cream. The most significant difference with sugar free is that most artificial sweeteners lower the freezing point of an ice cream so that it is significantly softer—sometimes too soft to scoop. Luckily this one works with almost no adjustment.
If you want to really get into ice cream, there is an online ice cream calculator that can help tune your recipes.
Tips & FAQs
You may notice that this has a lower ration of cream to milk than many ice creams. When I ran it through the calculator I mentioned above, it suggested a lower ratio, I assume due to the extra fat in the peanut butter.
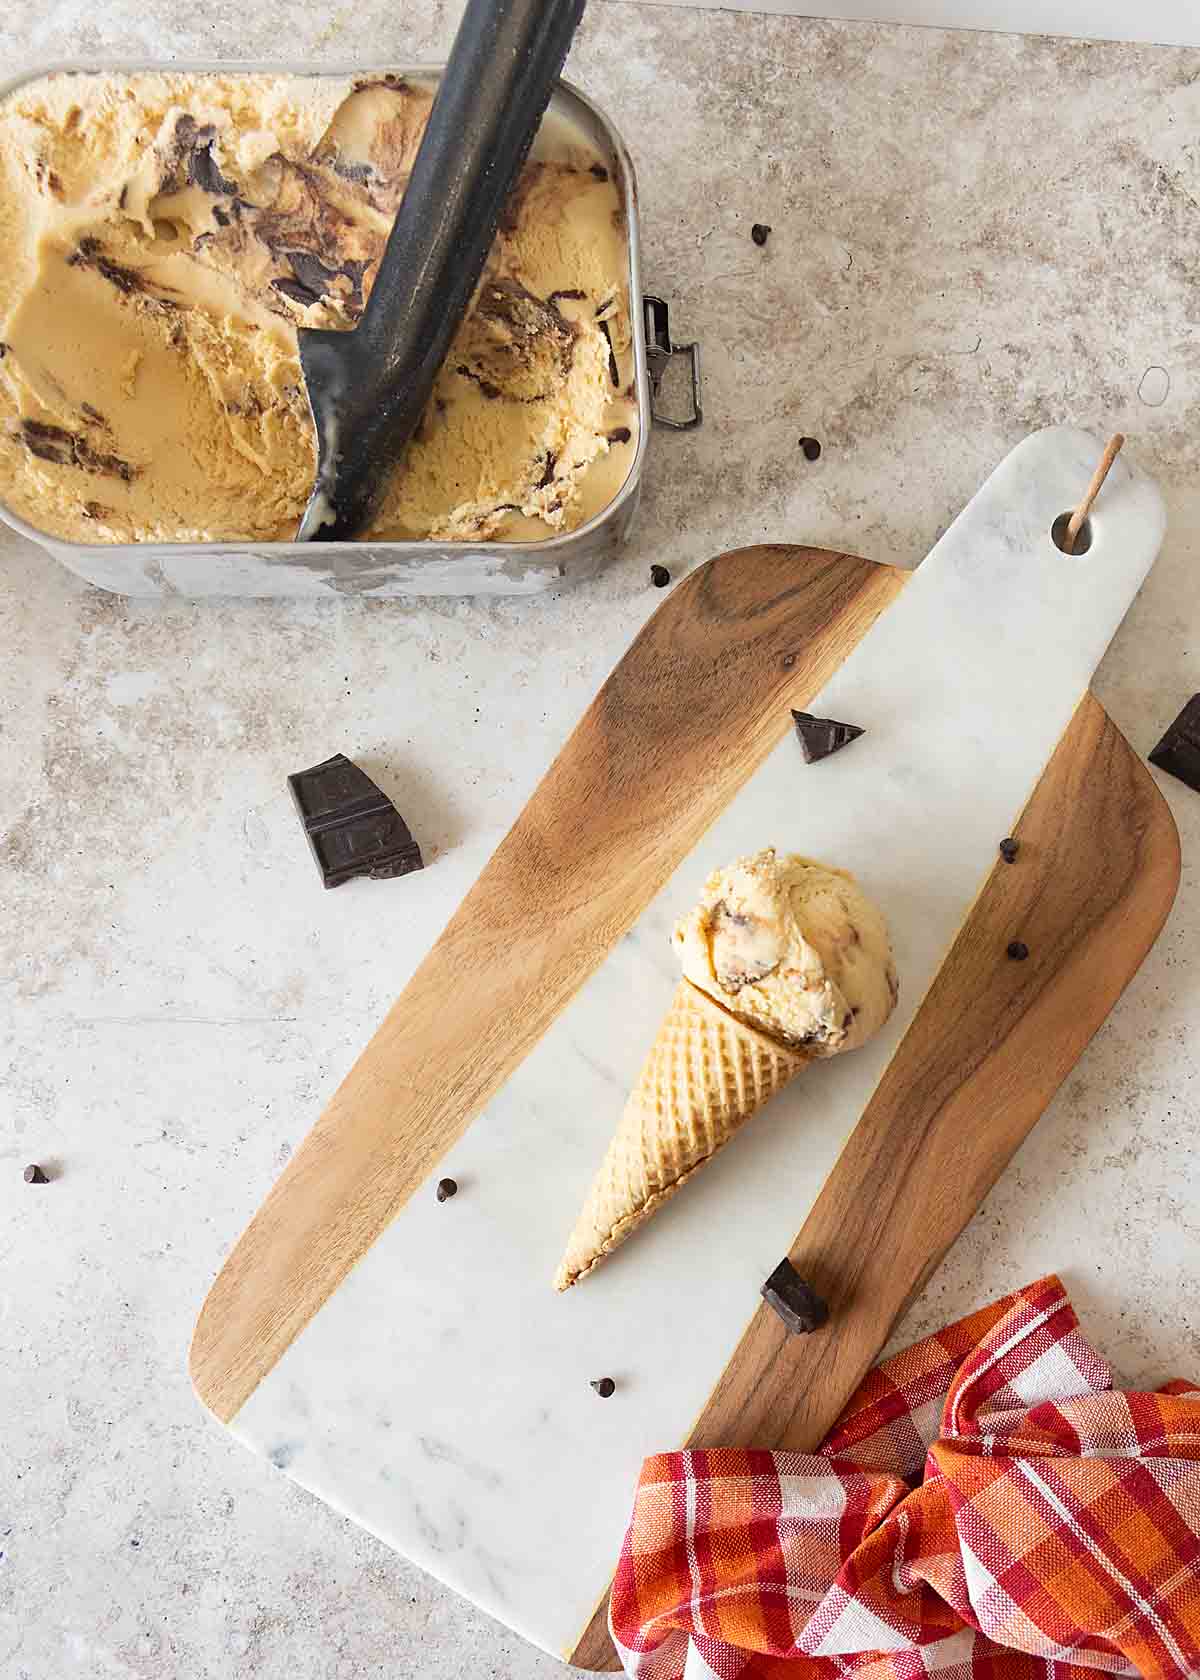
Since I’m trying to use less plastic, I now store my homemade ice cream in a metal Bento box with a silicone seal. I’ve kept this in my freezer for as long as a couple weeks and it hasn’t had problems getting icy or getting too hard.
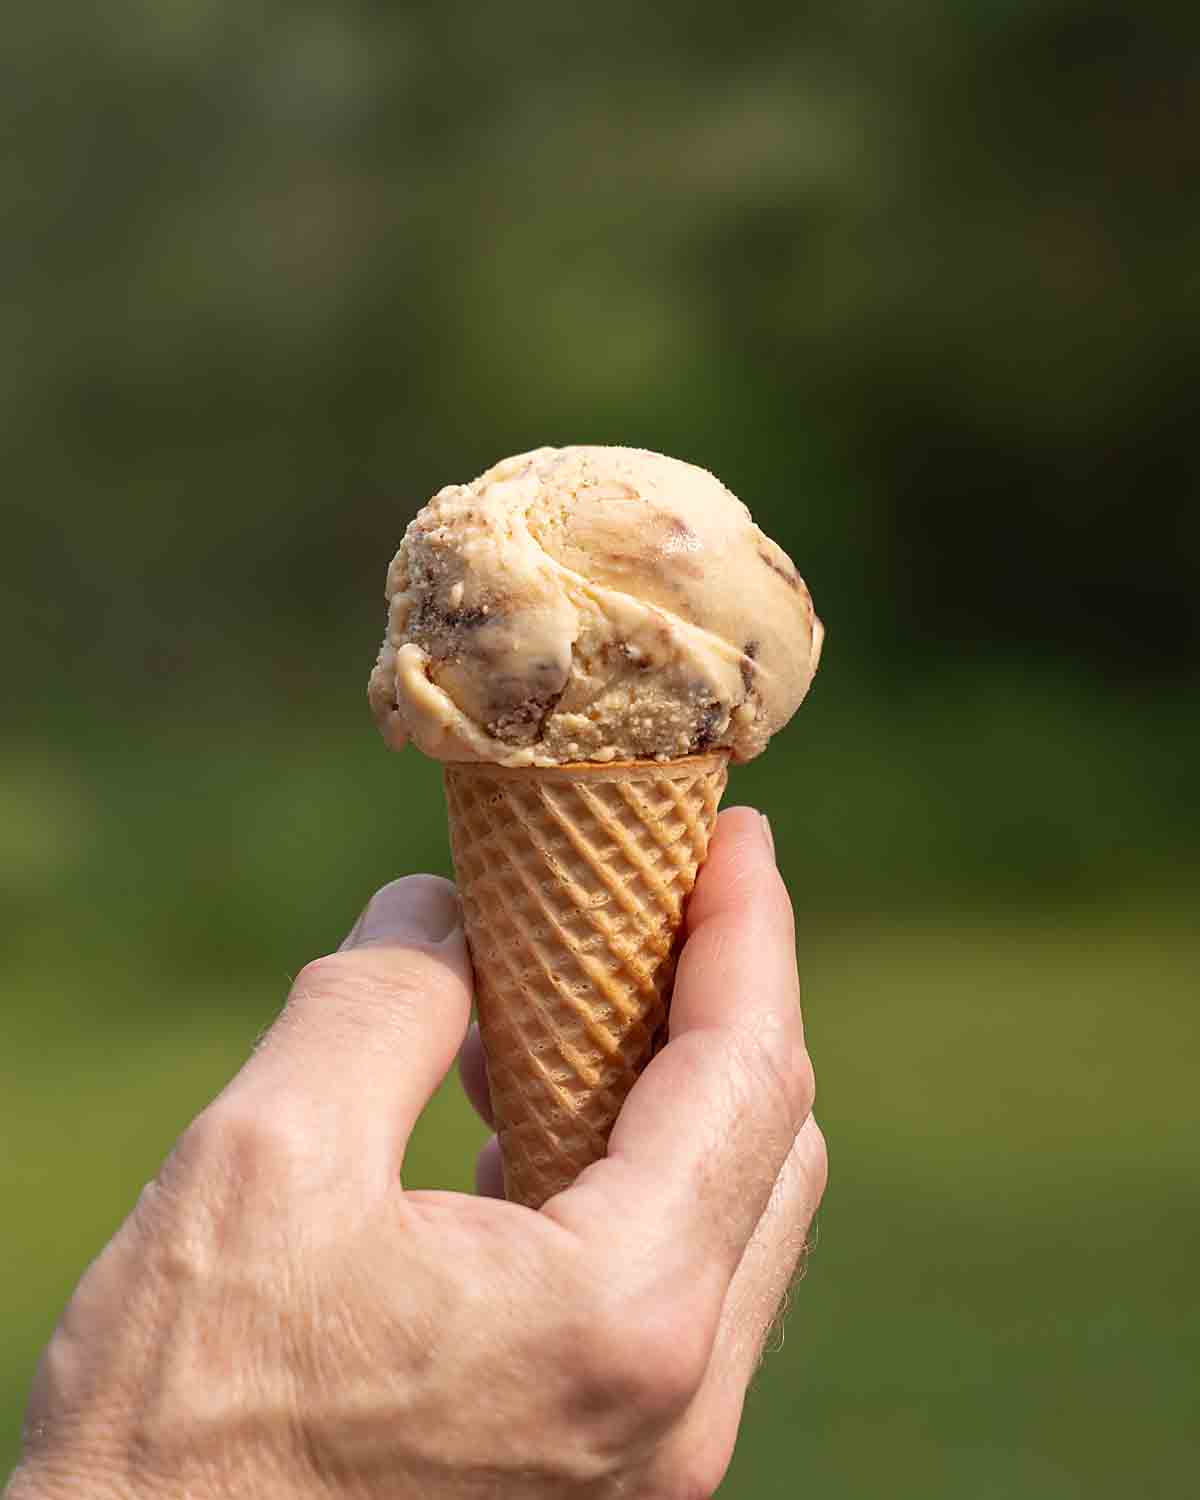
Have you heard the trick about putting a jelly bean in the bottom of a sugar cone to help catch the drips? We liked it so much we’re doing it with Swedish fish!
And for more tasty ice cream from my friends:
- Mint Oreo Ice Cream by Jolene’s Recipe Journal
- 2 Ingredient Peanut Butter Banana Ice Cream by A Day in the Life on the Farm
- Pink Pineapple Sherbet by Karen’s Kitchen Stories
- No Churn Caramel Brownie Ice Cream by Hezzi-D’s Recipe Box
- Creami Coffee Mocha Ice Cream by A Kitchen Hoor’s Adventures
- Mom’s Famous Ice Cream Mississippi Mud Pie by Faith, Hope, Love, & Luck Survive Despite a Whiskered Accomplice
Peanut Butter Ice Cream

Ingredients
- 1 ½ cup skim milk
- 1 ½ cup cream
- ½ cup unsalted natural peanut butter stirred until smooth or salted, or peanut butter powder
- ¼ cup nonfat dry milk
- ¾ cup sugar or 1 cup allulose & additional stevia to taste for sugar free version
- ¼ teaspoon salt omit if using salted peanut butter
- ¼ teaspoon guar gum
- ¼ cup fudge sauce optional, sugar free for sugar free version
Instructions
- Put the milk and cream in a blender, then start blending on low.
- Heat the peanut butter very briefly, if needed, to become soft enough to blend. Do not let it get hot. Drizzle into the blender with the swirling milk/cream mixture (so it combines rather than clumps up). Turn off the blender when well combined.
- In a small bowl, combine the nonfat dry milk, sugar or sweetener, salt and guar gum if using. Stir together and break up any lumps.
- Turn the blender on low again, then slowly add the dry ingredient mixture until well blended. Taste and add additional salt and stevia if needed.
- Pour mixture into ice cream freezer, then process according to manufacturer directions.
- If adding a fudge ribbon, one option is to drizzle into the machine at the VERY end (to keep it separate). Otherwise drizzle over the ice cream as you transfer it to the freezer container. (I alternate scooping in ice cream and drizzling--don't be a perfectionist).
- Put your full ice cream container in the freezer. Keep overnight before serving for best results.
- Before serving, remove the ice cream container from the freezer and let rest 2-3 minutes for soften slightly. This may not be needed for the sugar free version.

I love peanut butter ice cream and this sounds so perfect for the summer heat. Now I need to figure out where to buy guar gum!
You can skip the guar gum if needed, but that helps give the ice cream the texture of a “real” ice cream. Mine is made by Bob’s Red Mill and I ordered it from Vitacost, though they’ve changed owners and are changing merchandise a lot.
Wow. Now I’m totally going to have to make B.O.B. Bob some of this peanut butter ice cream. It would immediately become his favorite!
Good thing it’s easy!
You’ve got to add the fudge ribbon! This looks like the perfect ice cream for a hot summer day.
Yes, I’m totally doing the fudge ribbon!
My sister is a huge Reese’s pb cup fan and her birthday is coming up so I know what I’m going to make her! Intrigued by the metal storage box idea, need to give that a go myself.
I love the Bento box. It’s 40 ounces and just fits the ice cream. I even pre-chill it in the freezer.
Peanut butter and chocolate is such a wonderful flavor profile and this recipe gives you the option of adding the resees for even more peanut butter and chocolate goodness. OH MY YUM.
I agree!
This ice cream looks amazing. Thanks so much for the calculator! What a great tool! I love the idea of adding peanut butter cups to this
You can’t go wrong with chocolate and peanut butter!