No Torch Creme Brulee
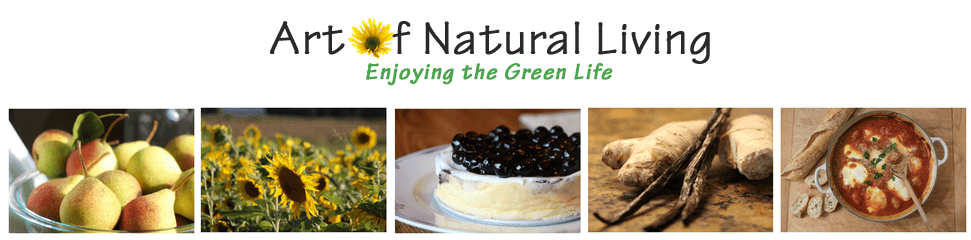
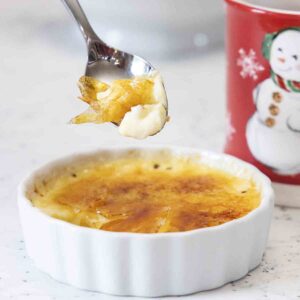
With a creamy custard base and a crunchy sugar topping, No Torch Crème Brulee is easy to make at home–and can be finished under the broiler.
Crème Brulee is a classic restaurant dessert. And it’s one that always feels special. But it isn’t something that comes to mind when you think of an easy home dessert.
First there’s the baked custard, which has a bit of a reputation. So I was fearful that I’d end up with scrambled eggs… or watery goo.
Then there is torching the top, which meant buying a new piece of equipment—and playing with fire.
But since it’s my husband’s absolute favorite dessert—and high up on my list too, I knew I had to give it a try. And I learned that the home version is actually not difficult. And absolutely delightful when it’s done.
What is Crème Brulee?
According to Wikipedia, crème brulee is “a dessert consisting of a rich custard base topped with a contrasting layer of hard caramel.” Dating back to around 1691, it is typically flavored with vanilla, but can be made in other flavors.
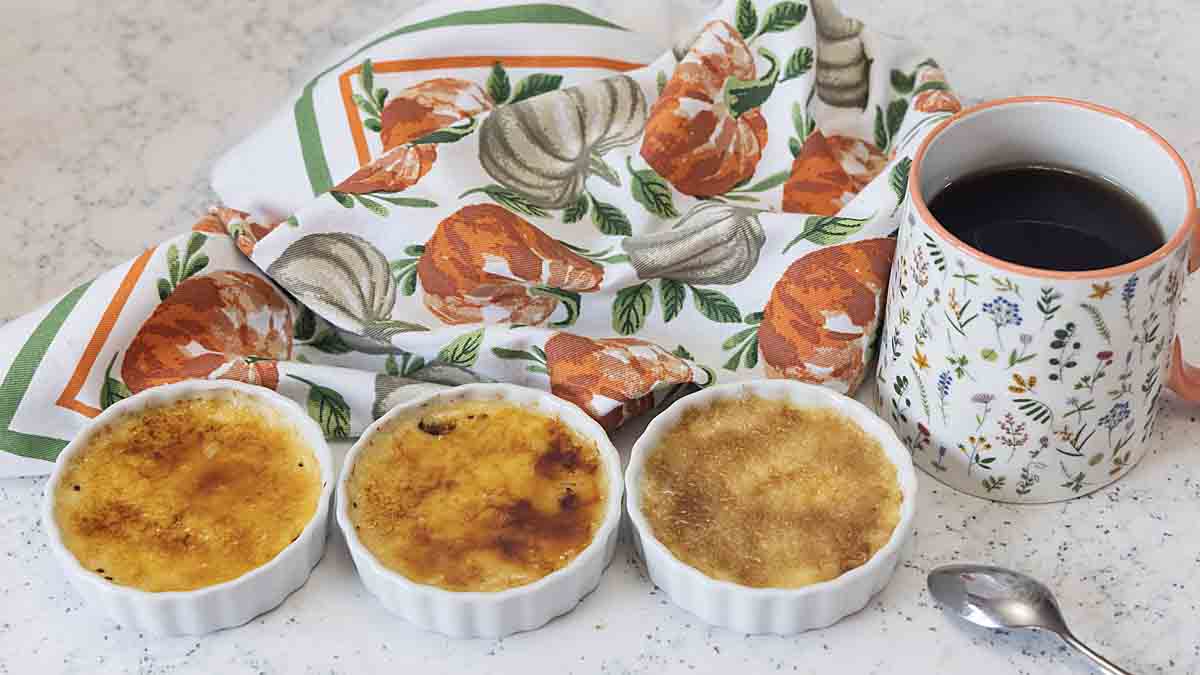
I’ve even seen restaurants do trios in different flavors. Yes, please!
In creating this recipe I was looking for a custard that was very creamy and light, rather than solid and eggy. I was not trying to duplicate my mother’s baked custard which was delicious but more homespun than elegant.
So I tried varying the fat (e.g. half and half vs cream), and the amount of egg yolks to get something that was creamy light but still perfectly set. A dozen or so attempts later I had the ratio I use here, which I think is as good as any I’ve had out.
Just in case you happen to be suffering from No Torch Crème Brulee OCD, like me, I found a forum with everything you ever wanted to know about crème brulee.
Why I First Made Crème Brulee Without a Torch
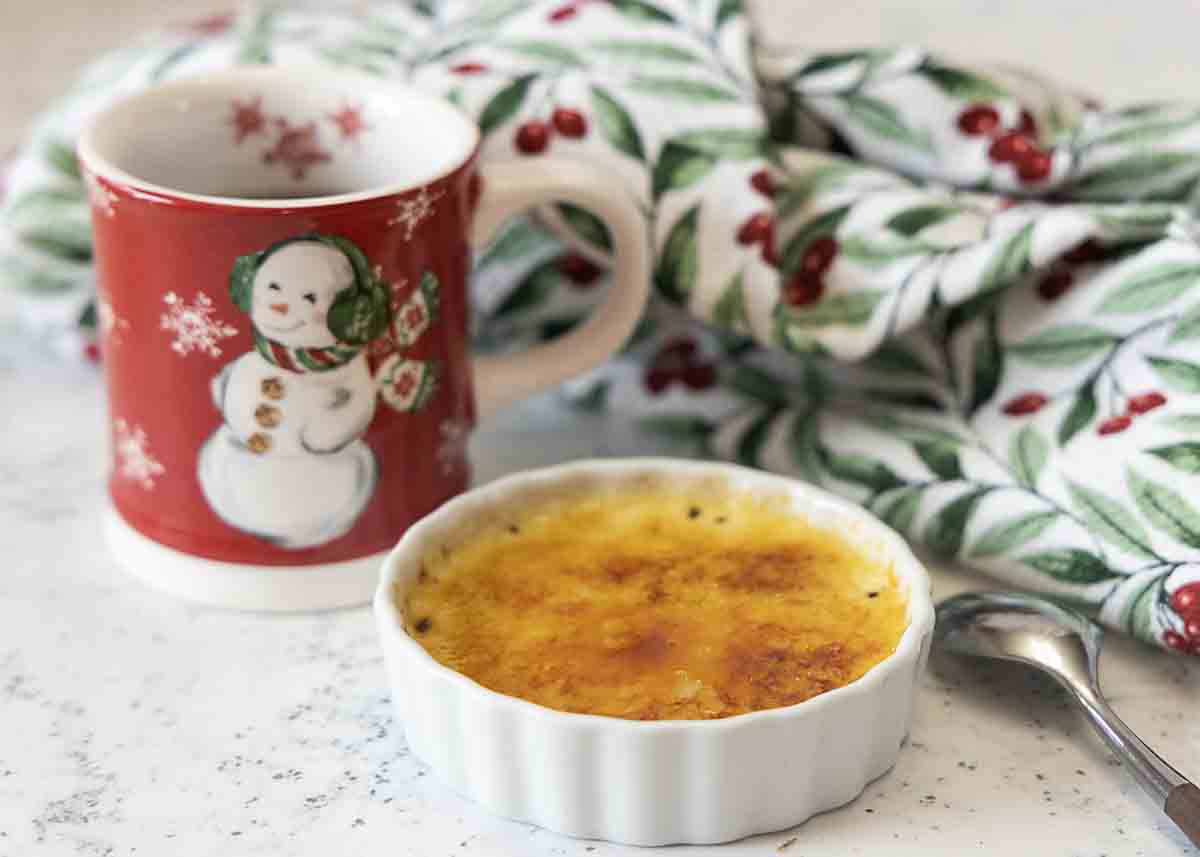
What makes crème brulee distinctive is the crisp caramelized glaze on top. This is traditionally made by spreading sugar on top of baked custard, then melting it with a blow torch.
But, if you don’t mind a bit of homespun imperfection, you can also do this under a broiler (you will need broiler safe dishes—which many real crème brulee dishes are). And it’s easy!
I didn’t want to buy a torch until I was convinced about two things. First, that I could actually make crème brulee successfully. And second, that I’d make this more than once a year to justify owning (yet) another piece of kitchen equipment.
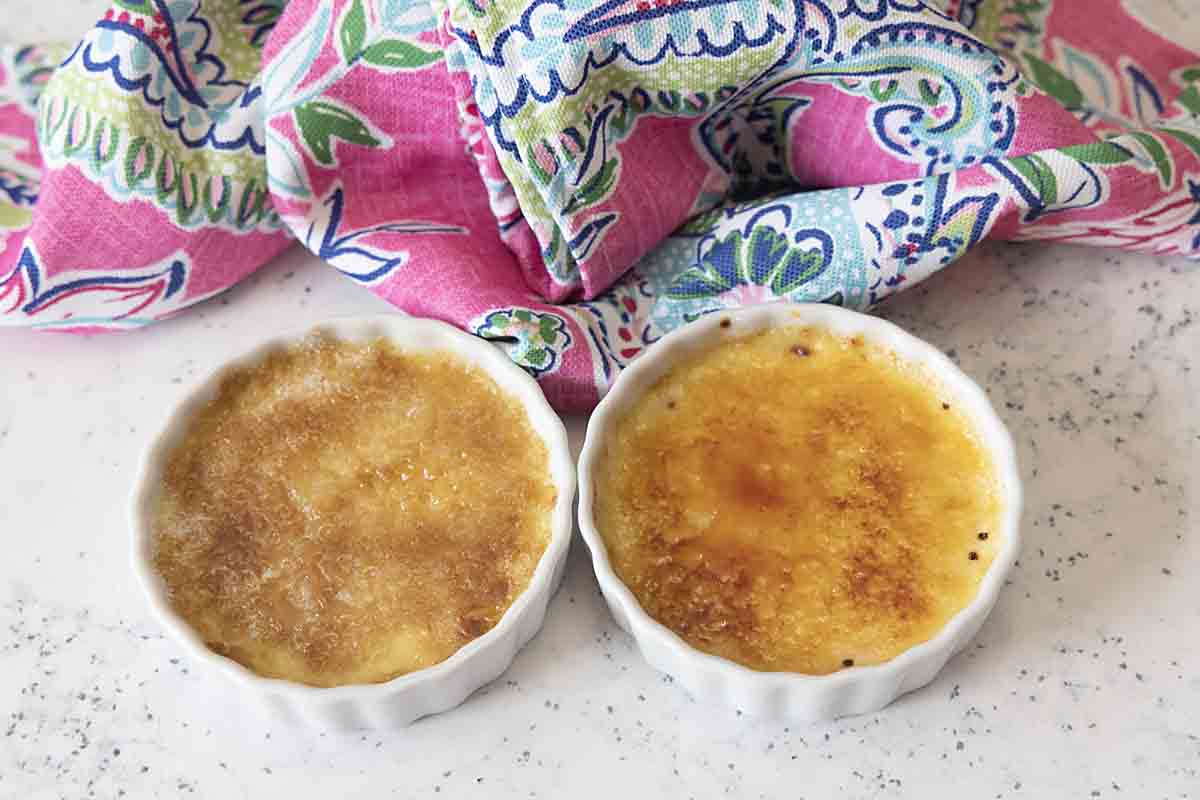
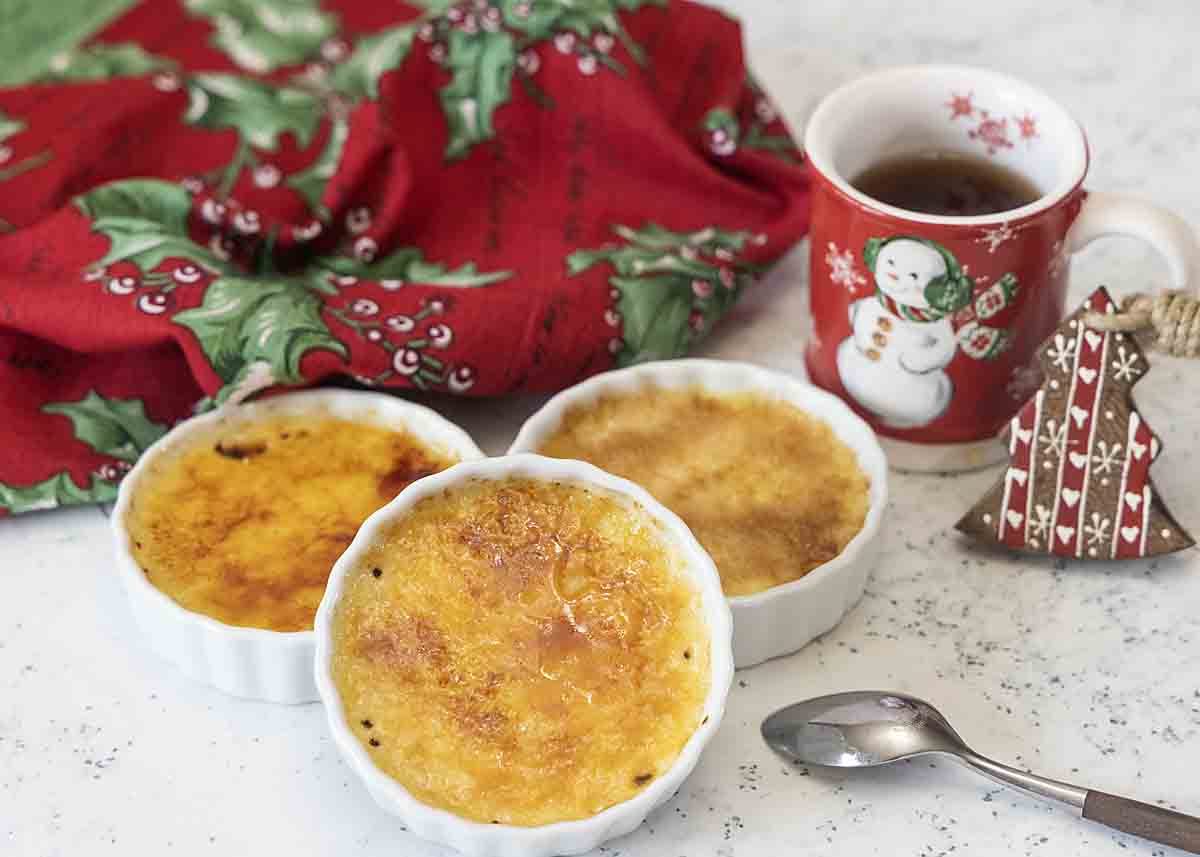
And in the picture below of two desserts, the one on the left was made under the broiler. It looks very similar and the top breaks into the same beautiful sugar shards!
So since my early experiments I have bought a torch, but the broiler version was a great place to start!
Step by Step Overview
Heat oven to 325°F. In 13×9-inch pan, place 6 (4-oz) broiler safe ceramic ramekins.
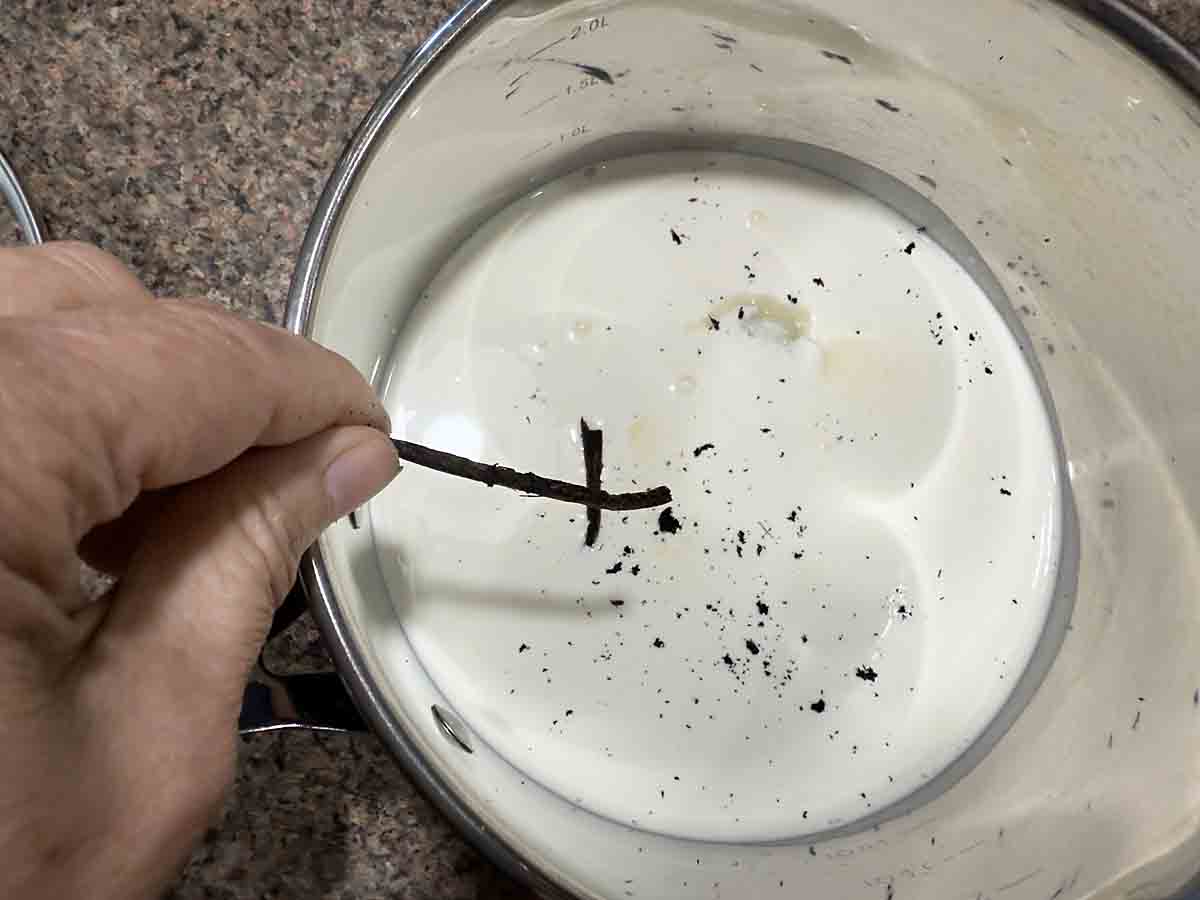
Cut vanilla bean in half, then scrape out seeds. Place seeds and pod in a small saucepan with cream, milk and sugar and heat until just below boiling, stirring to dissolve sugar. Remove from heat and let cool until just slightly warm. (If using vanilla extract, you can heat to a lower temperature, just until sugar is dissolved.)
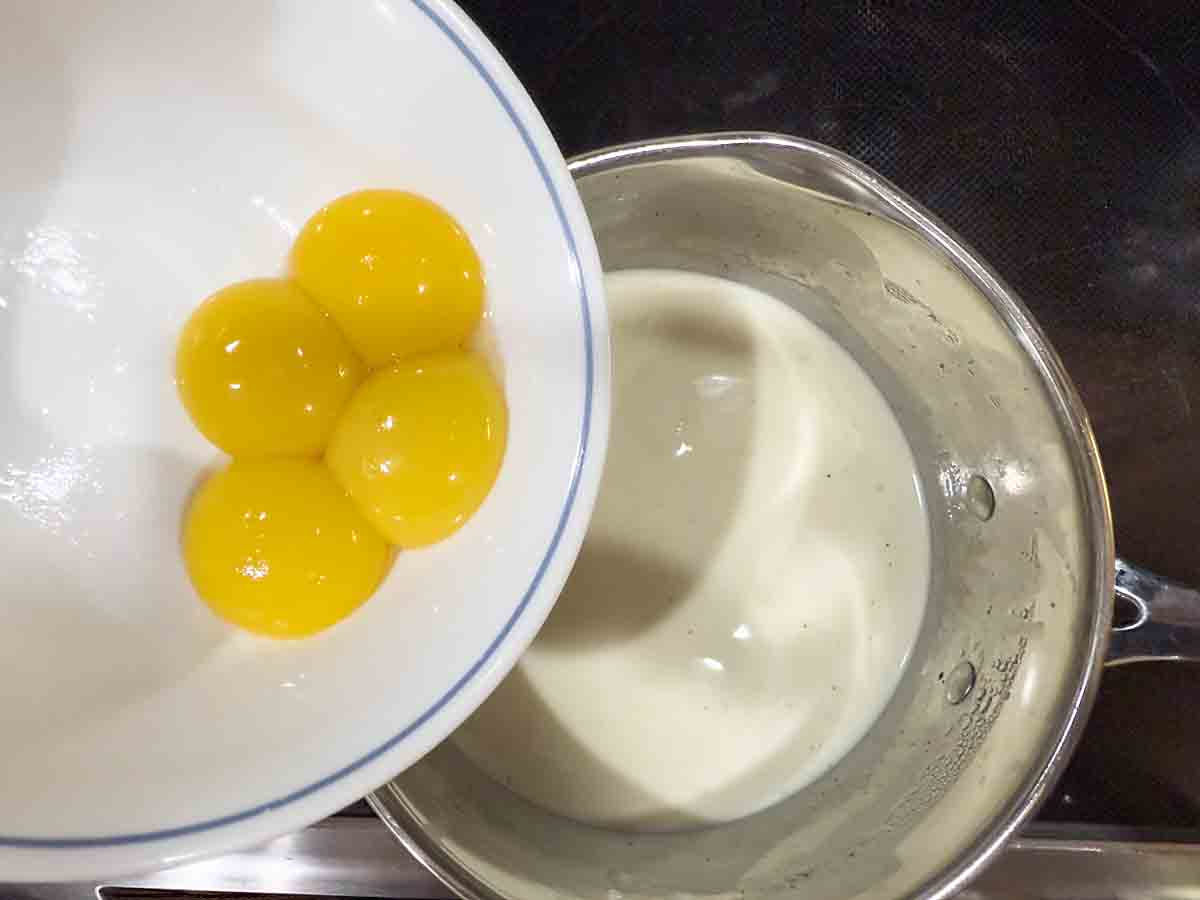
Beat eggs into cream mixture.
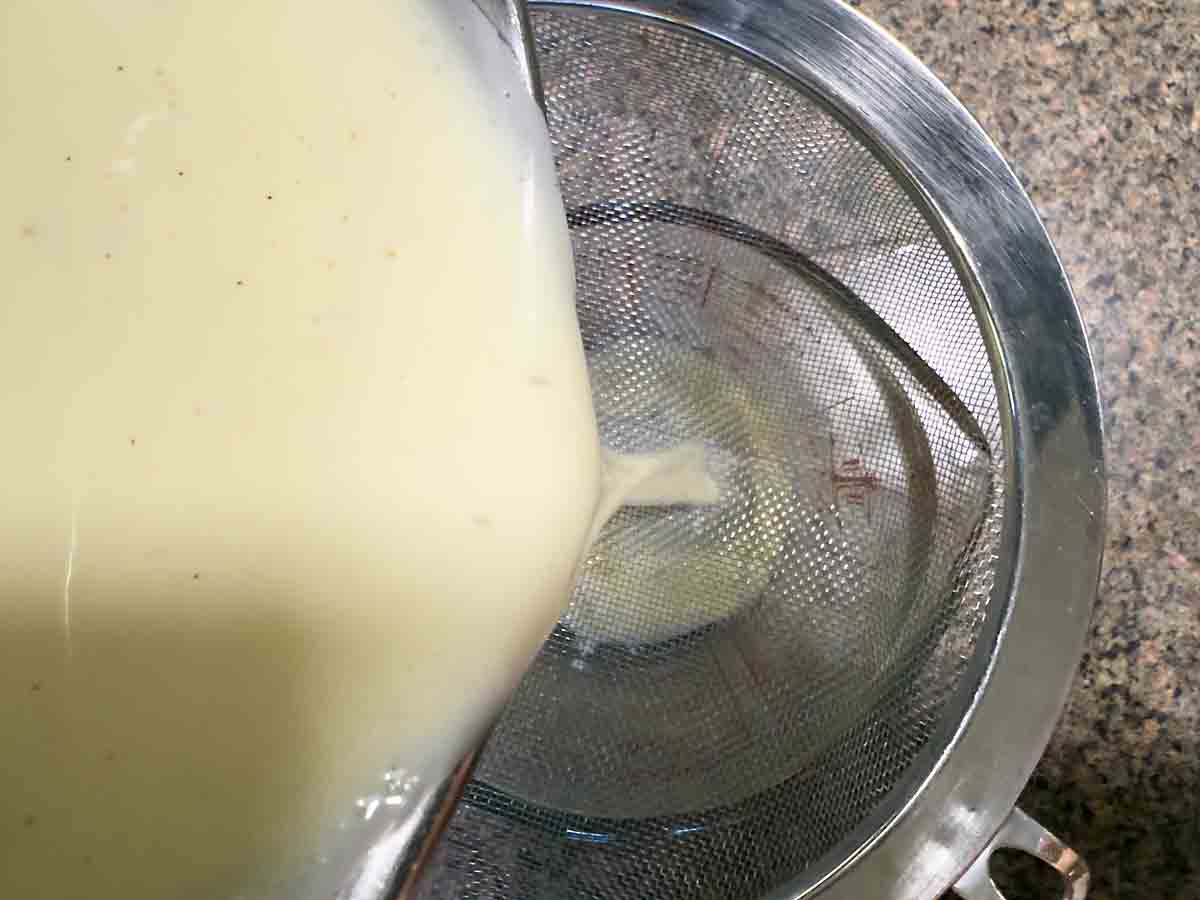
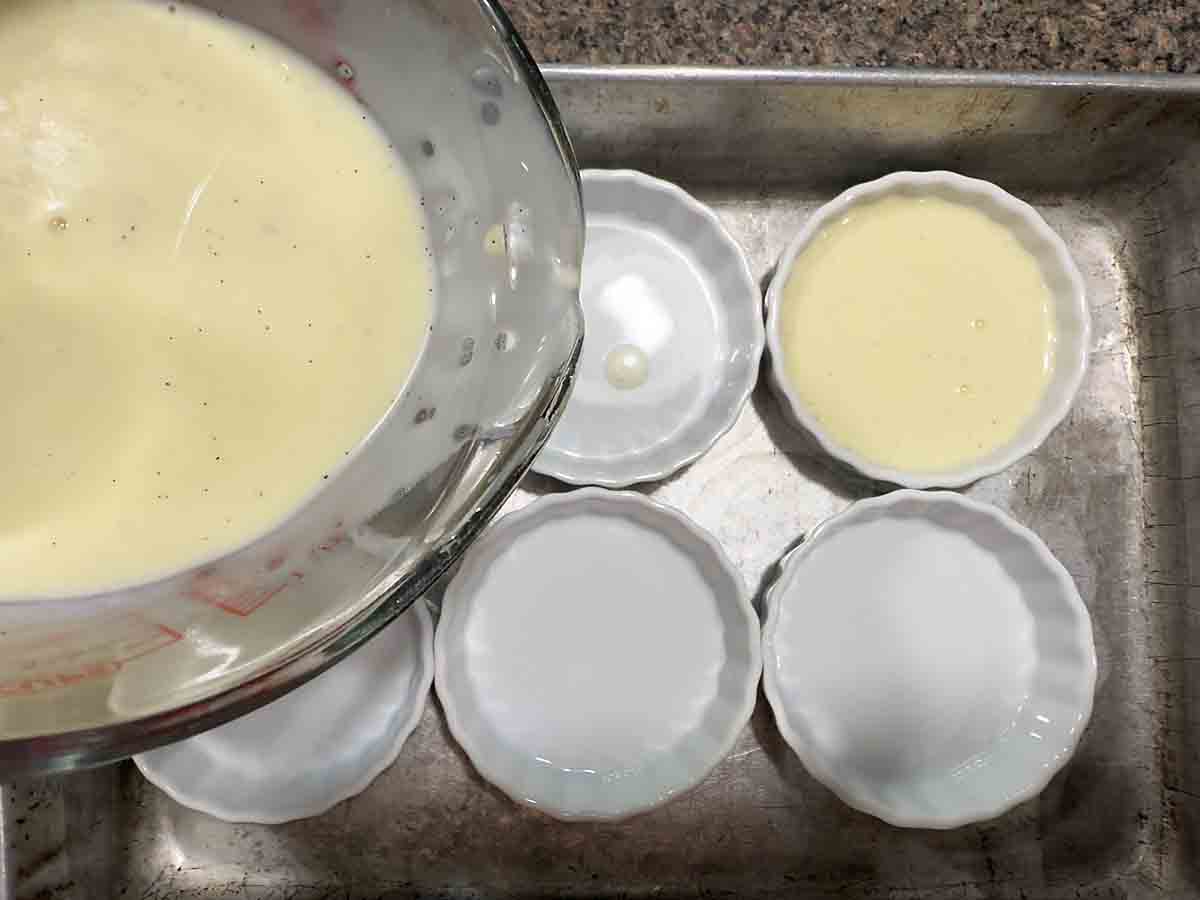
Strain into a pouring vessel.
Pour into ramekins.
Carefully place pan with ramekins in oven. While in oven, pour enough boiling water into pan, being careful not to splash water into ramekins, until water covers two-thirds of the height of the ramekins.

Bake until jiggly but set. Transfer ramekins individually to cooling rack—I lift with a hamburger turner. Refrigerate until chilled, approximately 2 hours.
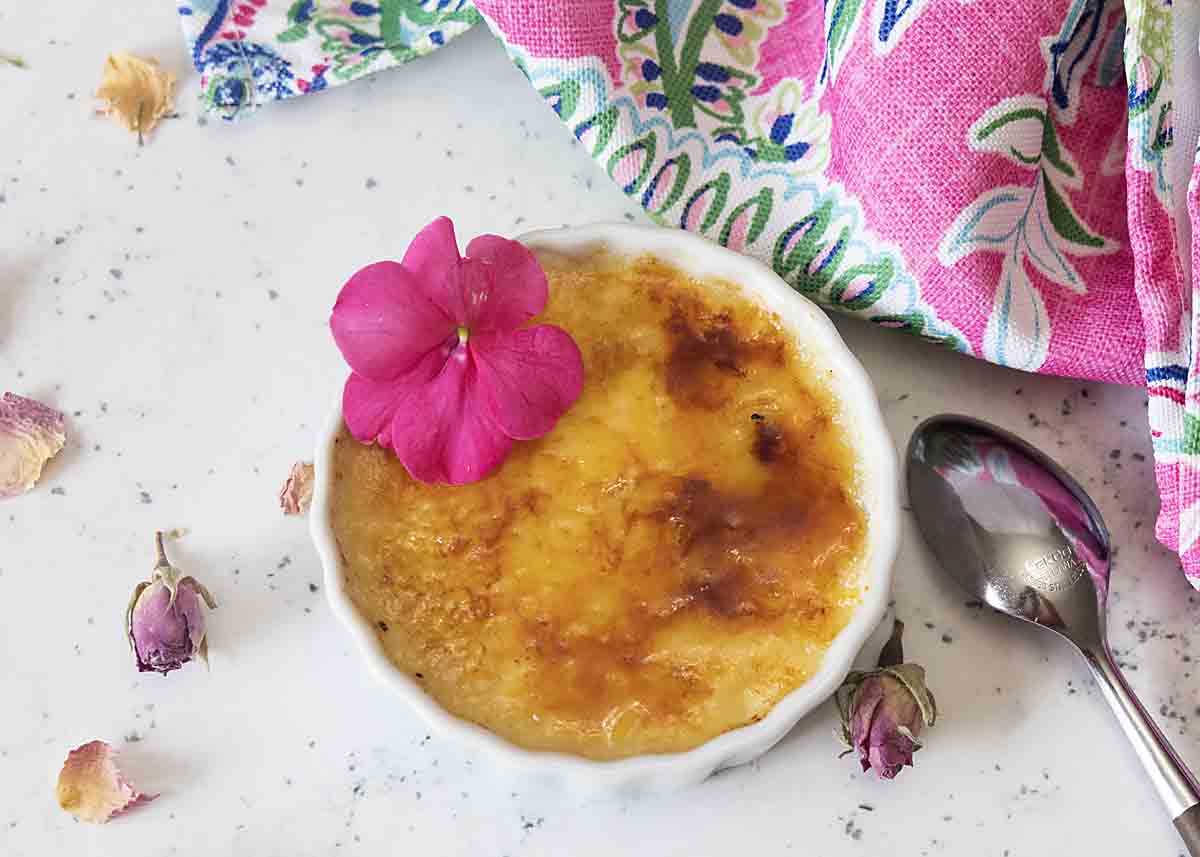
Sprinkle about 1 1/2 teaspoons of brown sugar over each chilled custard. Lightly press flat (high areas may blacken). Place under pre-heated broiler to brown. Watch like a hawk to avoid burning (or fire). Or sprinkle with white sugar and brulee with a torch.

Refrigerate until rechilled, 1-2 hours
Variations
While a vanilla creme brulee like this is the classic, it can also be made in many other flavors. And they are just as easy to make.
If you’re looking to expand your options, consider Strawberry Creme Brulee, Lavender Crème Brulee, and Irish Coffee Creme Brulee. They are all delicious!
Tips & FAQs
When you are ready to place your creme brulee in the oven, don’t pull the oven rack out. Instead set the tray into the oven with the rack in its full “in” position. This is because, unless your oven rack moves perfectly smoothly, you risk sloshing custard out of the cups as it slides back. (Ask me how I know this.)
As I mention in the recipe, it’s probably easier to pour the boiling water (I use a tea kettle) into the tray of custard dishes. That’s because you risk sloshing water into the custard it you try to carry it over with the water in it. Sensing a theme here?
Some people will bake crème brulee using the convection setting at 200. I tried this and didn’t like it as well as the water bath, but it was successful and I consider that a viable option.
Practice with your sugar and broiling or torching before you make this for company. I hadn’t done this in a couple years (that darn diet), and I made a couple ugly ones before I got it right again.
![]()
Delicious Desserts for Dessert Day
- Blackberry Cornbread Cobbler from A Kitchen Hoor’s Adventures
- Eggnog bundt cake with sugared cranberries from Creative Cynchronicity
- Indian Pudding from That Recipe
- Maple Cranberry Squares from Hezzi-D’s Recipe Box
- Mini Chocolate Bundt Cakes from Karen’s Kitchen Stories
- Old Fashioned Pumpkin Pudding from Jen Around the World
We share Recipes From Our Dinner Table! Join our group and share your recipes, too! While you’re at it, join our Pinterest board, too!
No Torch Creme Brulee

Ingredients
- 4 egg yolks
- 1 1/2 cups whipping cream
- 1/2 cup skim milk
- 1/3 cup granulated sugar
- 1 vanilla bean or 1 teaspoon vanilla extract
- 9 teaspoons brown sugar or a bit more, or white if using a torch
Instructions
- Heat oven to 325°F. In 13x9-inch pan, place 6 (4-oz) broiler safe ceramic ramekins.
- Cut vanilla bean in half, then scrape out seeds. Place seeds and pod in a small saucepan with cream, skim milk and sugar and heat until just below boiling, stirring to dissolve sugar. Remove from heat and let cool until just slightly warm. (If using vanilla extract, you can heat to a lower temperature, just until sugar is dissolved.)
- In small bowl, slightly beat egg yolks with wire whisk. Add cream mixture and stir until well blended. Strain into a pouring vessel. Pour cream mixture evenly into ramekins.
- Carefully place pan with ramekins in oven. While in oven, pour enough boiling water into pan, being careful not to splash water into ramekins, until water covers two-thirds of the height of the ramekins.
- Bake 25 to 40 minutes until the center of the custard is set but jiggly (it’s okay if sides are jiggly too as long as the center is set)
- Carefully transfer ramekins individually to cooling rack—I found that lifting with a hamburger turner worked best. Refrigerate until chilled, approximately 2 hours.
- Sprinkle about 1 1/2 teaspoons of brown sugar over each chilled custard. Lightly press flat. Place under pre-heated broiler to brown. Watch like a hawk to avoid burning (or fire). Or sprinkle with white sugar and brulee with a torch.
- Refrigerate until rechilled, 1-2 hours. Eat the same day (or sugar will soften).
Nutrition
Updated from the original published March 13, 2016.
Love all your recipe tips that you learned along the way. Creme brûlée is one of my favorite desserts. Yours look very professional.
Thanks Karen!
It’s so funny that this should be your repost this week. I made crème brûlée for friends last week, and I bought a brand new blow torch at the hardware store. It worked beautifully until it was time to caramelize the sugar. Then, for some reason, the torch wouldn’t even turn on. I gave up and did it under the broiler just like you said!
Oh no, what a time for the torch to give out (a new one even)! Happy you rescued it!
Creme Brulee is my favorite! Can’t wait to check out this no torch version.
Creme brulee is my husbands favorite dessert too and he’ll always order it in a restaurant. I do have a torch (which I don’t use often enough) but I’ve always been intrigued by the broiler method.
I think the broiler method has a shorter learning curve. When I hadn’t done this in awhile, my first torched top was more imperfect. (So I had to eat it 🙂 )
Thanks for the hamburger turner tip. I would’ve tried tongs, which I can see being potentially disastrous!
I know some people succeed with tongs–but I’m not that coordinated!
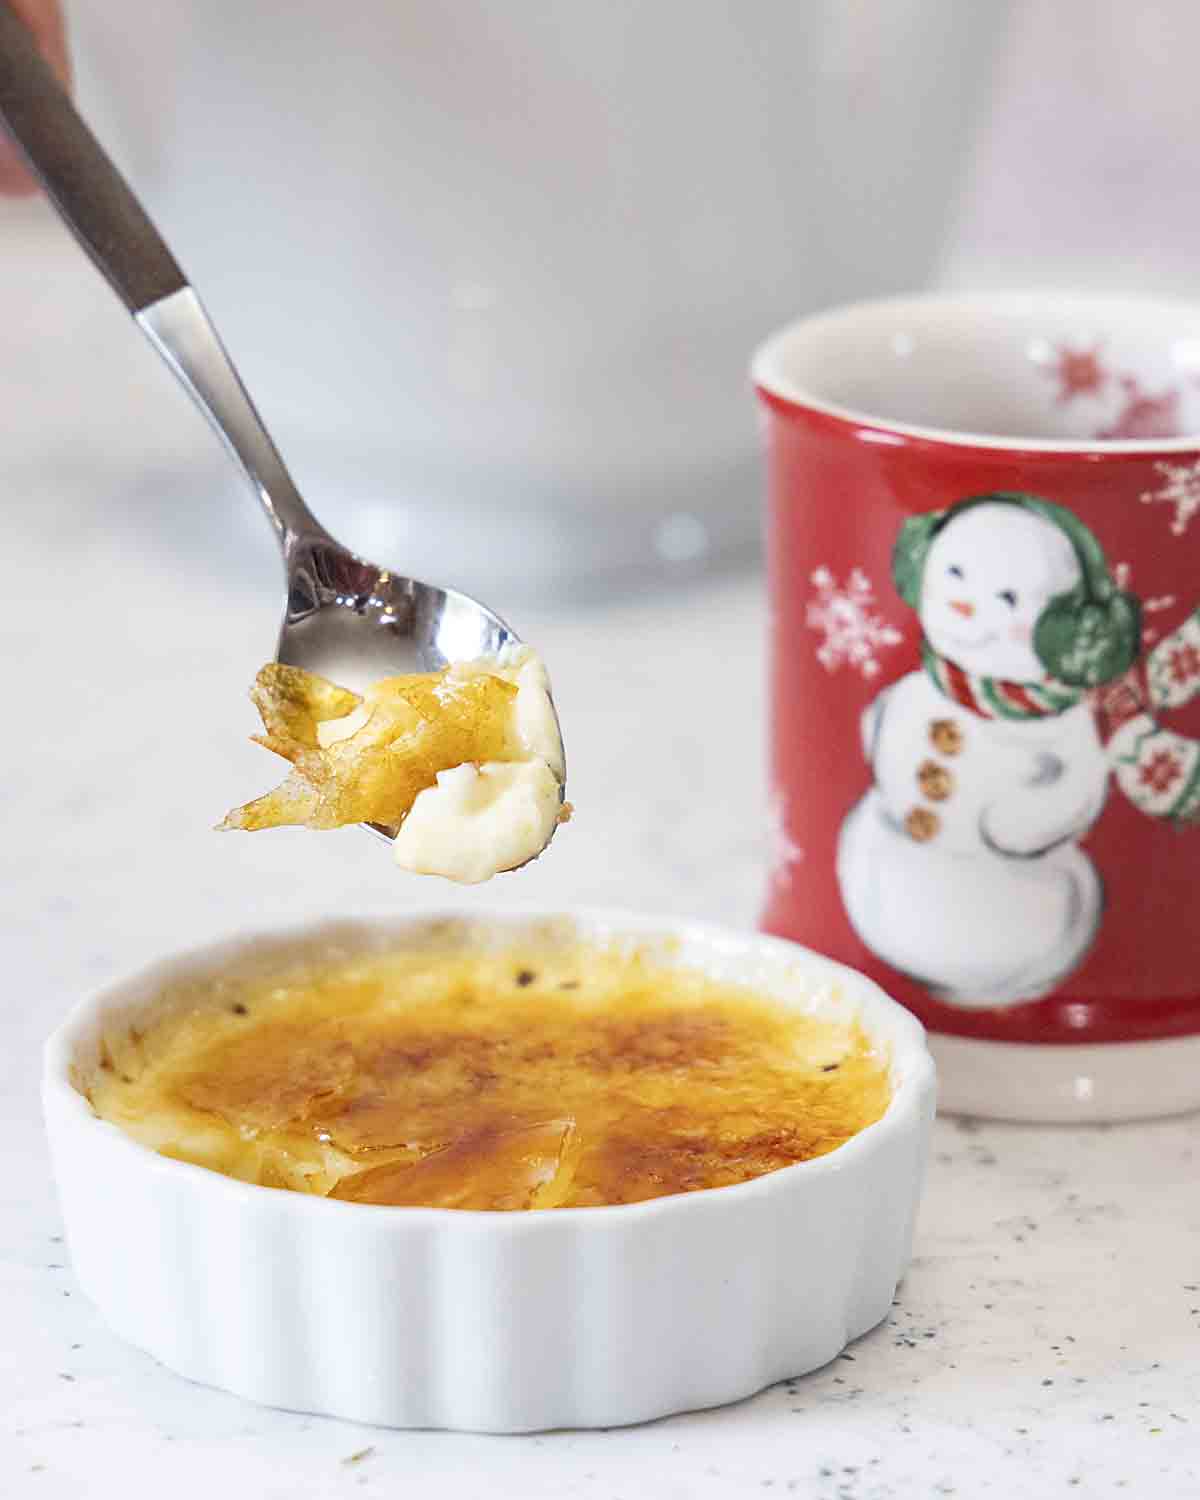
Is it possible, for anything to taste as magical as the velvety, wonderfully made Crème Brulee, sliding down your throat, after waiting for that very first spoonful . (My Mother was a champion egg custard baker mmm, but I don’t believe that she or Daddy ever had Crème Brulee. I am so sorry they missed out on it). ~~ Thank you for all your research, and recipe testing. I have not tried your recipe yet, …. but you can be assured that I will be using your recipe before the week is over, I really can’t wait !! ~~~ Thanks again for sharing
It’s way up there for me Annette!
Does the topping harden like torched sugar when you use brown sugar under the broiler and then chill it?
Yes, it does get crunchy. You can’t leave it too long in the refrigerator though or it will soften again–it shouldn’t get so warm you need to cool it for long.
Once I left some in the refrigerator overnight and it was completely soft, though broiling it a second time improved that.
Good luck!
These are beautiful, Inger! I do love Creme Brûlée…and I will always make room for one! The Lavender Creme Brûlée sounds lovely!
Isn’t it great how these work even after a big meal, Kathy! One of these days I will post the lavender version. After I slide in a few healthy recipes ;-)!
Pingback: Irish Coffee Creme Brulee - Art of Natural Living
Crème brûlée is one of my all-time favorites! Love both the torch & broiler methods, too. My favorite for the moment is lavender-honey. But almost any flavor will turn my head!
I loved the lavender version I made David. I will have to use honey instead of sugar the next time I try it!
I like the idea of being able to indulge on desserts…and yes, your sugar coat turned very nice without the torch, which by the way I am always nervous when using it…
Have a great week Inger 🙂
I do admit to a little blowtorch anxiety–though not buying something new was a bigger motivator!
Looks yummy. And I agree with your philosophy – healthy most of the time means no guilt for the occasional treat!
I was happy it came in under 300 calories and tasted just as rich when I subbed in a little skim milk 😉
Now aJim doesn’t have to go to the garage and get his blowtorch!
Makes sense Mary except… well, it’s Jim…