Mocha or Chocolate Mini Cheesecake Bites
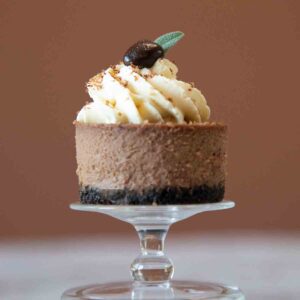
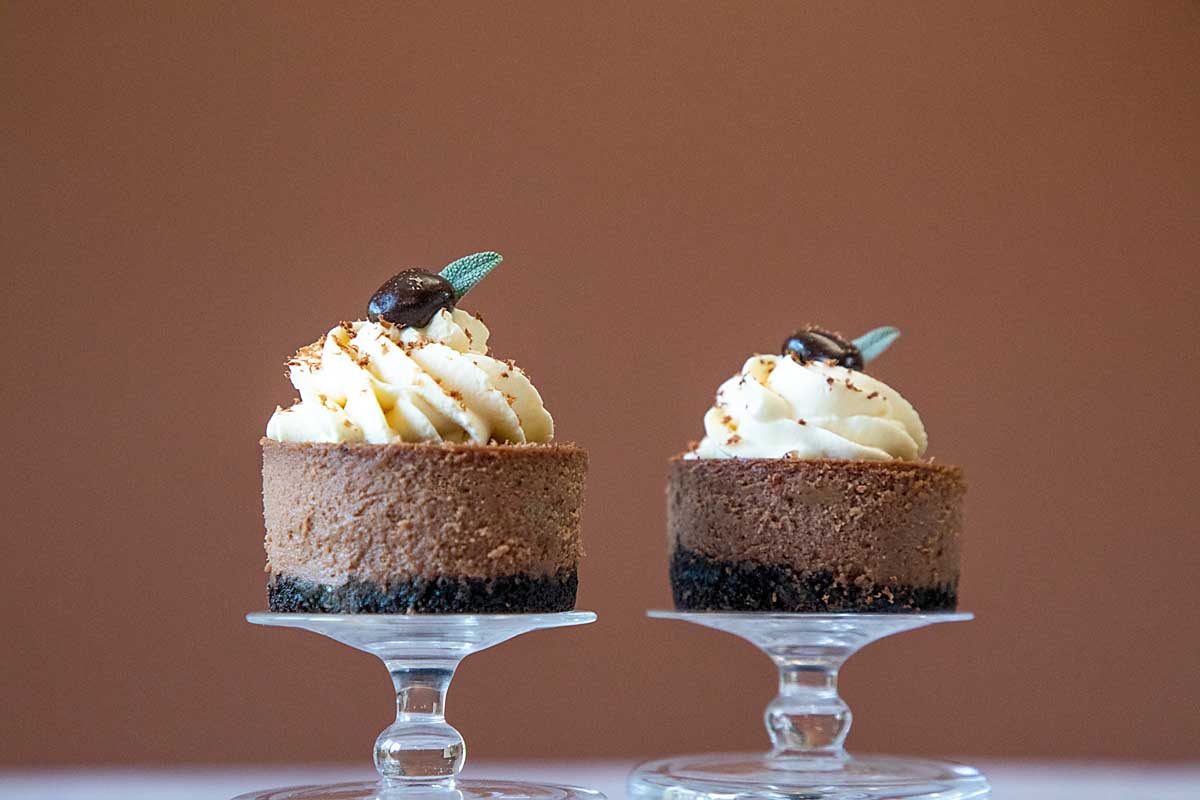
With a creamy cheesecake set atop an Oreo cookie crust, these mocha or chocolate mini cheesecake bites are easy, tasty and fun!
This page may contain Amazon or other affiliate links, which can earn me a small commission, please see my policy page for details.
I can’t explain it, but mini desserts always taste better to me! Perhaps it’s because the small size means you can eat more variety! And who’d want one dessert when you can have two or three!
Plus, I think these easy mini cheesecakes, adapted from Glorious Treats, are totally cute! And did I mention they freeze beautifully?
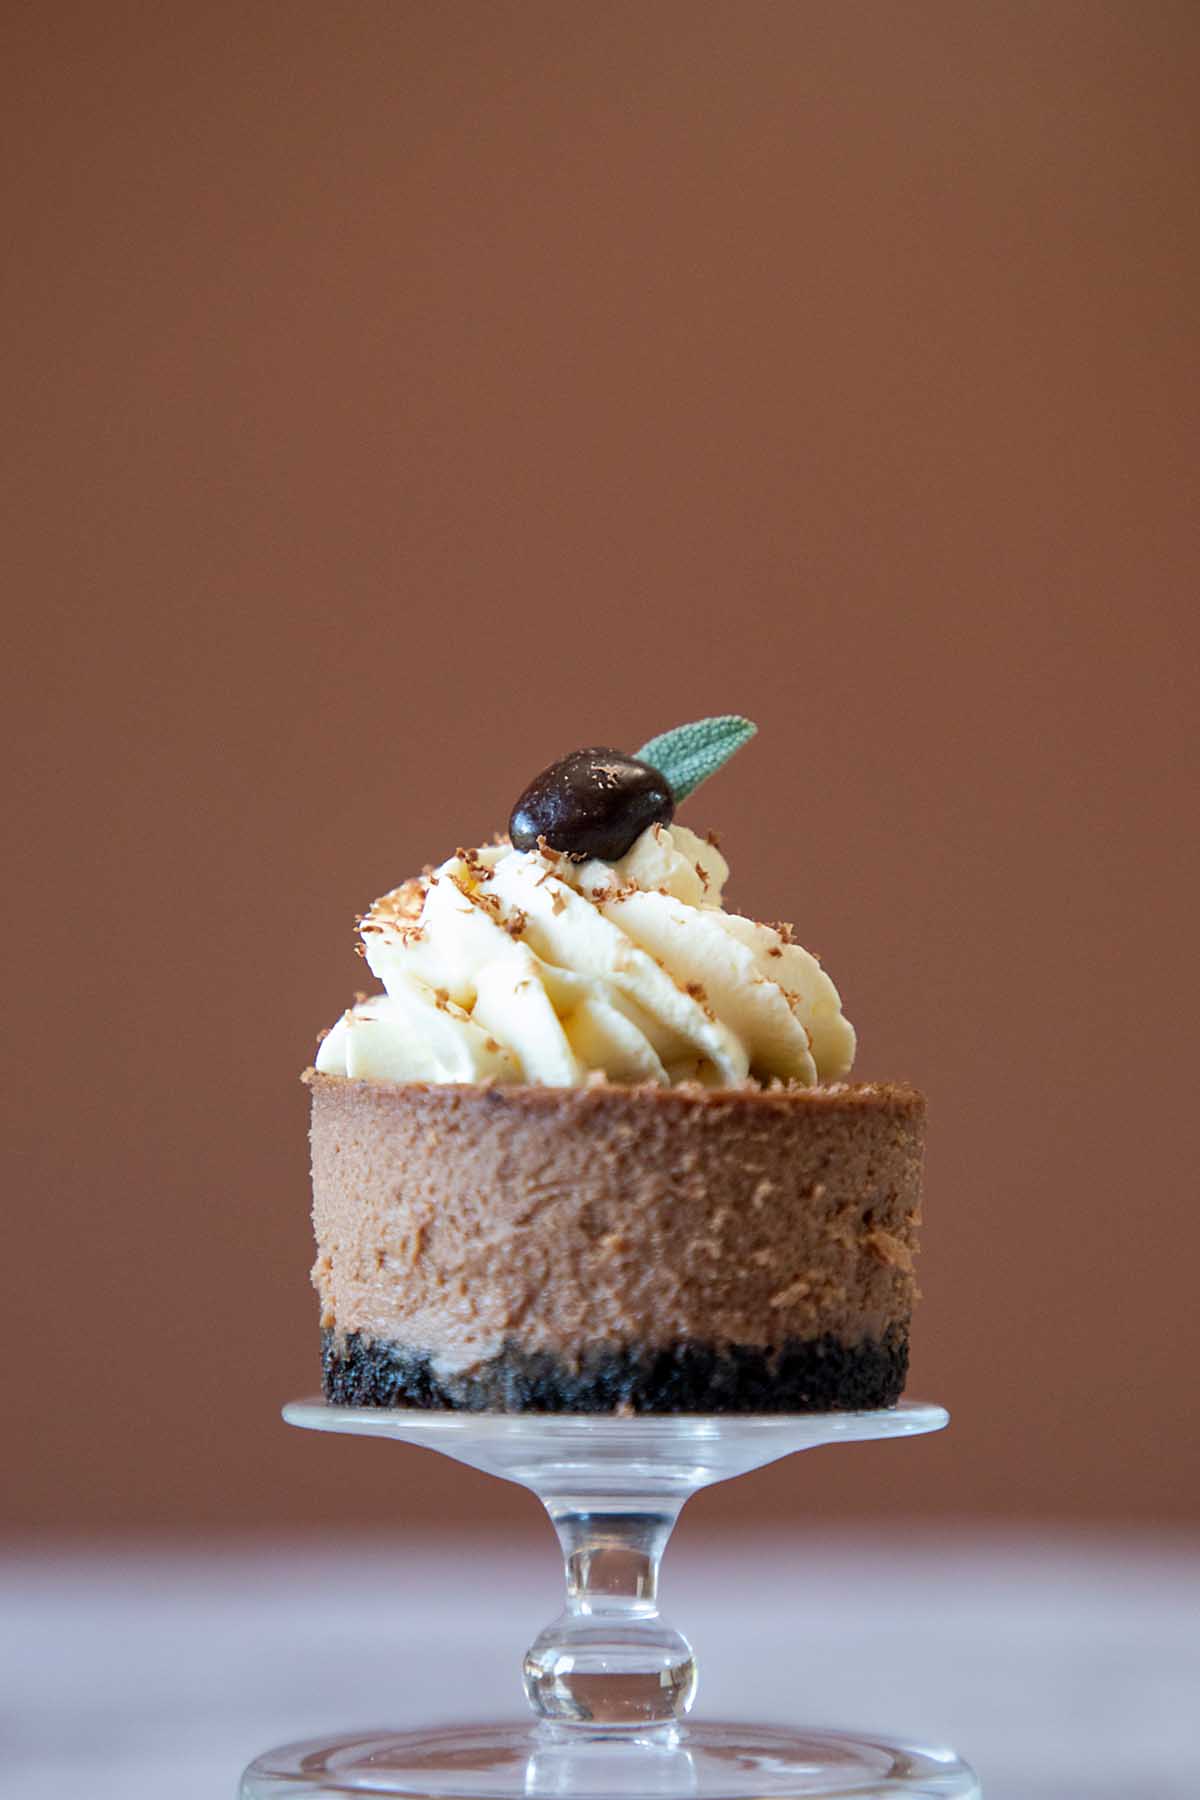
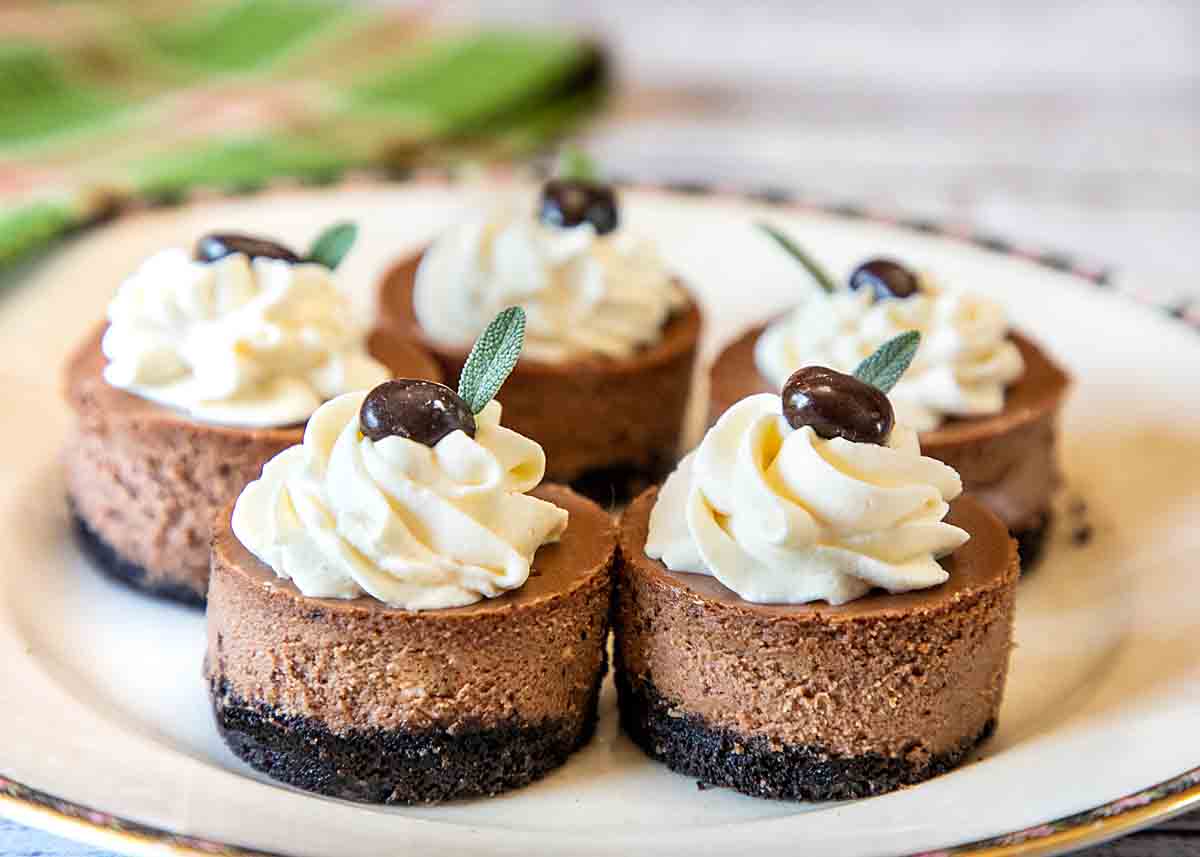
Mocha or Chocolate Mini Cheesecake Bites start with a chocolate cookie crust and are topped with a creamy cheesecake filling. If you go the mocha route there is a light coffee flavoring from added Kahlua. And even the coffee haters I’ve served enjoyed them–though they gave away the espresso beans.
But you can also use Crème de Cacao instead of Kahlua for straight chocolate cheesecake bites. Either way, everyone will be impressed by the airy lightness of the filling.
Why You’ll Love Mini Cheesecakes!
- Individual desserts means fun and variety — I think individual desserts are fun and so classy! Who can resist a beautiful tray full of variety!
- Make ahead & freeze — Being able to make these ahead and freeze makes them such a practical dessert. Especially in busy times!
- Less prone to failure. There are a few challenges in making cheesecakes (see trouobleshooting below) but with their small size, mini cheesecakes are less likely to experience the usual issues like sinking and cracking.
- Professional look. I love the professional look mini cheesecakes have when made in a removable bottom pan!
What You’ll Need
Ingredient Notes
- Chocolate sandwich cookies. These, with butter, form the crust. I used Oreos, filling and all.
- Butter. This, with the cookies, forms the crust.
- Chocolate chips. Gives the chocolate flavor and some structure to the filling. You can substitute quality chocolate for the chocolate chips.
- Cream cheese. These creates the creamy cheesiness of the filling.
- Sugar. This plus the sugar in the chocolate sweetens the filling.
- Egg. This helps provide structure for the filling.
- Vanilla. This adds flavor.
- Kahlua or Crème de Cacao. This also adds flavor.
- Optional instant coffee. For a stronger mocha flavor.
- Optional whipped cream, cocoa powder, chocolate covered espresso beans. For garnis
Special Tools
- I use a special mini-cheesecake pan with removable push-up bottoms (affiliate link), which I think makes for a lovely presentation. I debated for a long time before buying it, but now I own four!
Step by Step Directions
faMix cookie crumbs with melted butter and mix well.
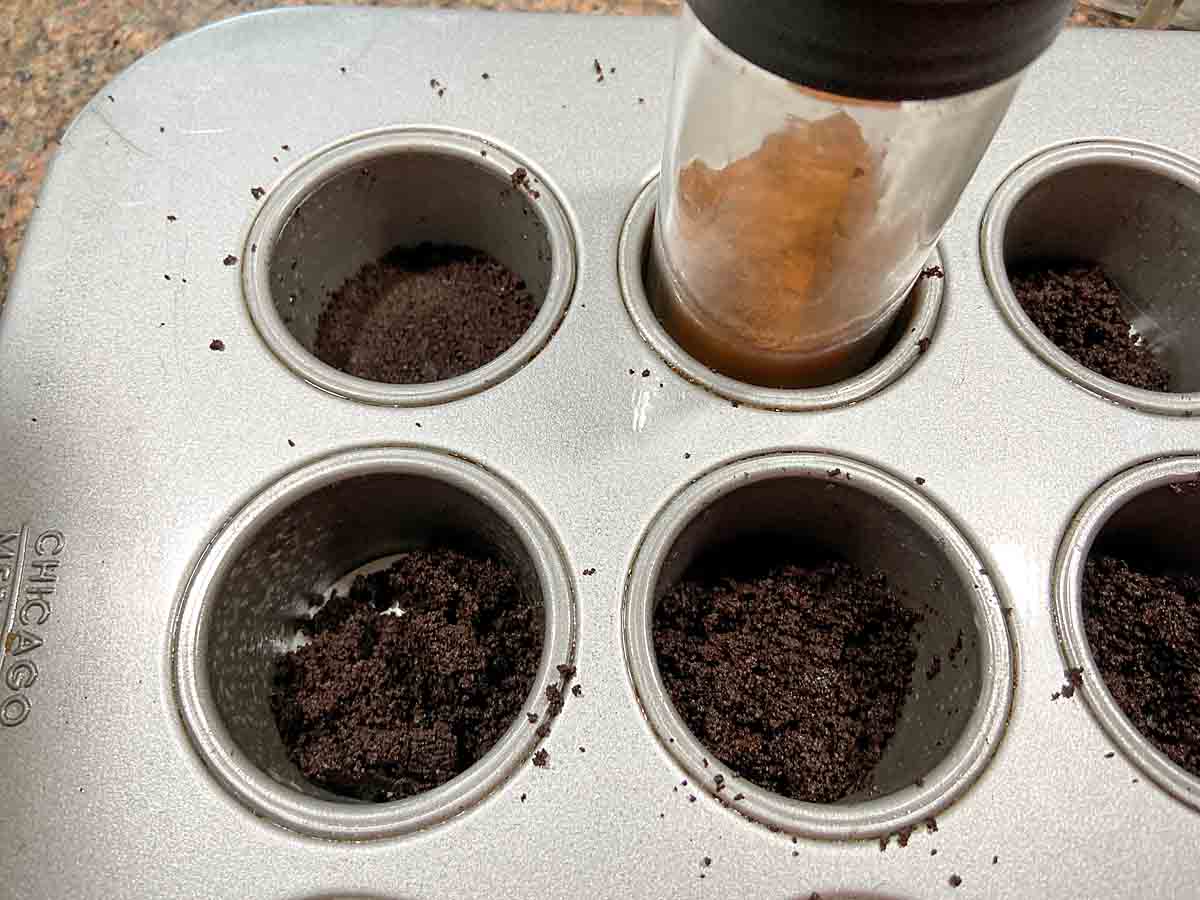
Add about 1 tablespoon of the crust mixture into each of the 12 mini cheesecake wells. Pack down the crumbs using a shot glass or glass spice bottle. Bake crust for 10 minutes in preheated oven.
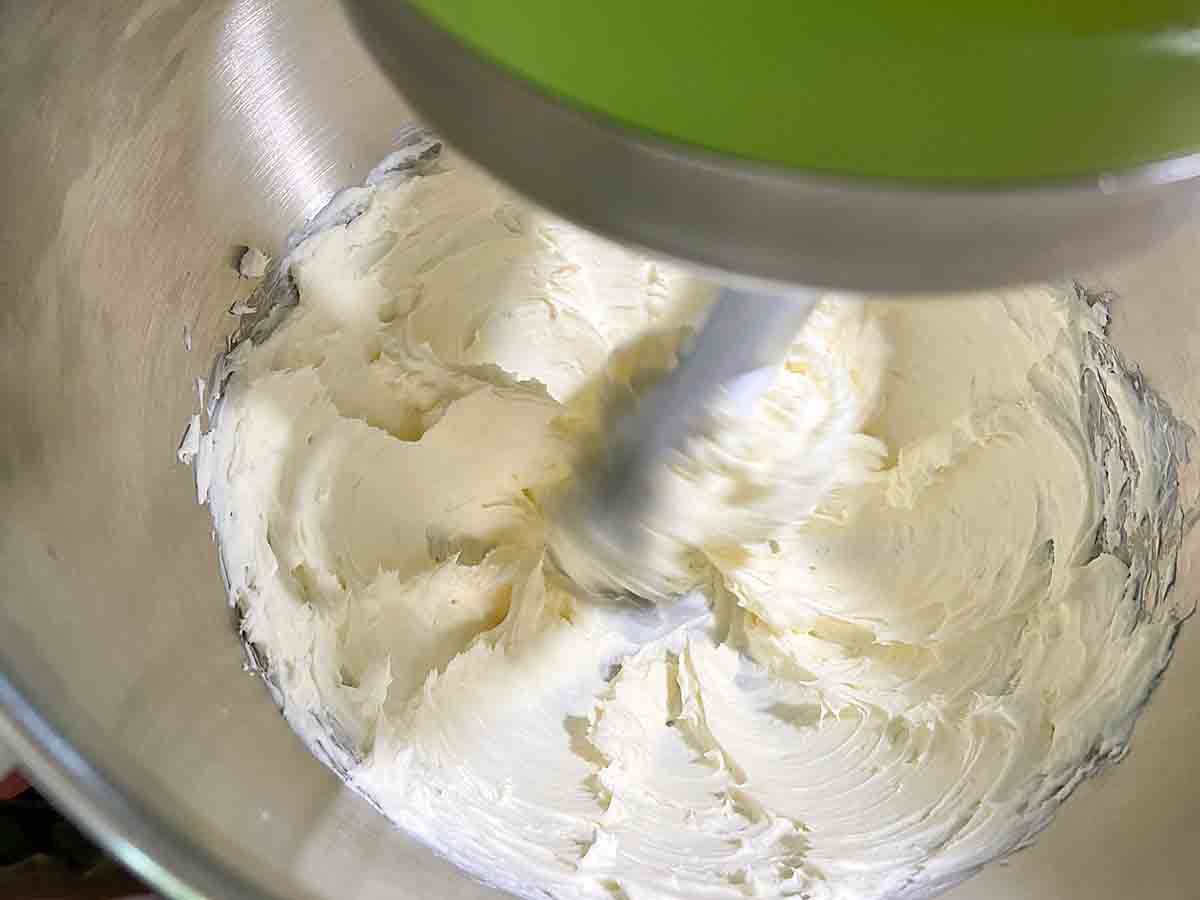
Blend cream cheese until very smooth.
Add sugar and continue to blend until fully incorporated. Add egg and vanilla, and continue to beat, scraping down the sides of the bowl as needed.
Melt chocolate and blend into cheese mixture. Add Kahlua and beat an additional 30 seconds or so.
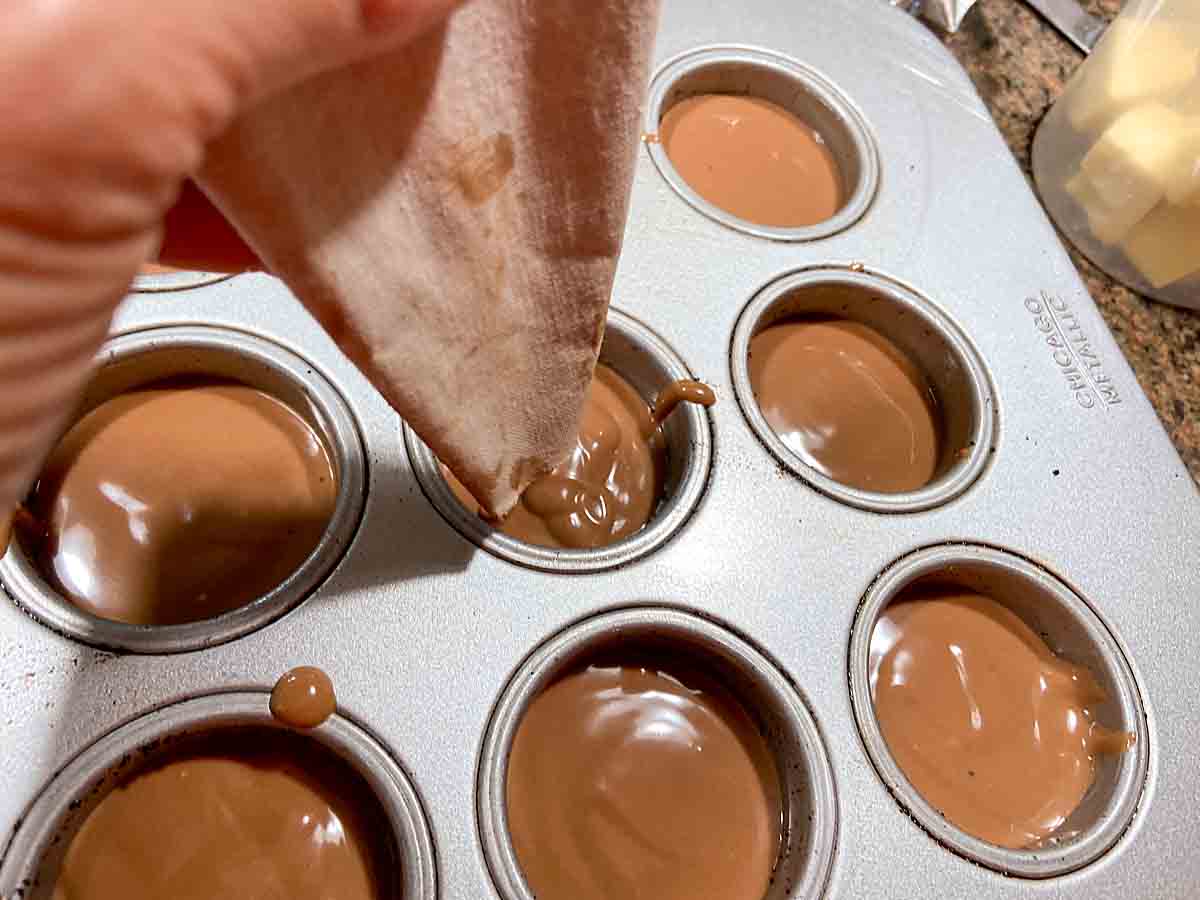
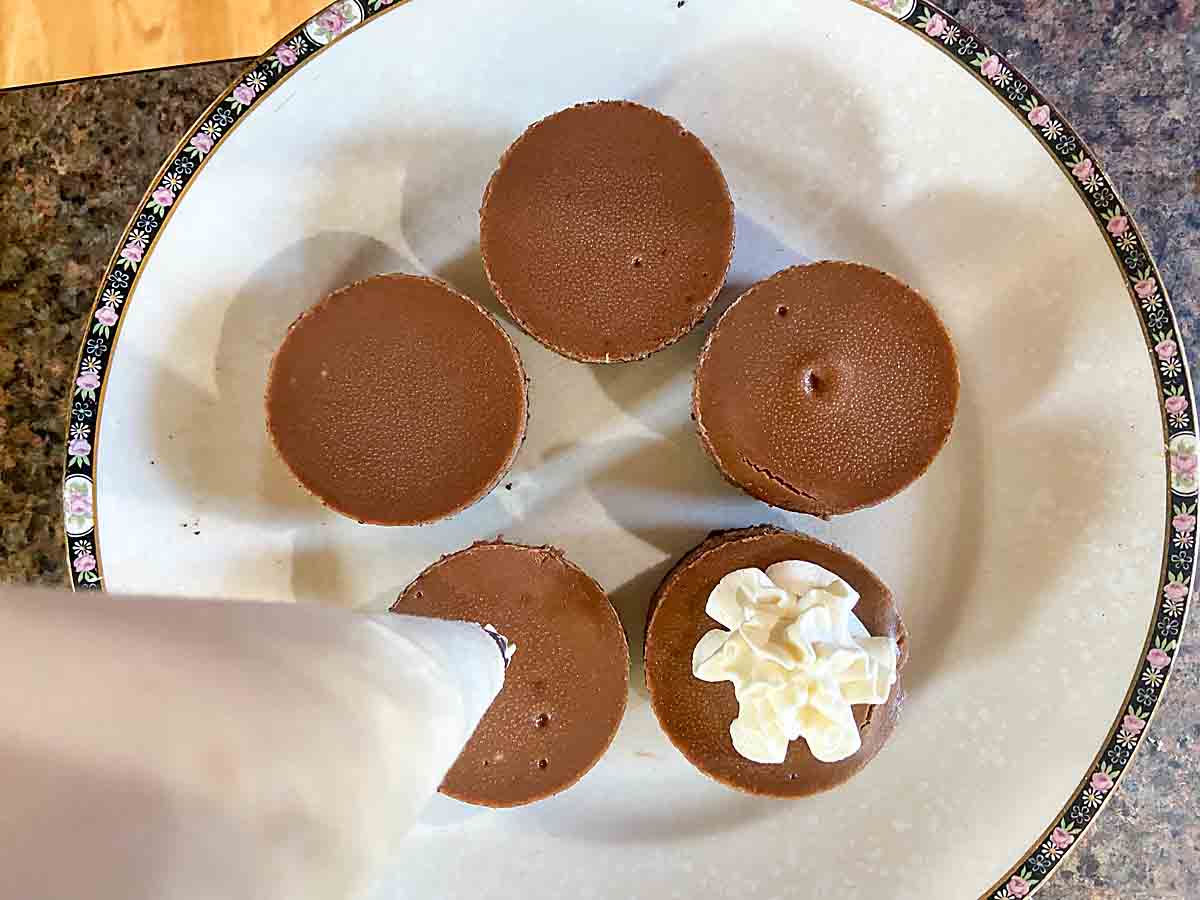
Spoon the cheesecake filling into a piping bag or a ziploc bag with one corner snipped off. Fill each well of the cheesecake pan until almost full.
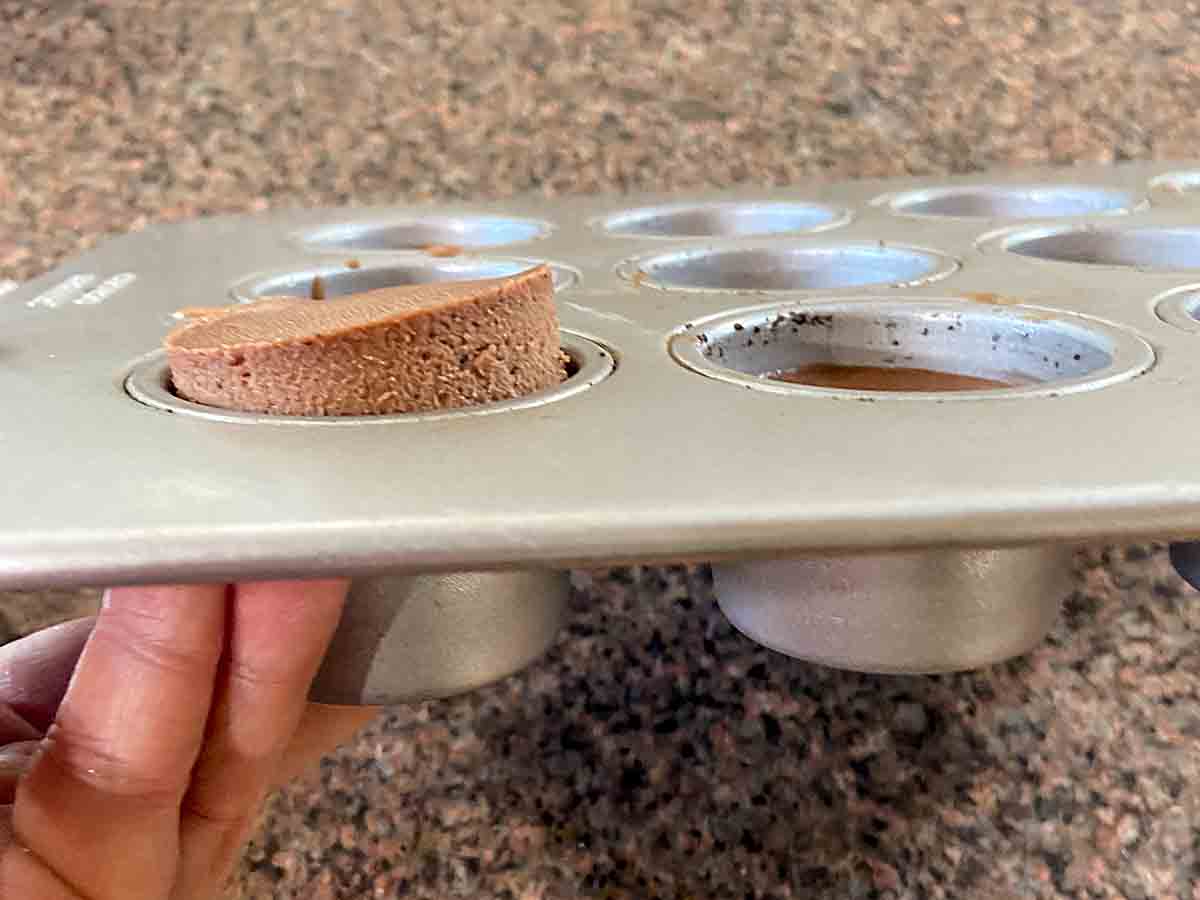
Bake cheesecakes until the filling is set. Once cool, remove the cheesecakes from the pan. Press up on the removable bottom of each well and slide out
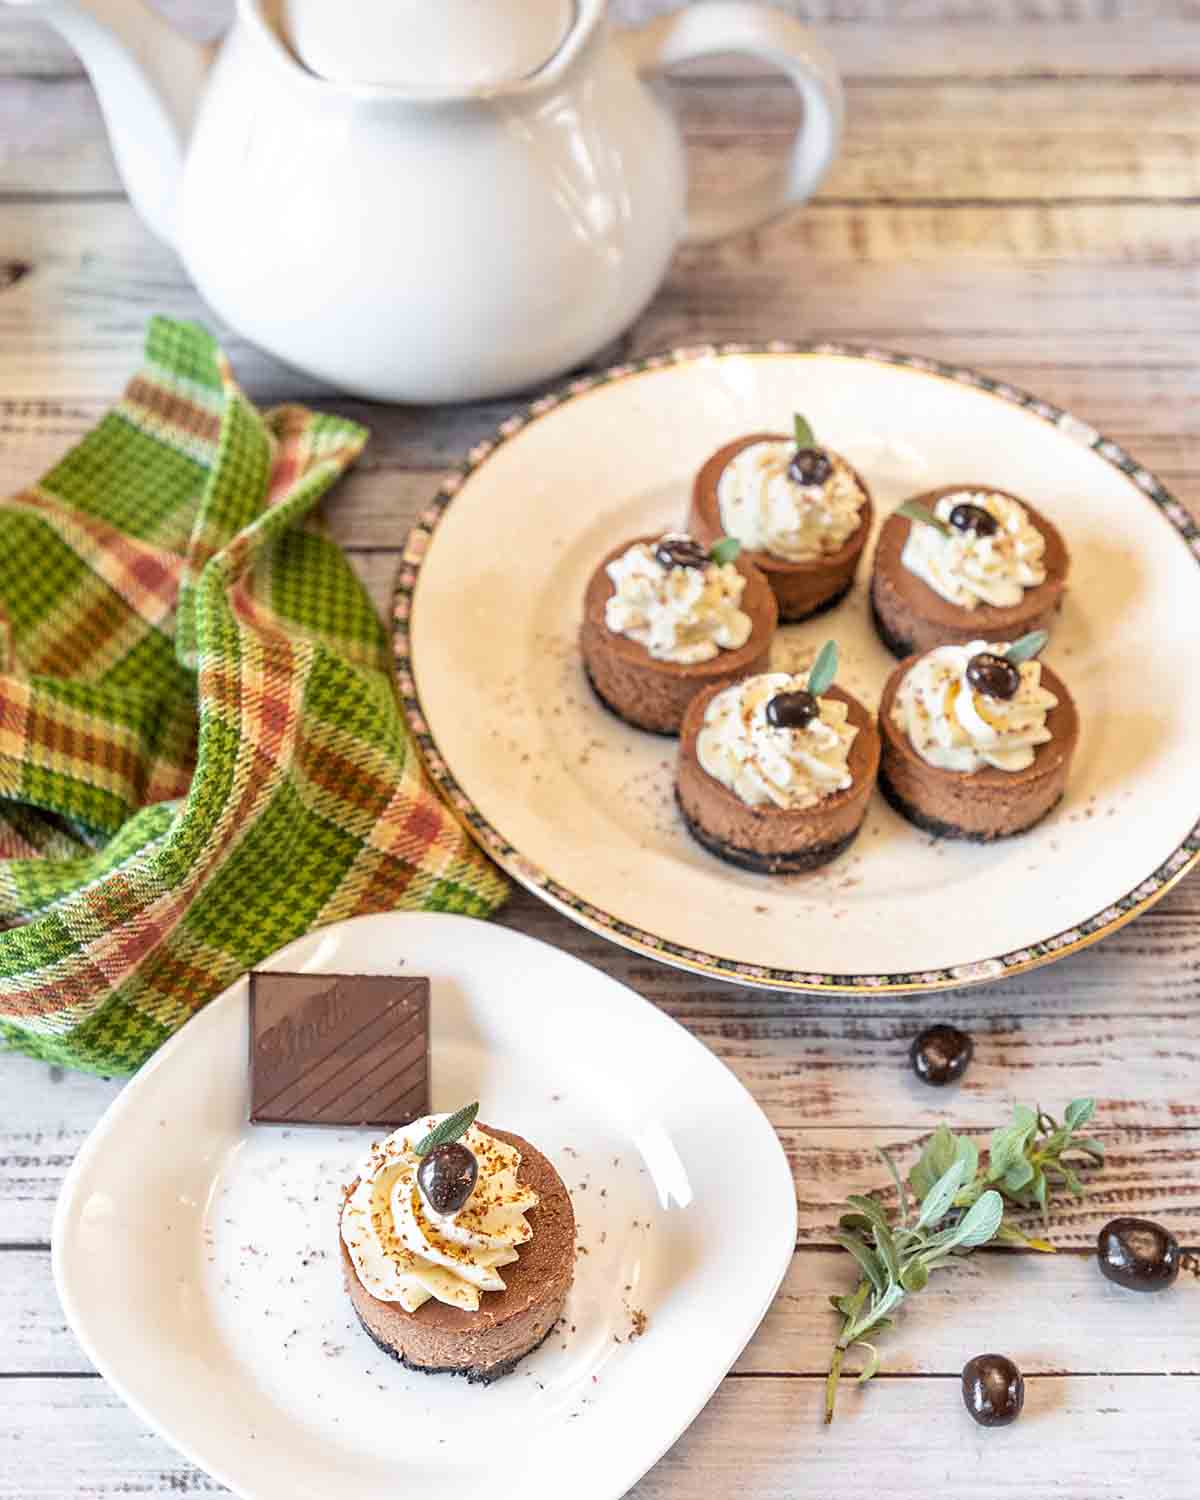
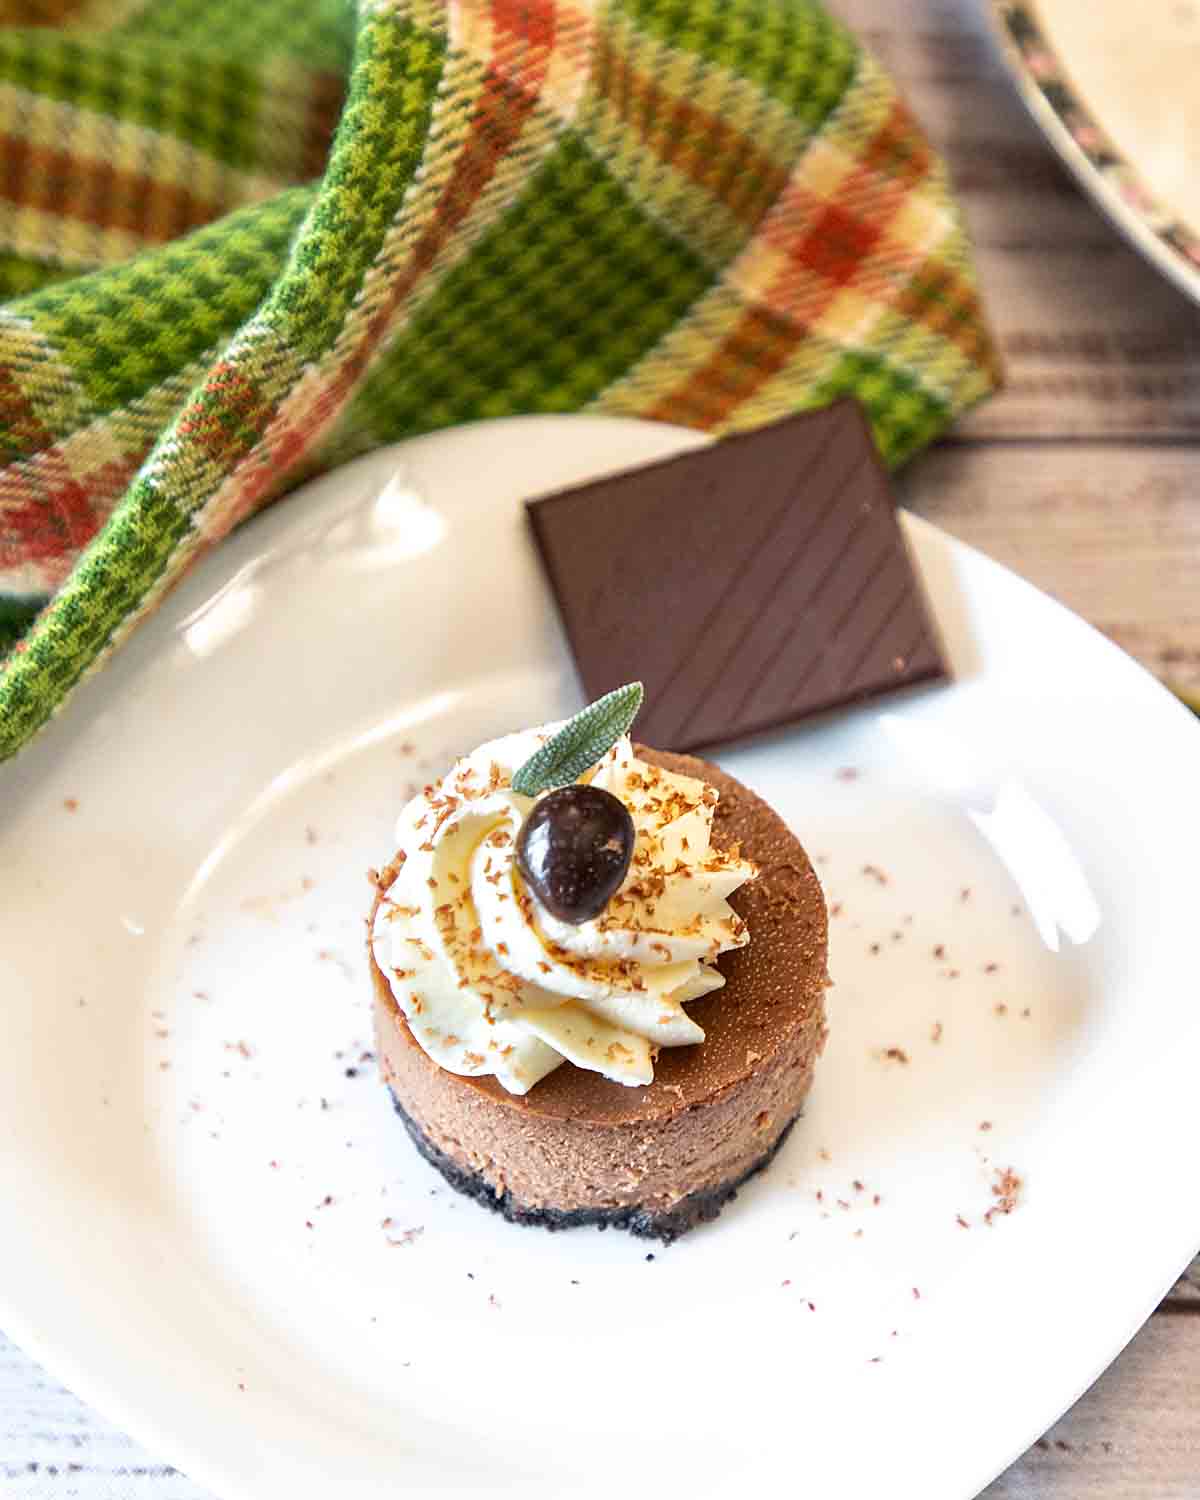
Keep the cheesecakes in the refrigerator until ready to serve. Garnish with whipped cream, a chocolate covered espresso bean and a sprinkle of cocoa powder.
Troubleshooting
One of the major reasons for cheesecake to fail is if too much air is incorporated in the mixing process. This will make it rise high, then sink in the center, sometimes cavernously! While this is a bigger problem for larger cheesecakes, it can happen with minis too. To minimize your risk, don’t use your mixers whisk attachment and mix on low speed.
If your cheesecakes end up sinking slightly despite your precautions, don’t worry. Topping with whipped cream can hide a myriad of sins!
It’s very important to get all the lumps out of your cream cheese before adding the other ingredients to achieve a smooth consistency in your final dessert. If your cream cheese is fully room temperature, this should be no problem. Now if I forget to take it out of the refrigerator, I heat it very briefly in the microwave but taking it out early gets it evenly warm so is definitely superior. The other remedy here is simply beating it longer, (it sometimes feels like ridiculously long to me), still on low and still with the regular, not whisk attachment.
Cracking is another common cheesecake problem, but I find it is rare in mini cheesecakes unless they are very overcooked.
How to Serve
Mocha or Chocolate Mini Cheesecake Bites are perfect for holiday brunches from Easter and Mother’s Day to Thanksgiving and Christmas. They are also lovely at events like book club meetings, garden parties or baby showers. And of course they make a fine light dessert anytime. Especially if you have a stash in your freezer!
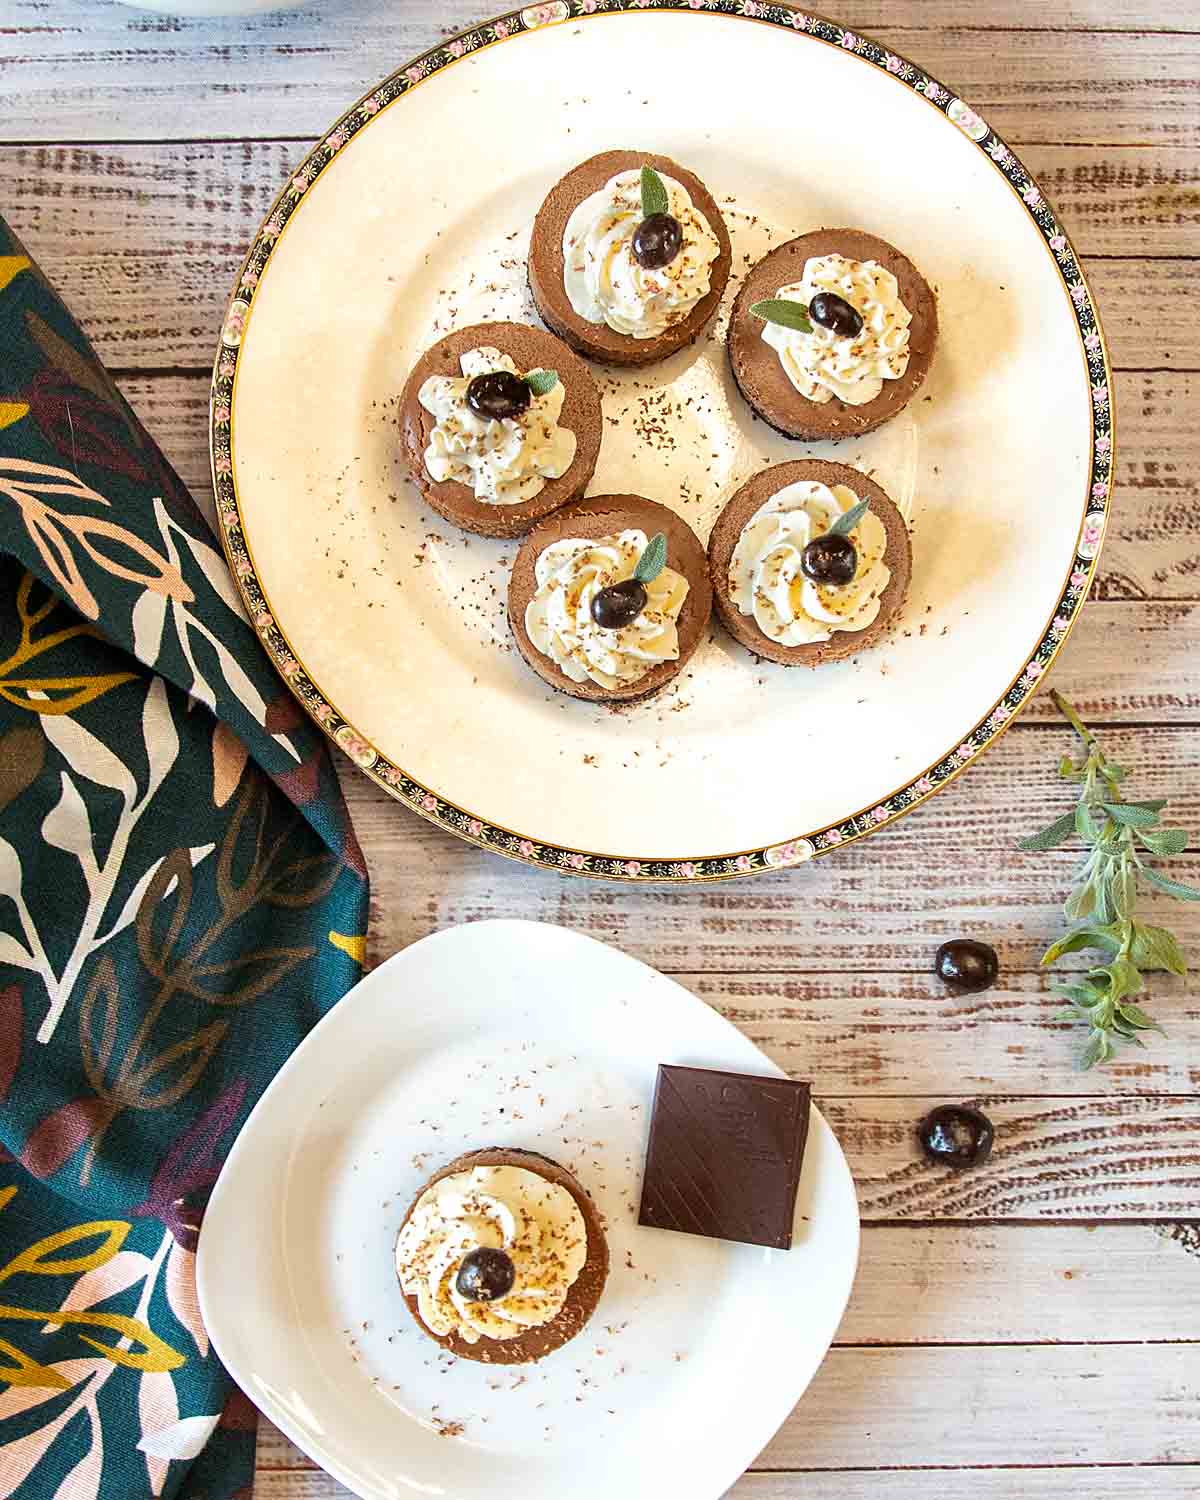
I like to style these with a rosette of whipped cream and perhaps a small mint or sage leaf. Then I’ll add a fine (using a microplane) grating of chocolate or a dusting of cocoa on top. But go wild! I’m thinking of topping the whipped cream with gold star sprinkles for New Years or an Oscar party!
Variations
Mocha or Chocolate Mini Cheesecake Bites convert easily to a gluten free version–simply use gluten free oreos in the crust!
If you’d like to set up a really fun mini cheesecake buffet, take a look at my other mini cheesecake! I also make a Pumpkin Swirl Mini Cheesecake as well as Lemon White Chocolate Mini Cheesecakes and Mini Oreo Cheesecake Bites!
And though I haven’t tried it, you should be able to make minis using cupcake papers inside a mini muffin pan. At that size, the recipe will make more and the cooking time will be slightly shorter.
Or go with a full-sized Coffee Cheesecake or Bailey’s Chocolate Cheesecake.
And for more chocolate goodness, consider a Swiss Roll Cake.
Preparation and Leftovers
If you are keeping these more than overnight without freezing them, the whipped cream on top will be your biggest point of failure. The easiest answer leaving the whipped cream off until you serve. Or consider adding a little gelatin to make a stabilized whipped cream.
Mini Cheesecakes for a Crowd
Mocha or Chocolate Mini Cheesecake Bites freeze very well, whipped cream and all. As I mentioned I did hundreds of mini cheesecakes for my daughter’s garden party wedding. They thaw in as little as 10-15 minutes, making adjusting serving quantities and refreshing the dessert trays a snap. In fact for brief and very stable (not a lot of ins and outs) freezer storage, you can even freeze the chocolate covered espresso beans.
Tips & FAQs
How to fill the pan. Since the well cavities in a mini cheesecake pan are small, it can be a challenge to get the filling neatly into the opening. I will do one of two things depending on the thickness of the batter. If it’s warmer (e.g. summer) and I’ve left the cream cheese out to get completely softened, the batter is usually very runny. Then I put it into a spouted pour container and simply pour it in.
If it’s too thick to pour I will spoon it into a piping bag and use that to fill the cavities. Try to pick the right method because if it’s too runny in the bag, it’s a challenge to keep it from gushing out. (Ask me how I know this 😊)
Decorating with Whipped Cream. If you are decorating with whipped cream, make sure you use heavy cream or whipping cream– a spray version should also be labeled heavy cream. With one lower fat spray, I had my rosettes turn runny before dessert was served! Sometimes I’ll use my stabilized whipped cream (made with a little plain gelatin), which creates an even more stable topping.
Crust Tips. I crushed the oreos in my food processor and was having trouble getting them fully broken down. But once I added the butter and pulsed again they easily crumbled and coalesced into an almost dough-like texture.
The crust is easiest to press in if you are using something very close in size to the opening. They make special tampers and I actually bought one when I mass produced these for my daughter’s wedding. But darned if I could find it now. Happily, it turns out one of my spice jars was almost perfect!

Coffee Is not just for drinking!
- Apple Nutmeg Coffee Cake from Jolene’s Recipe Journal
- Black Coffee Ice Cream from Karen’s Kitchen Stories
- Cappuccino Chocolate Chip Cookies from Palatable Pastime
- Coffee Flavored Macarons from Jen Around the World
- Mocha or Chocolate Mini Cheesecakes from Art of Natural Living
- Mocha Brownies with Cafe Latte Frosting from Hezzi-D’s Books and Cooks
- Red Eye Gravy from That Recipe
We share Recipes From Our Dinner Table! Join our group and share your recipes, too! While you’re at it, join our Pinterest board, too!
Mini Mocha Cheesecakes
Ingredients
Crust
- 11 Chocolate sandwich cookies like Oreos
- 2 Tablespoons butter
Filling
- 3 oz. semi-sweet chocolate chips
- 12 oz. 1 and 1/2 package cream cheese softened
- 1/4 cup sugar
- 1 egg
- 1 teaspoon vanilla
- 1/4 cup Kahlua or Creme de Cacao
- optional whipped cream cocoa powder, chocolate covered espresso beans for garnish
Instructions
- Spray the inside of each cheesecake well with non-stick cooking spray.
- Preheat oven to 350*F.
- Make the crust. Crush the cookies in food processor or plastic bag. Melt the butter and combine with cookie crumbs. Spoon about 1 tablespoon of the crust mixture into each of the 12 mini cheesecake wells. Pack down the crumbs using a shot glass or glass spice bottle. Bake crust for 10 minutes in preheated oven.
- Reduce the oven temperature to 250 F.
- Make the filling. Using an electric mixer on low, blend cream cheese until very smooth. Add sugar and continue to blend until fully incorporated. Add egg and vanilla, and continue to beat. Scrape down the sides of the bowl as needed. Melt chocolate and blend into cheese mixture. Add Kahlua or Creme de Cacao and blend until incorporated.
- Spoon the cheesecake filling into a piping bag or a ziploc bag with one corner snipped off. Fill each well of the cheesecake pan until almost full.
- Place cheesecake pan in the 250*F oven and bake until the filling is set, 22-25 minutes. Cool to room temperature, then place entire pan in the refrigerator about 4 hours before removing cheesecakes from the pan.
- Once cool, remove the cheesecakes from the pan. Press up on the removable bottom of each well and slide the cheesecake bite out. If needed, run a thin knife around the outside to loosen. Keep the cheesecakes in the fridge until ready to serve.
- Garnish with whipped cream, a chocolate covered espresso bean and a sprinkle of cocoa powder.
Notes
Nutrition
Originally published on May 13, 2015





Really good stuff! I like mini desserts — like this cheesecake — because I can say I ate an entire cheesecake. 🙂
BTW, just want to say we’ve just posted our last blog post. I’ve thoroughly enjoyed your blog, and I’ll still be visiting. But we’ve got a lot of activities lined up that will be occupying my time, so my visits will be much more sporadic in the future. Best wishes to you.
I love that you added Kahlua to the filling. These are simply gorgeous and would be great at a dinner party!
I’m a big fan of mini desserts and we always have Kahlua on hand, definitely need to give these a try!
Are these easy to remove from the disc bottoms, or do you serve them without removing them?
These are actually quite easy to remove. They may come right off and if not, just slide a thin knife blade under and that will dislodge them. I hope you enjooy!
Pingback: Scandinavian Apple Cake - Art of Natural Living
These mini cheesecakes are luscious and elegant. The stabilized whipped cream is a great idea so that it stays as beautiful as the rest of the cheesecake.
hi inger, these look terrific and nice having some kahlua in it for an occasion and i can understand why they were irresistible! yeah, you can always link it up with us by writing at the end of the post “..im sharing this post to Bake along 4th anniverary event hosted by me, joyce and zoe” . bye!