
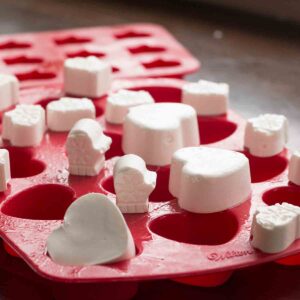
Artisanal Marshmallows–Hearts and Mittens
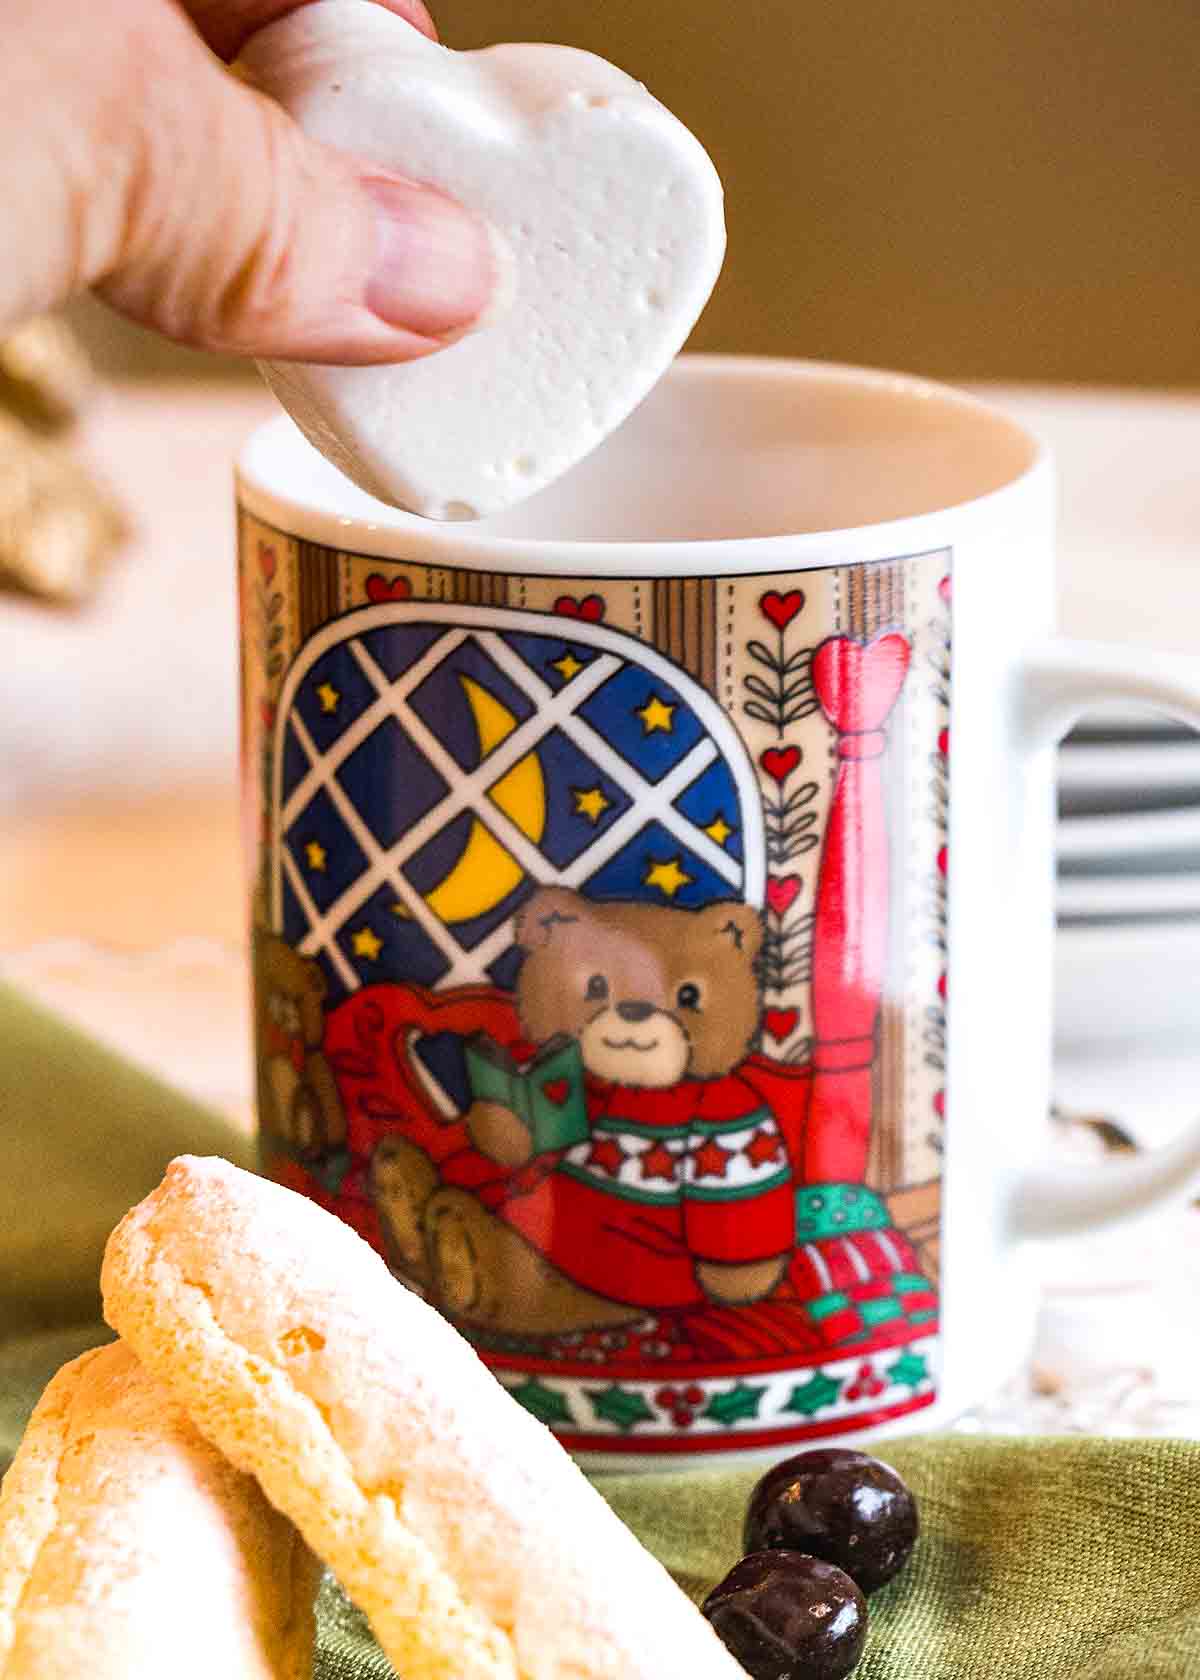
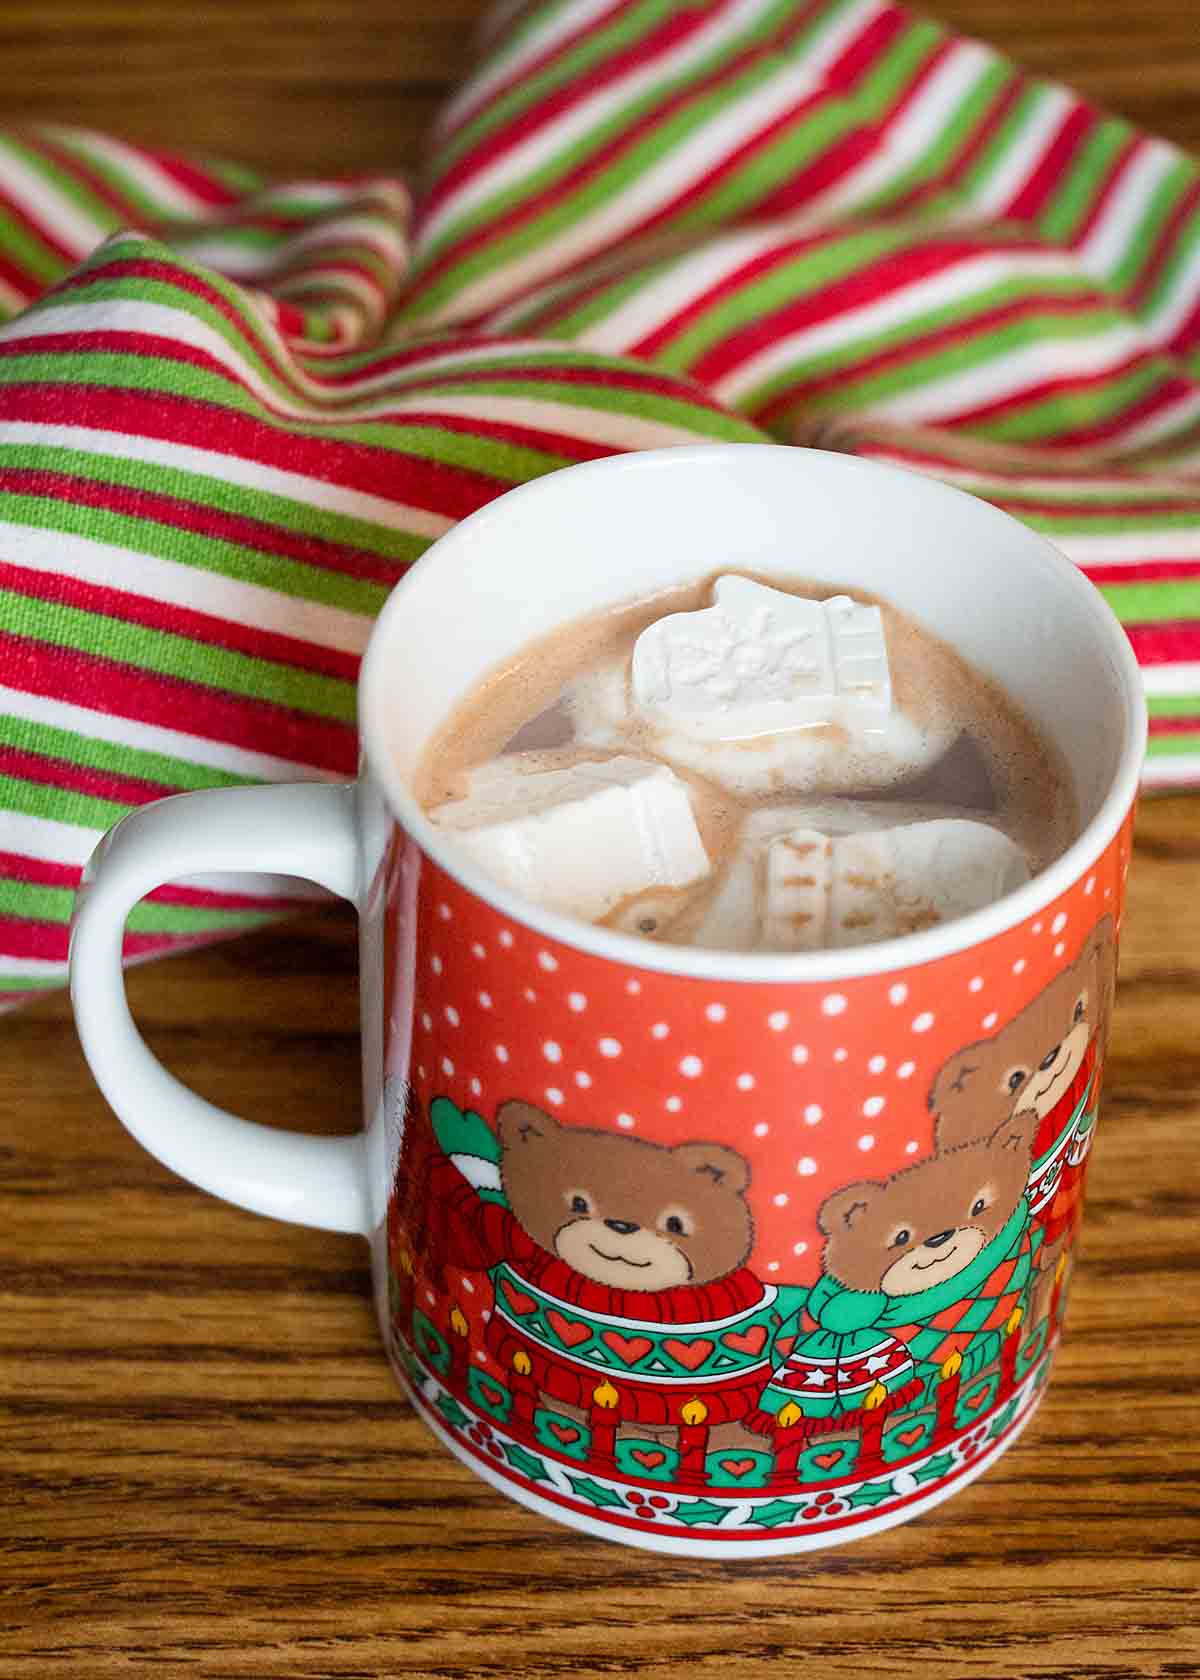
Artisanal Marshmallows shaped as Hearts and Mittens are perfect for winter hot cocoa and so easy to make at home using a silcone mold. Can life get much cozier?
I got the idea to try making Artisanal Marshmallows after I went shopping at Michaels one year and discovered some cute little mitten molds made of silicon. I didn’t know what I was going to use them for, but they were too much fun (and too inexpensive) to pass up.
I also had some heart molds, so I decided to make marshmallow hearts and marshmallow mittens to go from Christmas to Valentine’s Day and all winter!
Yes, I’ve made marshmallows a few times and it’s always been fun. From peeps at Easter to summer campfire marshmallows, it’s easier than you’d think!
Why You’ll Love This!
Cute & Creative. Pick shapes to match whatever occasion you’re celebrating or get creative with add-ins like colorful sprinkles.
Tasty. Homemade artisanal marshmallows are delicious and can put your hot cocoa over the top!
Control your ingredients. You can even go organic if you want!

What You’ll Need
Ingredient Notes
- Water. This helps dissolve the sugar and keep it from burning as it melts. It is also used to soften the gelatin.
- Sugar. This sweetens the marshmallows and adds bulk.
- Corn syrup. This is used in candy making to help prevent crystallization. Although I haven’t tried it, golden syrup should also work if you can’t have or prefer to avoid corn syrup.
- Gelatin. This helps the marshmallow gel and stabilize.
- Vanilla extract. This adds flavor.
Special Equipment
- You should have a candy thermometer or instant read thermometer to check the temperature of the syrup.
- Silicone molds with small compartments in the shape of your choice.
Step by Step Directions
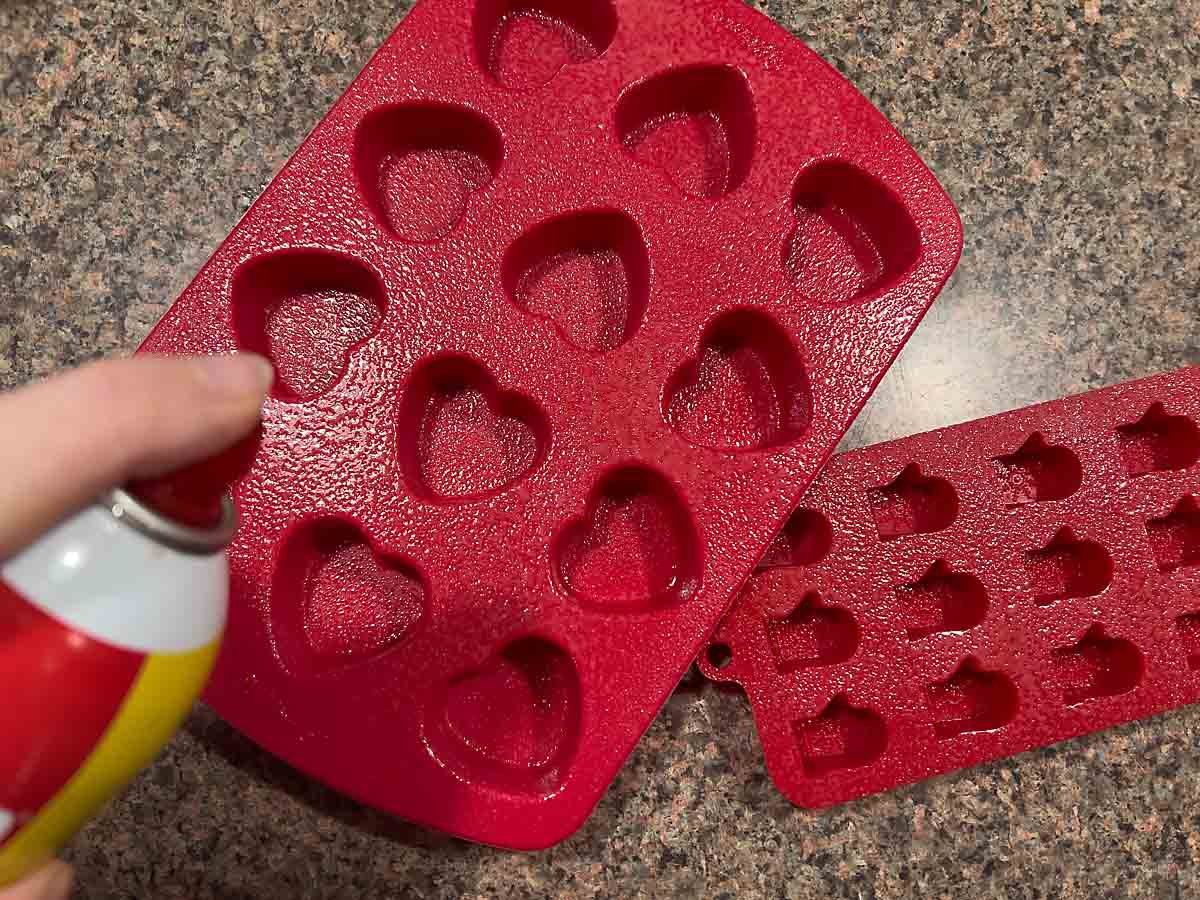
Lightly spray inside of your silicone mold(s) with non-stock spray.
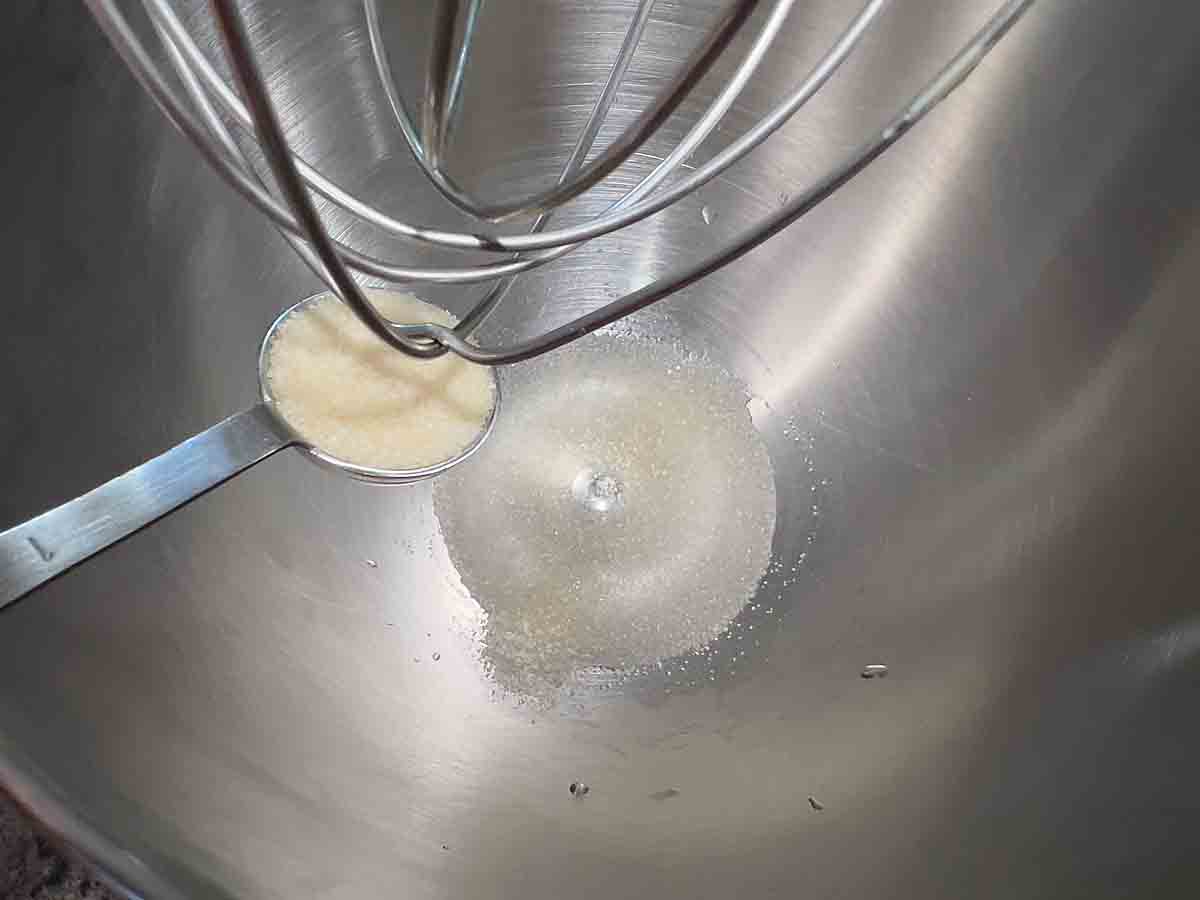
Combine gelatin and 2 Tablespoons cold water in a mixer bowl. Let the gelatin soften at least 10 minutes. Add vanilla to the gelatin.
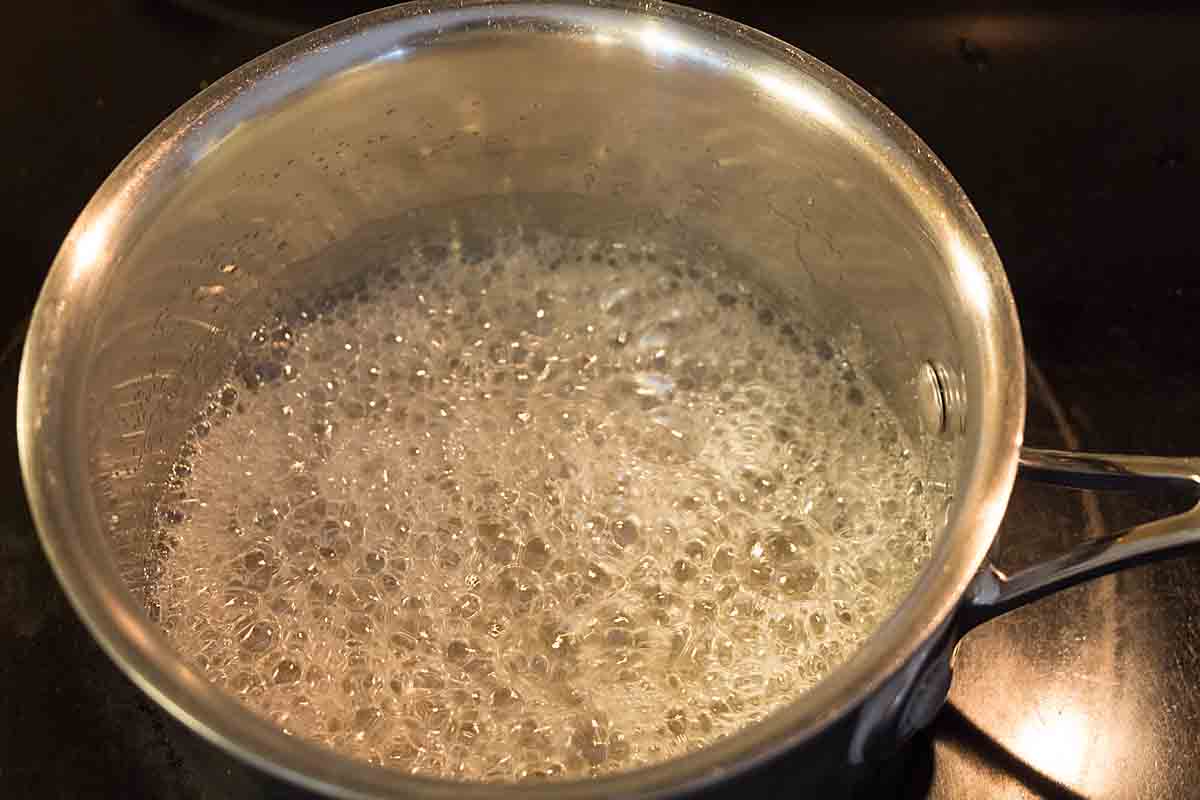
Combine granulated sugar, corn syrup and 2 Tablespoons of water in a small saucepan over medium heat and stir until sugar is dissolved. Continue to cook to 240° F
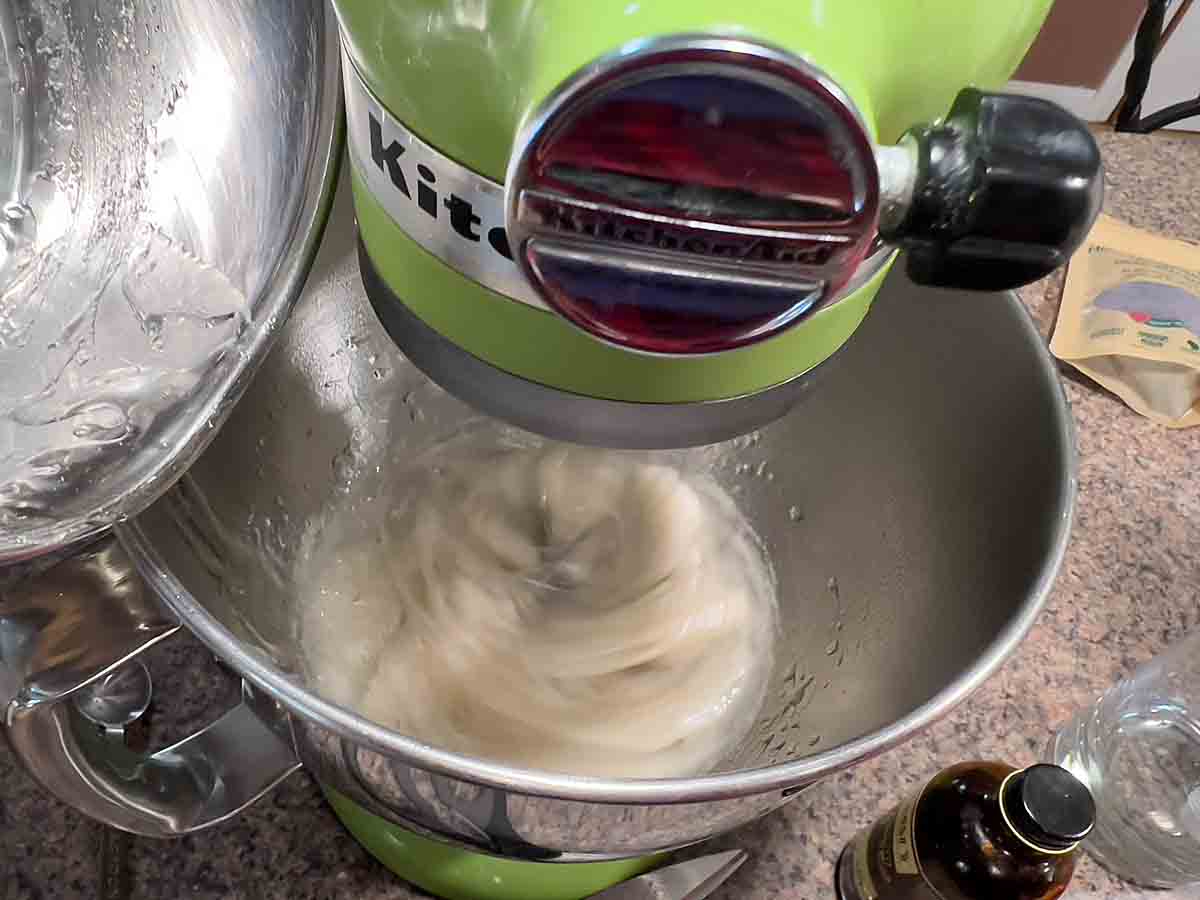
When the sugar mixture reaches 240° F, gradually pour syrup into the bowl with the gelatin. Beat on high speed until the mixture is thickened and white but still slightly viscous (to spread into mold corners), about 5 minutes. Mixture will double in volume. The only trick is not letting your marshmallow get too hard as you beat it. Then it can spread out a little and fill up the edges of the mold as it hardens.
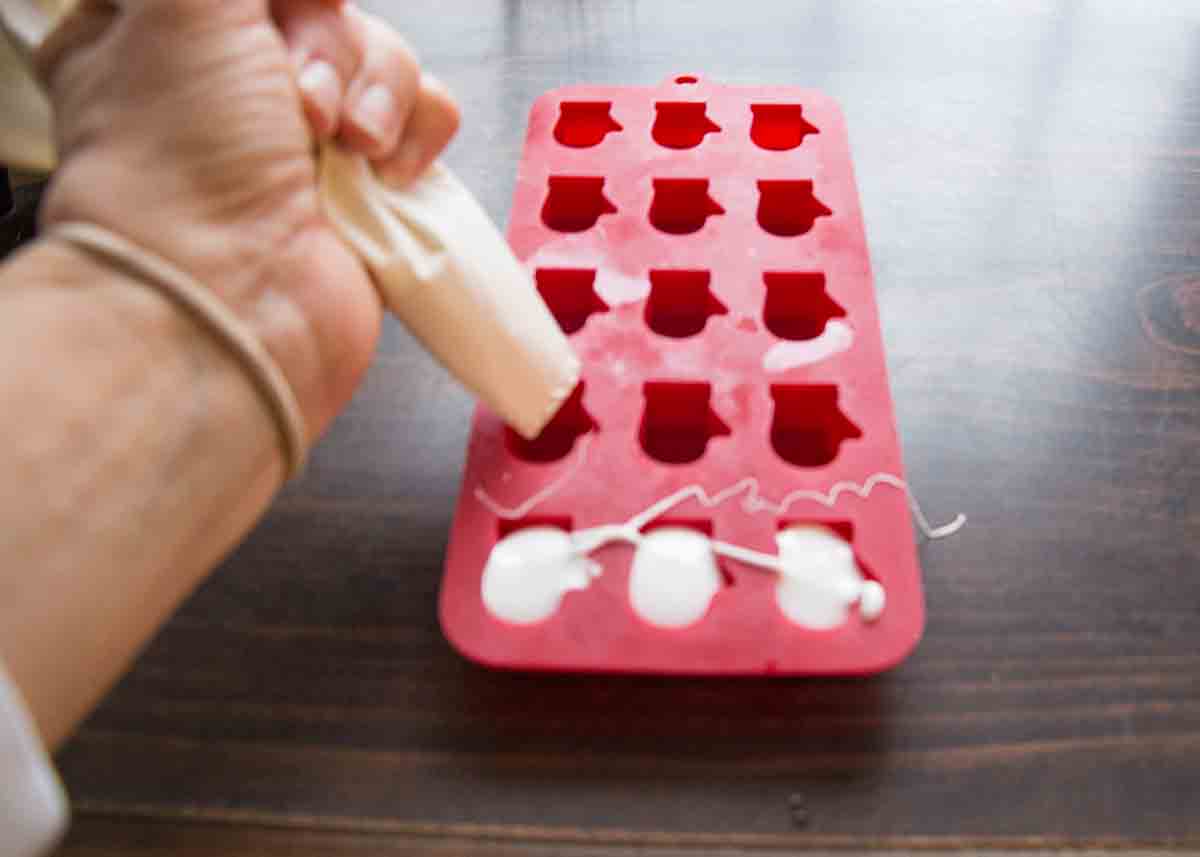
Scrape the marshmallow into a piping bag or zip loc bag (cut out the corner after filling zip loc if using). Pipe into prepared molds.
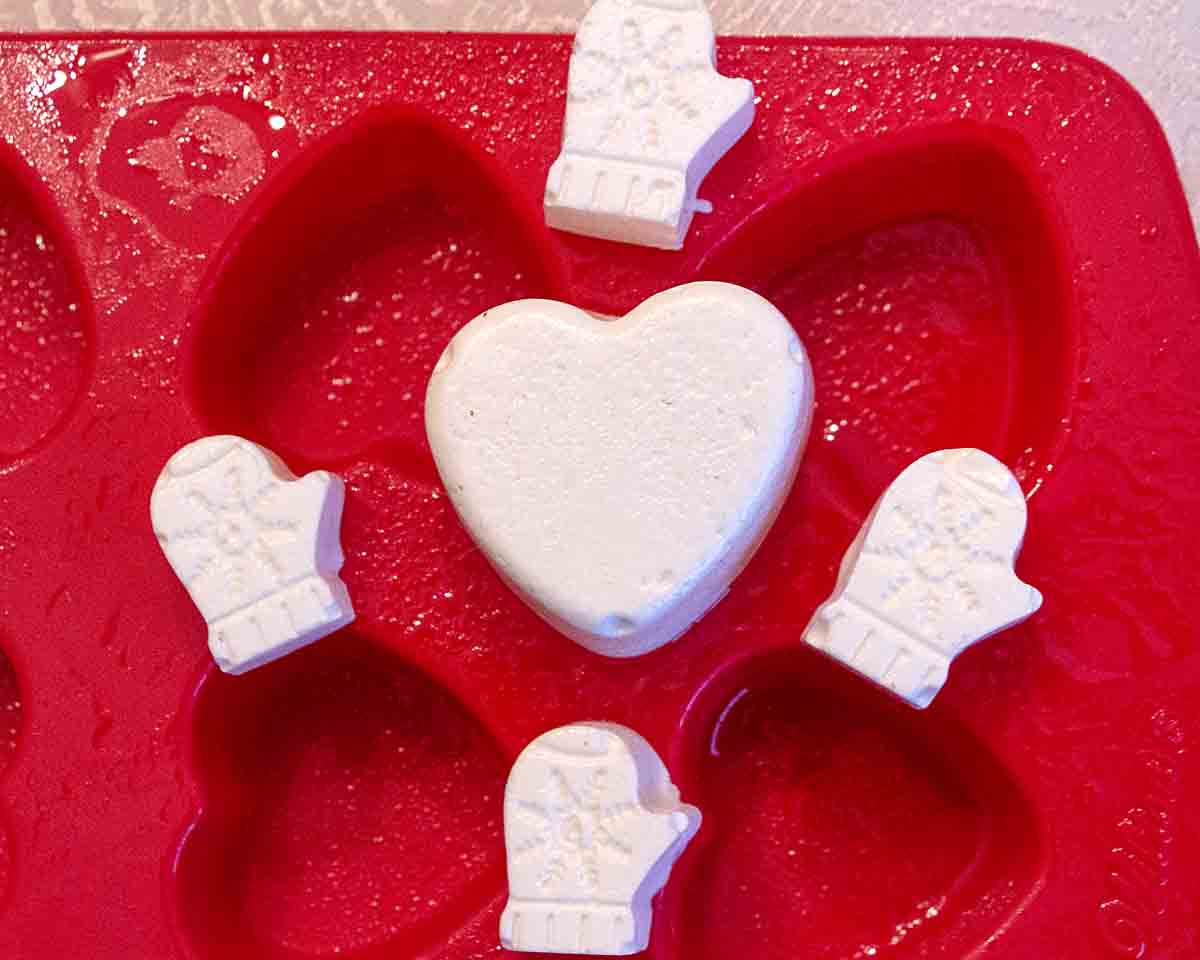
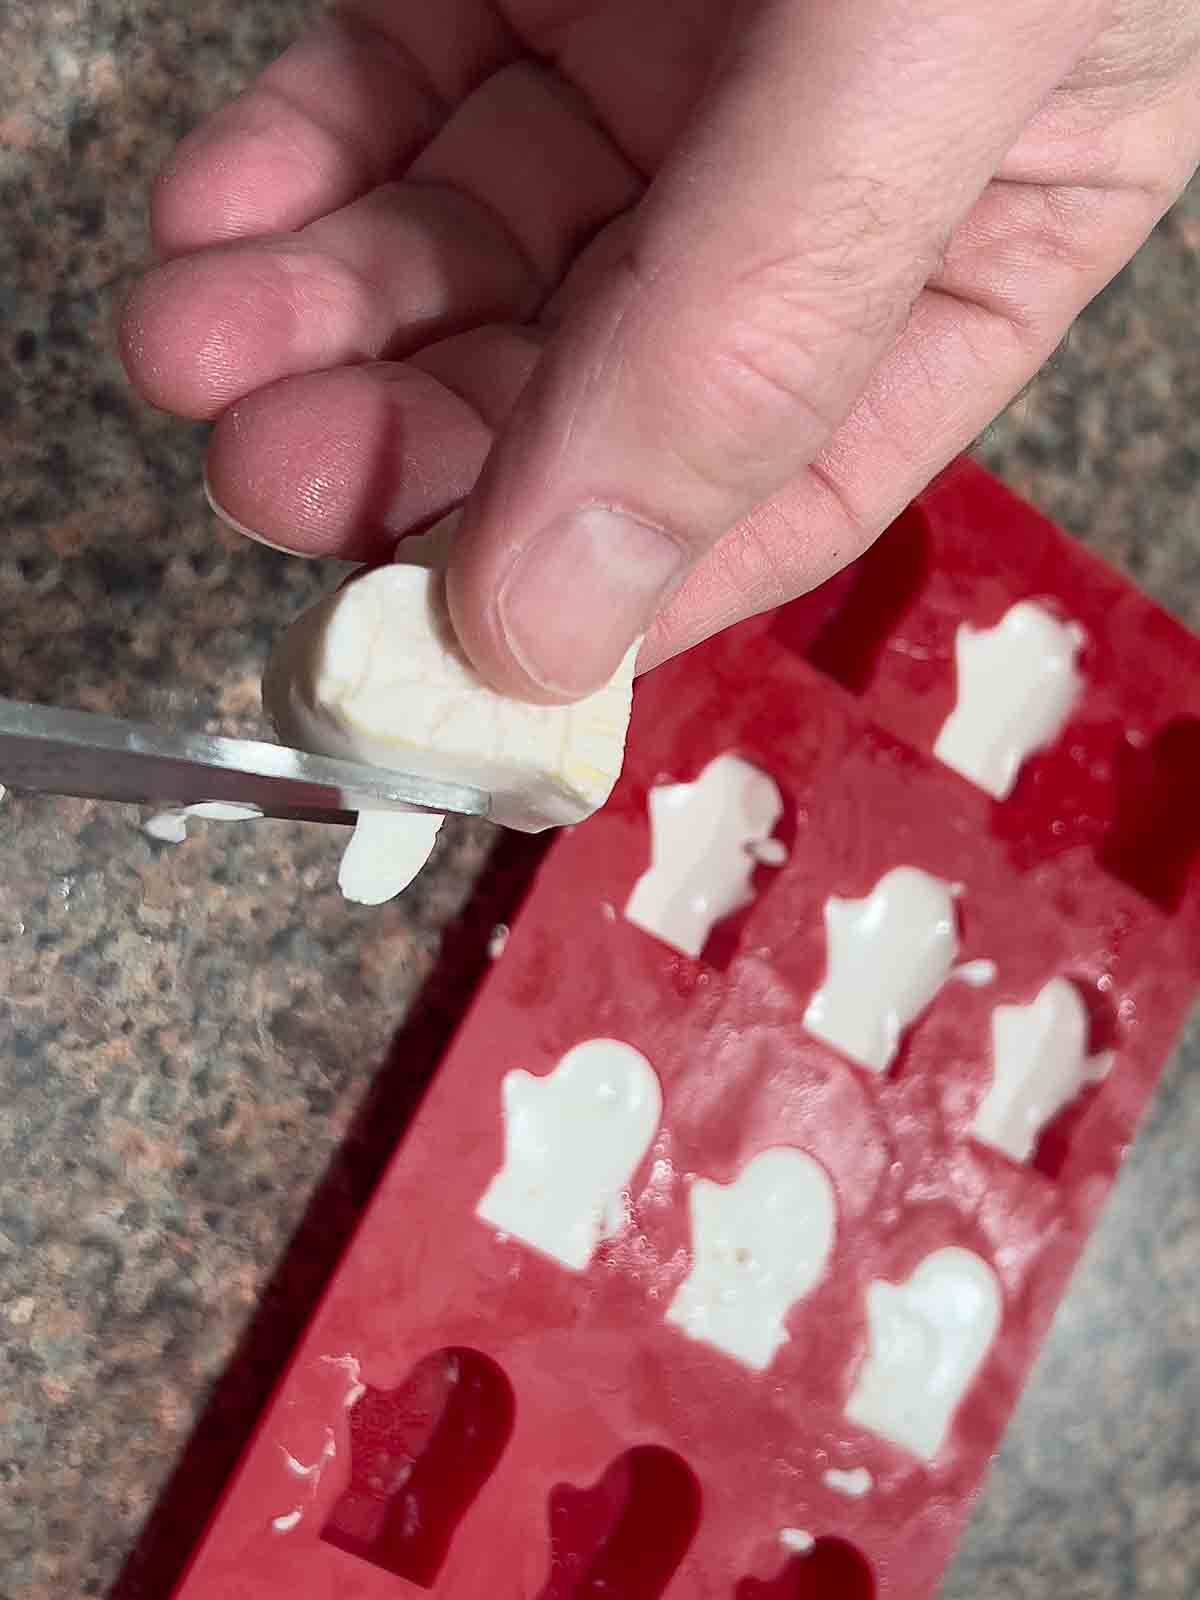
Let marshmallows sit in molds for about 6 hours. Invert mold cavity and pull gently to release marshmallow if needed.
How to Serve
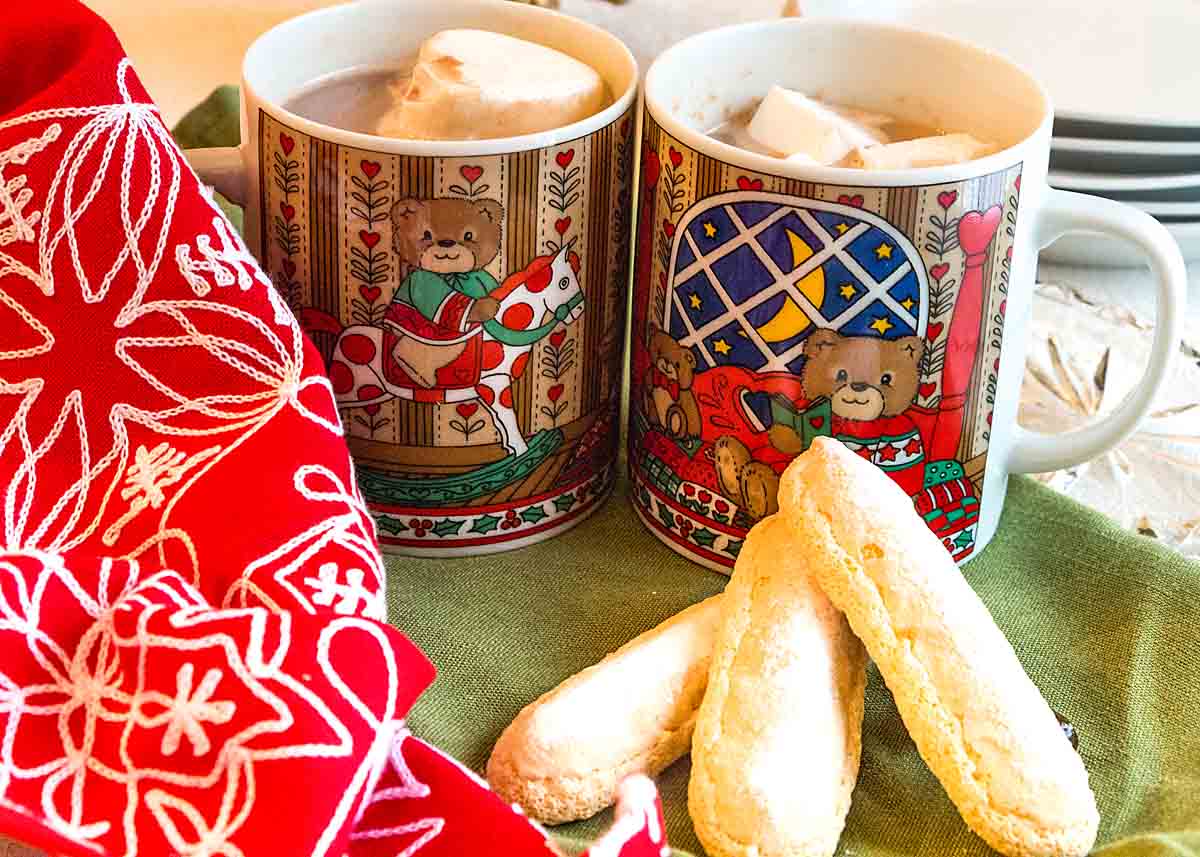
Add one or more of these fun Christmas marshmallows to your hot cocoa.
Of course you could always just eat some plain as a snack!
Variations and Special Diets
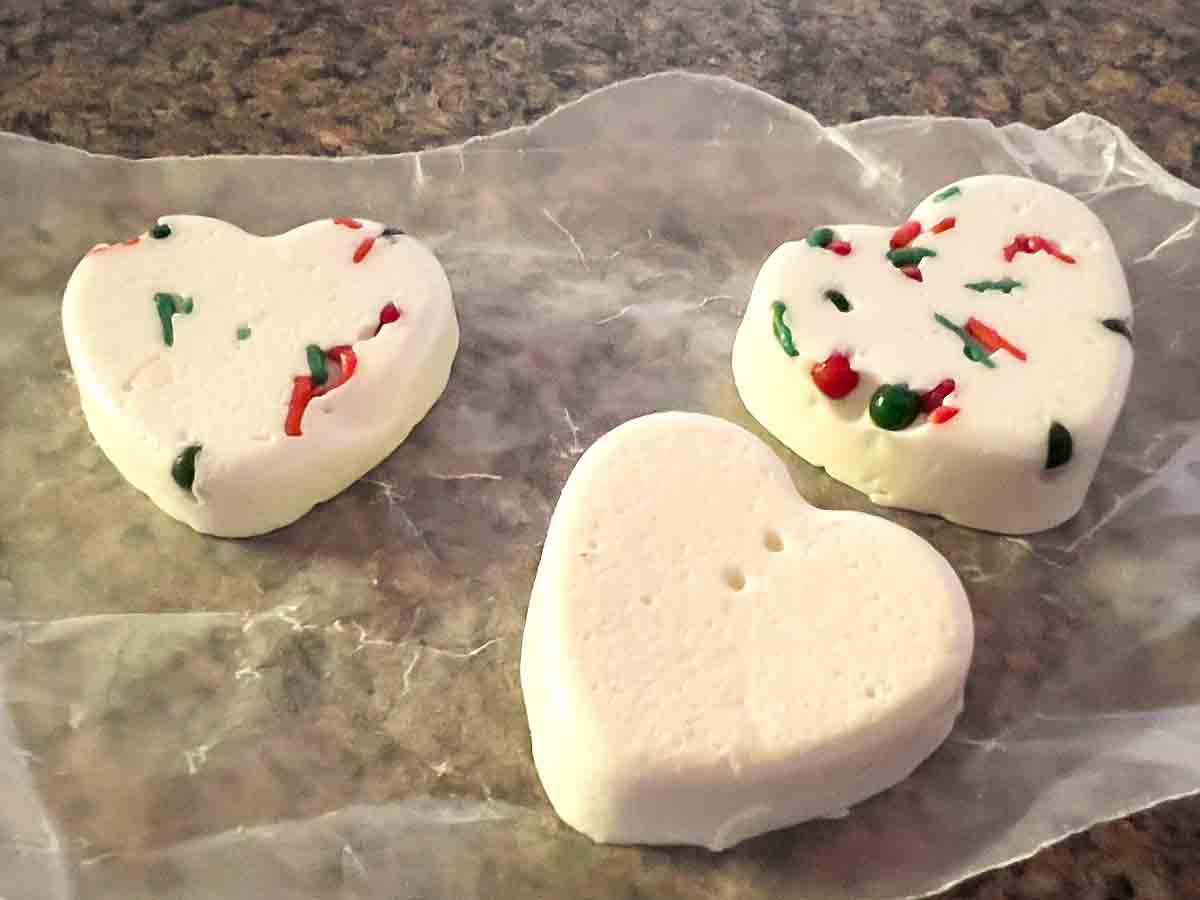
You can have lots of fun getting creative with artisanal marshmallows. One option if to make confetti marshmallows by dropping colorful sprinkles in the bottom of the mold, before you pipe in the marshmallow mixture.
This time I color coordinated for Christmas but you can change up the color for another occasion, school colors or even a gender reveal.
Or add flavor and crunch by dropping in some crushed candy canes instead of the sprinkles .
How to Store
You need to let your artisanal marshmallows harden in the molds for about 6 hours.
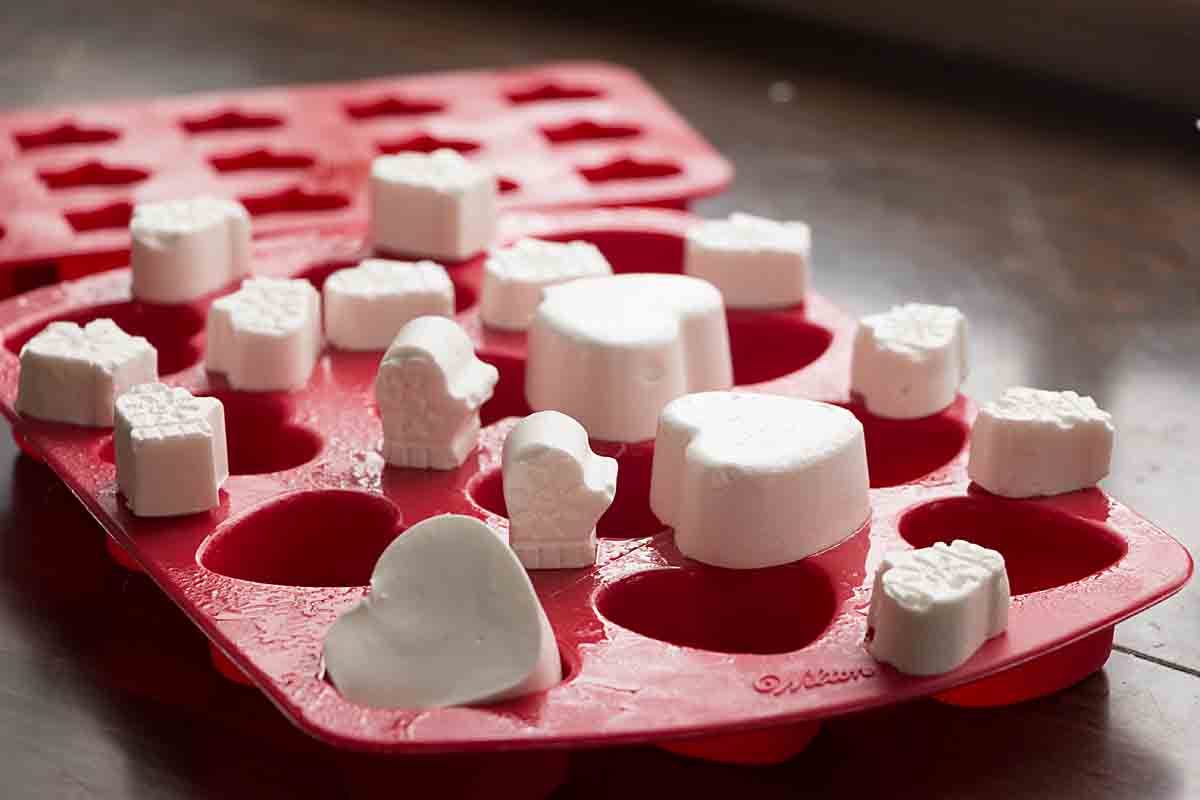
And if you unmold them and let them sit uncovered overnight, they even lose a lot of their outer tackiness!
After this I store them in a Pyrex container with a piece of wax paper between each layer. As of today, mine are 5 days old and still look good.
Tips & FAQs
If you decide to go the organic route on these, the only source of organic gelatin that I’ve found is GoBio! out of Canada (not a sponsored post). I buy a big bag every couple of years and make sure I always have it around.
If you don’t have a piping bag, you can fill a zip loc bag then cut off a corner.
To fill a piping bag, I like to set the bag in a tall glass, so I have both hands free. I make sure to fold the tip end over at the bottom of the glass, so the marshmallow doesn’t run out while I’m filling the bag. I also fold over the top of the bag to shorten it so I don’t have to get the molten marshmallow mix down too far in the piping bag.
As you move the piping bag from one mold compartment to the next, you’re likely to get some “dribbles” of marshmallow across the mold. I’ve like to wipe that up when I’m finished piping. Then I don’t have little strings or bulges on my marshmallows when you unmold them.
But don’t worry if you forget or can’t for some reason though. Though a little bit more work, you can also cut any excess off with a scissors after unmolding.

More Creamy Cocoa Recipes for Cold Days
-
-
- Dulce de Leche Hot Chocolate from Palatable Pastime
- Homemade Malted Hot Chocolate Mix from The Spiffy Cookie
- Mexican Hot Chocolate from That Recipe
- S’mores Hot Chocolate from Hezzi-D’s Recipe Box
- White Hot Cocoa Mix from Jen Around the World
-
We share Recipes From Our Dinner Table! Join our group and share your recipes, too! While you’re at it, join our Pinterest board, too!
Artisanal Marshmallows

Ingredients
- 2 Tablespoons cold water
- 1/2 cup granulated sugar
- 2 Tablespoons light corn syrup
- 2 teaspoons unflavored gelatin
- 2 Tablespoons water
- 1 teaspoon vanilla extract
Instructions
- Lightly spray inside of your silicone mold(s) with non-stock spray.
- Combine gelatin and 2 Tablespoons cold water in a mixer bowl. Let the gelatin soften at least 10 minutes. Add vanilla to the gelatin.
- Combine granulated sugar, corn syrup and 2 Tablespoons of water in a small saucepan over medium heat and stir until sugar is dissolved. Continue to cook without stirring to 240° F
- When the sugar mixture reaches 240° F, gradually pour syrup into the bowl with the gelatin. Beat on high speed until the mixture is thickened and white but still slightly viscous (to spread into mold corners), about 5 minutes. Mixture will double in volume.
- Scrape the marshmallow into a piping bag or zip loc bag (cut out the corner after filling zip loc if using). Pipe into prepared molds
- Let marshmallows sit in molds for about 6 hours. Invert mold cavity and pull gently to release marshmallow if needed.
Notes
Nutrition
Originally posted Feb 10, 2019.
I’ve never made homemade marshmallows before. But I love the idea of putting them in silicone molds for shapes instead of trying to use cookie cutters.
Such a fun idea! Did you spray the inside of your piping bag before filling with Marshmallow?
I do not spray the inside of the piping bag. I use a reusable bag and the inside is coated and not a problem. I think disposable bags would probably be fine too, though I haven’t tried them. Hope you enjoy making these!
I love homemade marshmallows and these have such cute shapes!
Yes, the options are endless if you make your own!
Can you add food color to the marshmallow?
Yes, that shouldn’t be a problem. Have fun!
how perfect! if i were ever going to make my own marshmallows, something i haven’t attempted yet, i’d definitely be using them for hot chocolate purposes!
Perhaps this will be a future project with the kids 🙂
Oh Inger, these marshmallows are so cute…and yes, perfect for hot cocoa…thank you so much for the recipe…
Thanks Juliana! They were fun to make too!
Love the idea of making homemade marshmallows in silicone molds… I would have thought they’d stick badly!
I was pretty nervous at first too David! But the non-stick spray, plus the ability to invert the mold really does the trick.
I love that it made the imprints of the moulds. Did you use ordinary powdered gelatine here?
I was pleased and surprised when I saw the detail! Yes, it is just regular powdered gelatin.