Tasty Homemade Fudgesicle
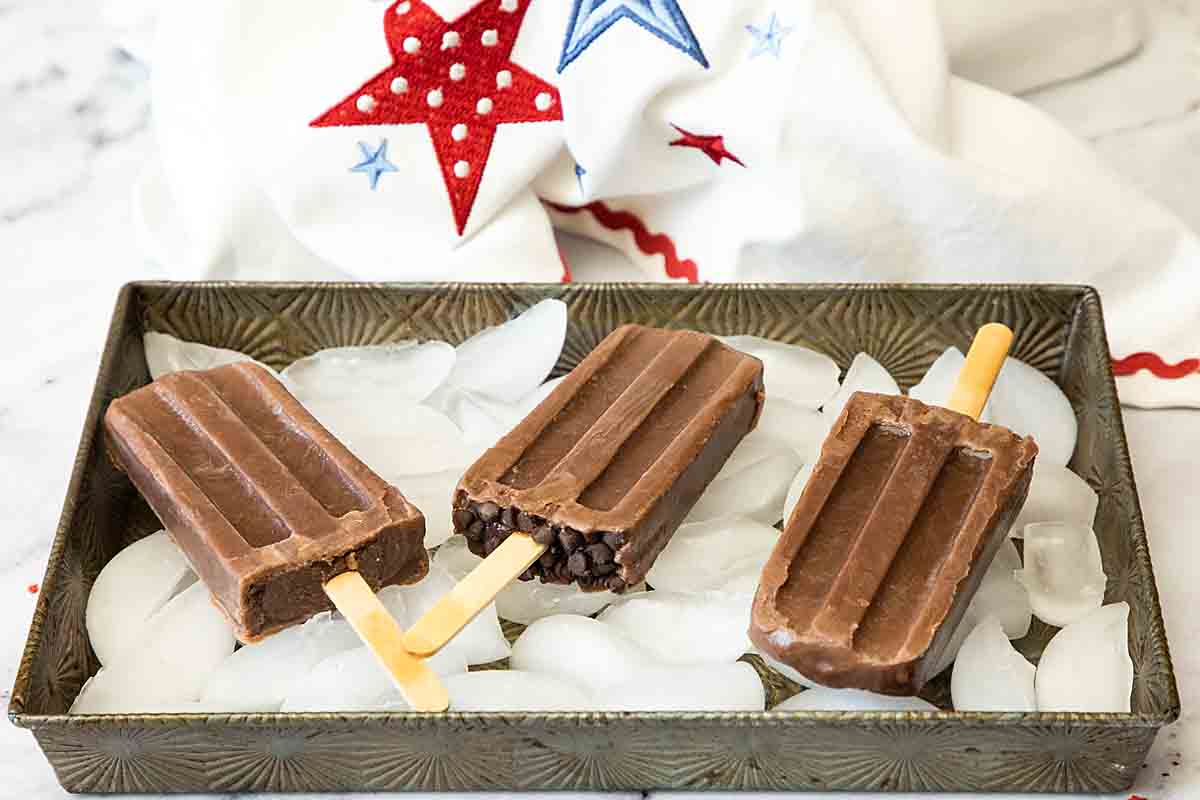
Creamy, chocolatey and frosty, a Homemade Fudgesicle is a delicious summer dessert or snack. And so easy to make at home!
Okay guys. I admit it took me a few tries to get this right.
You see, I’m from Wisconsin–and we’re picky about our ice cream. And while technically this isn’t ice cream, it’s still a frozen dairy product. And that means I’m not giving you a bar of ice crystals. Not a chance.
So four tries later, I think it’s creamy and delicious. Yes, it’s not quite as light as the commercial fudgesicle. But then I don’t use any ingredients that you can’t identify without a degree in food chemistry!
I’ll take it!
What is a Fudgesicle?
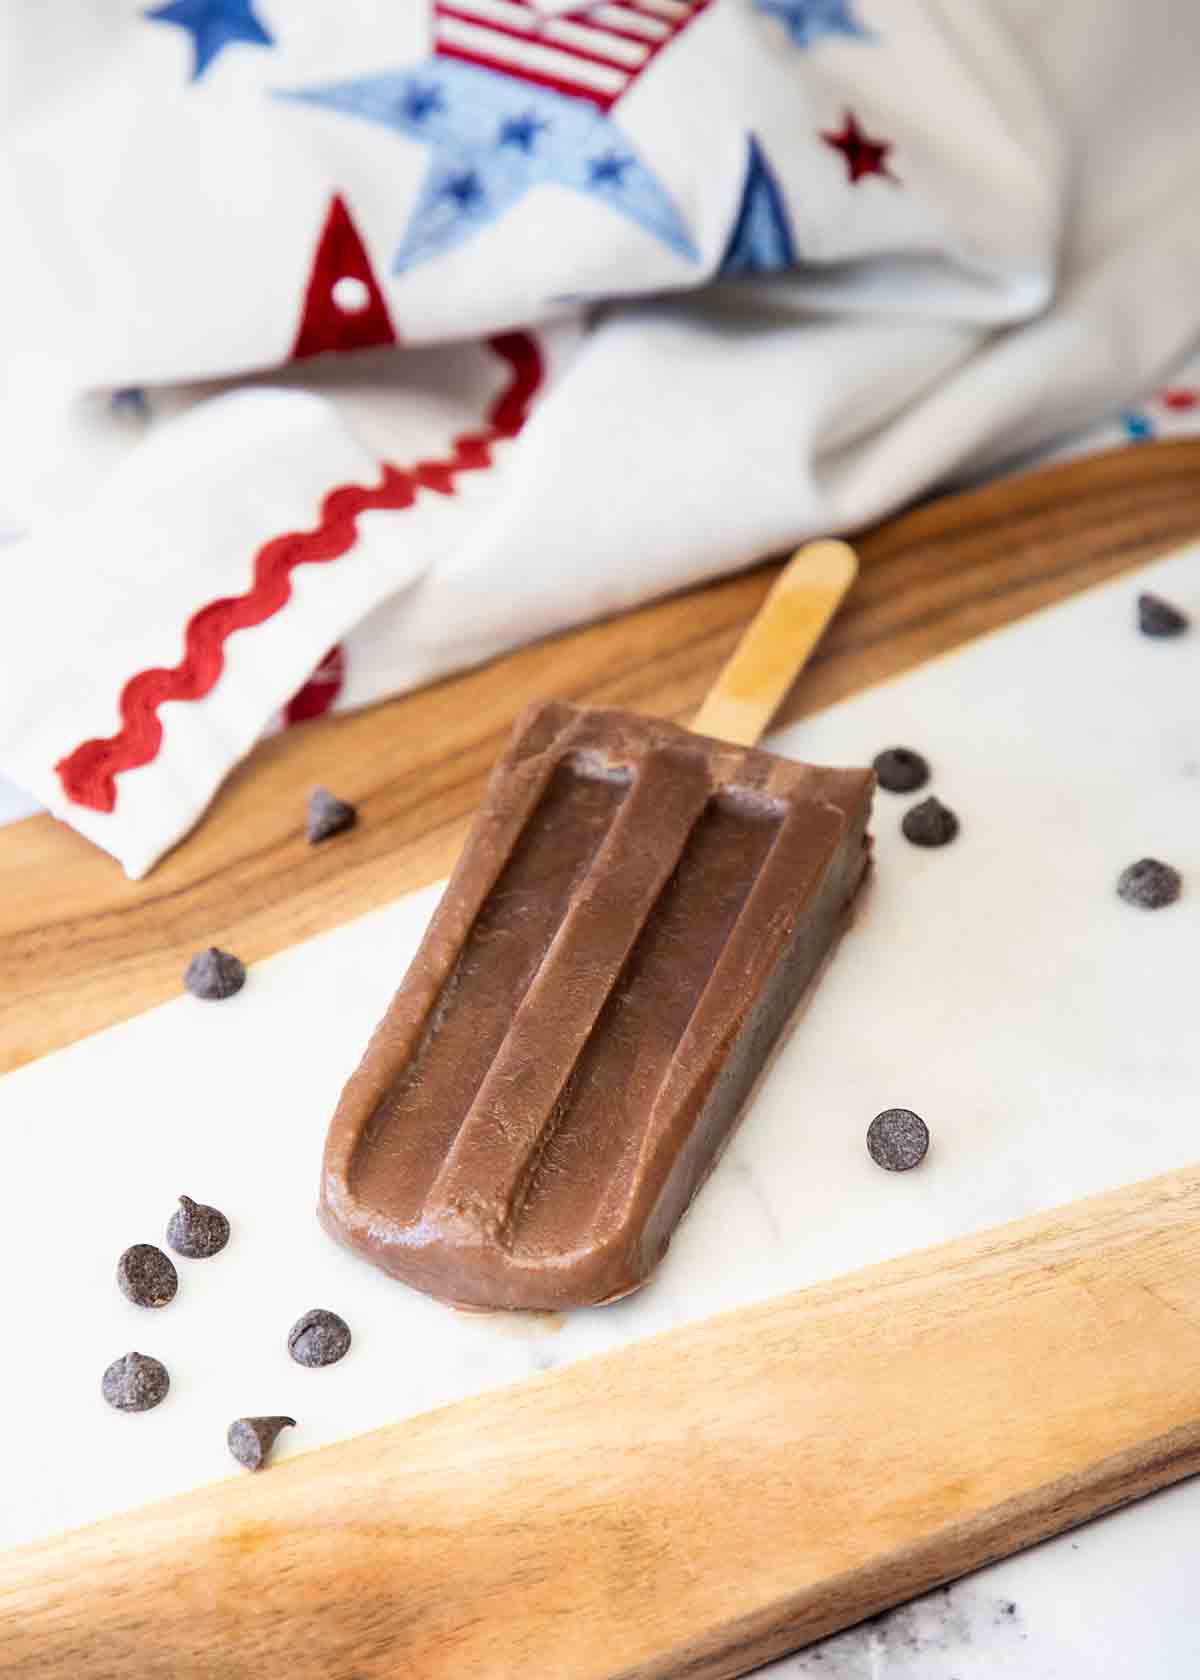
The Fudgesicle is a frozen dessert pop that’s like a chocolatey cousin to the popular Popsicle. Kind of like a chocolate fudge pop. They’re even produced by the same company.
Now when you analyze it, this is actually a chocolate pudding pop, because it’s thickened with corn starch. In this way it’s similar to my vanilla pudding pop. But everyone knows this frozen treat by it’s brand name!
In creating my fudgesicle recipe, I actually started with my hot cocoa since I knew I liked the flavor. Then I added cornstarch to thicken, along with melted chocolate to reduce the ice crystals. Yum!
Why You’ll Love This!
Tasty. How do you beat creamy chocolate flavor!
Refreshing. Frosty and cold, this is a perfect treat for a hot summer day!
All Natural. With real chocolate and milk, this is an all natural treat!
What You’ll Need
Ingredient Notes
- Cocoa powder. This gives it some of its chocolatey goodness.
- Cornstarch. This is the main thickener.
- Sugar. This adds sweetness.
- Salt. Salt is a flavor enhancer and reduces bitterness and yes, the teeny bit in here actually improved the flavor.
- Milk. Milk, provides the creamy base for the fudgesicle. Whole milk (or a mixture of lower fat and cream) will give you a creamier bar with fewer ice crystals.
- Vanilla. This adds flavor.
- Chocolate chips. These are melted and mixed in to substantially reduce the level of ice crystals and increase the chocolate flavor.
Special Tools
- You’ll need a popsicle mold, unless you want to go with the dixie cup method. In that case, you’ll need small dixie cups to hold the chocolate mixture and popsicle sticks.
- A funnel can help you fill the molds neatly but isn’t necessary.
Step by Step Directions
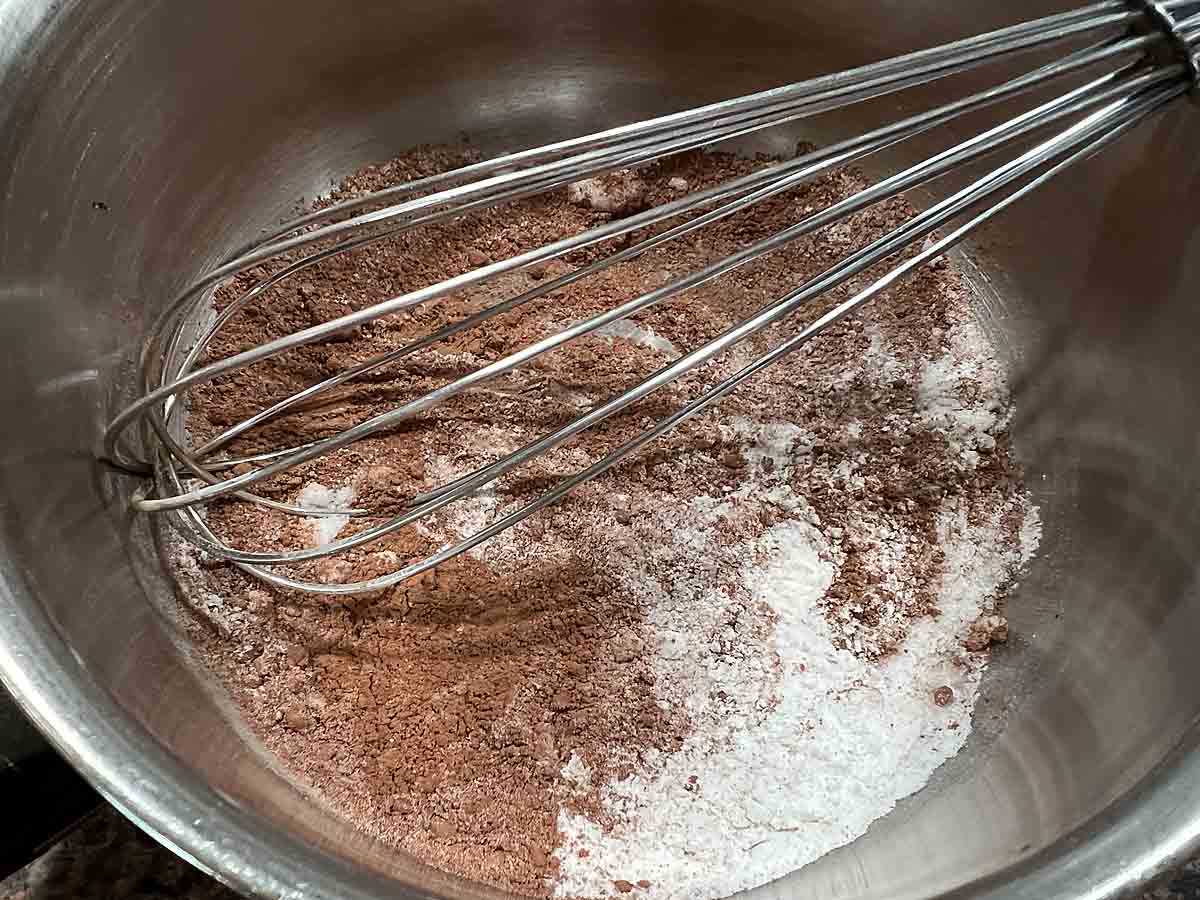
Mix together the cocoa powder, cornstarch, salt and sugar, stirring to eliminate any lumps.
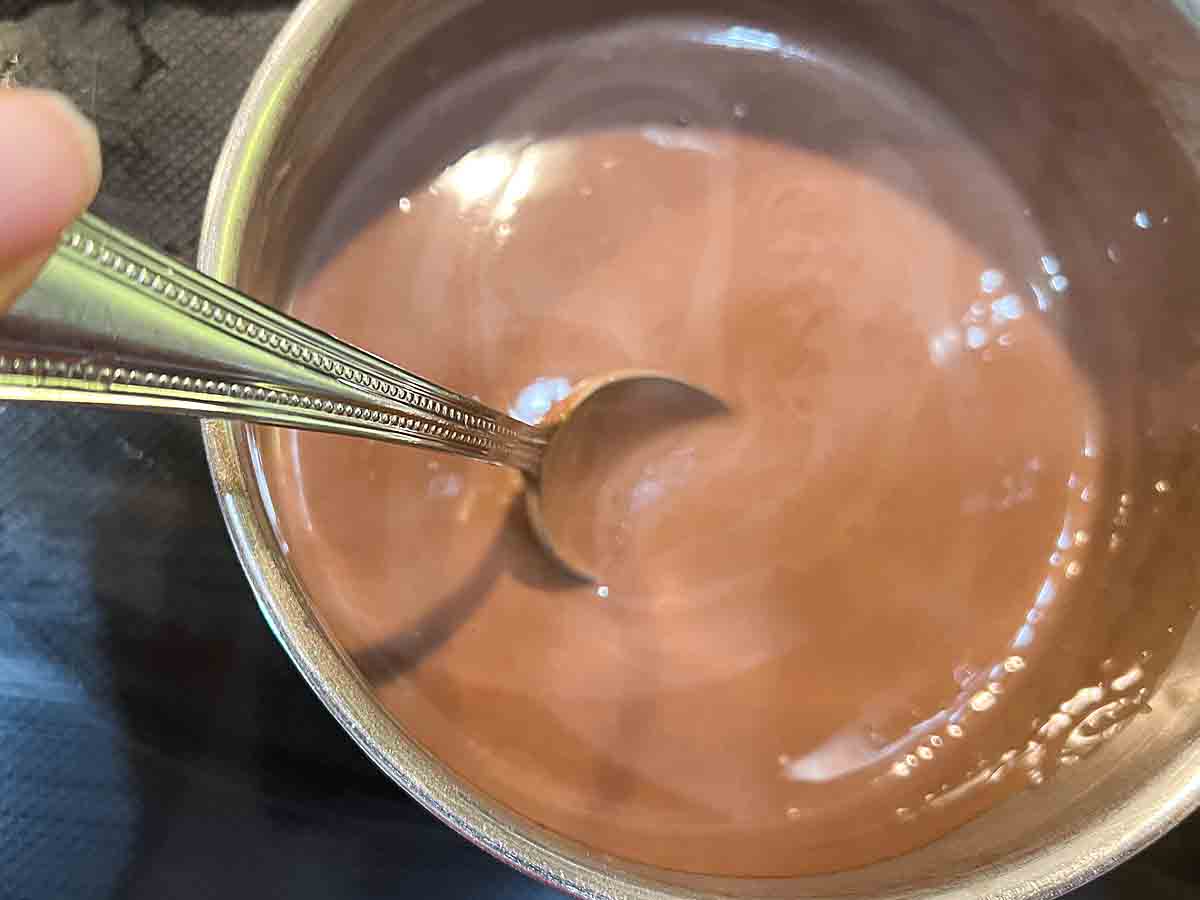
Add milk, then heat, stirring, until thickened, about 10 minutes. You will probably see a couple large bubbles appear. Remove from heat.
Heat chocolate chips or chopped chocolate in a microwave in 10-20 second bursts, stirring in between bursts, until melted.
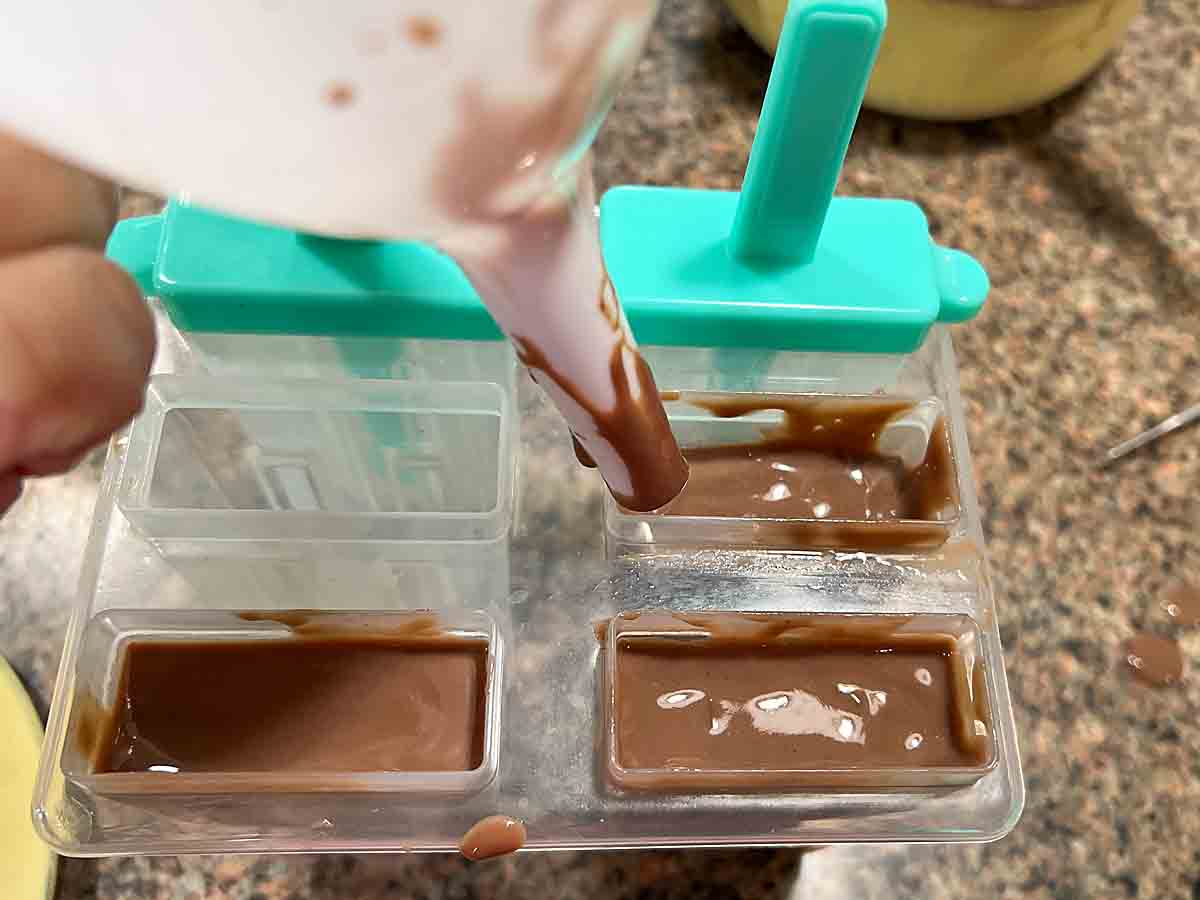
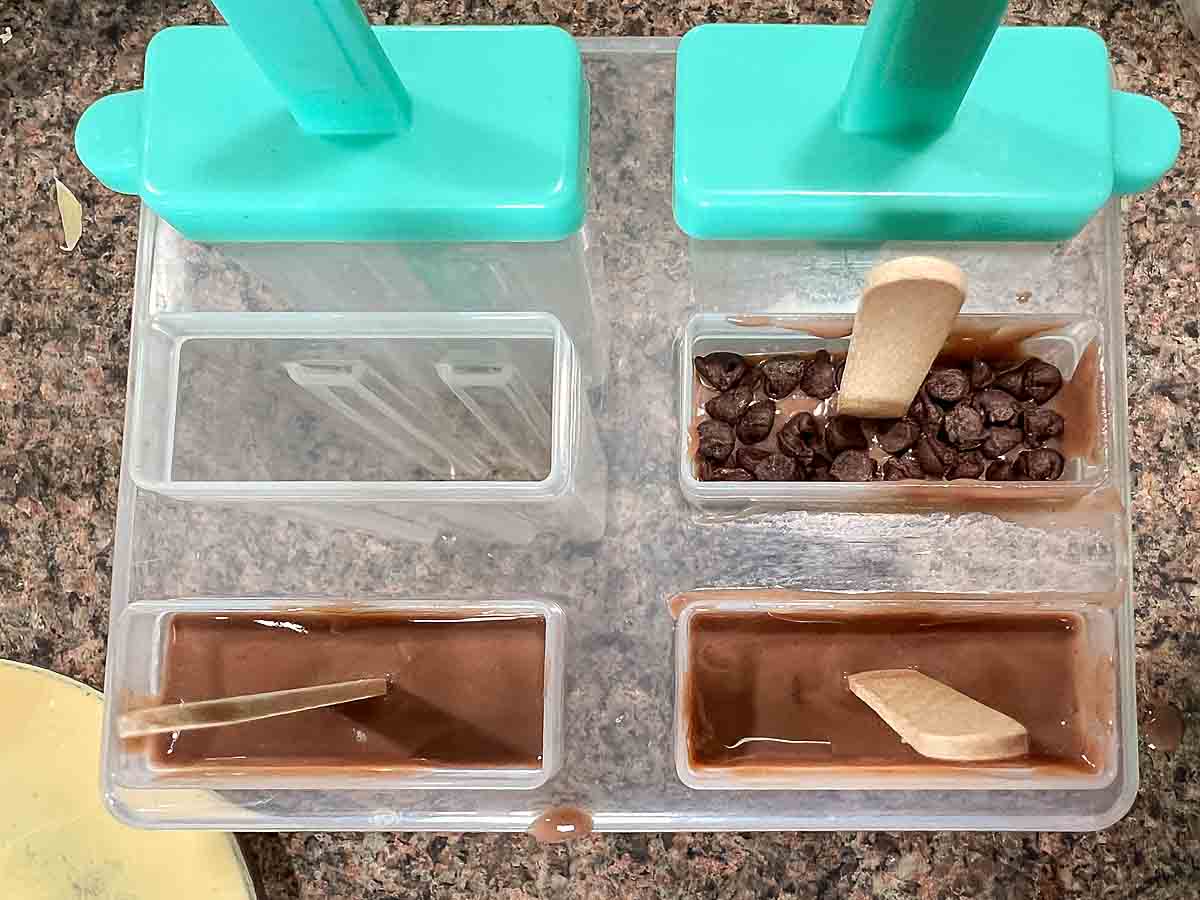
Whisk the vanilla and melted chocolate into the saucepan. Pour into molds (I used a funnel) and insert mold tops or wooden sticks.
Freeze until solid, ideally overnight. To remove pops, run the mold under hot water and jiggle stick until loosened.
How to Serve
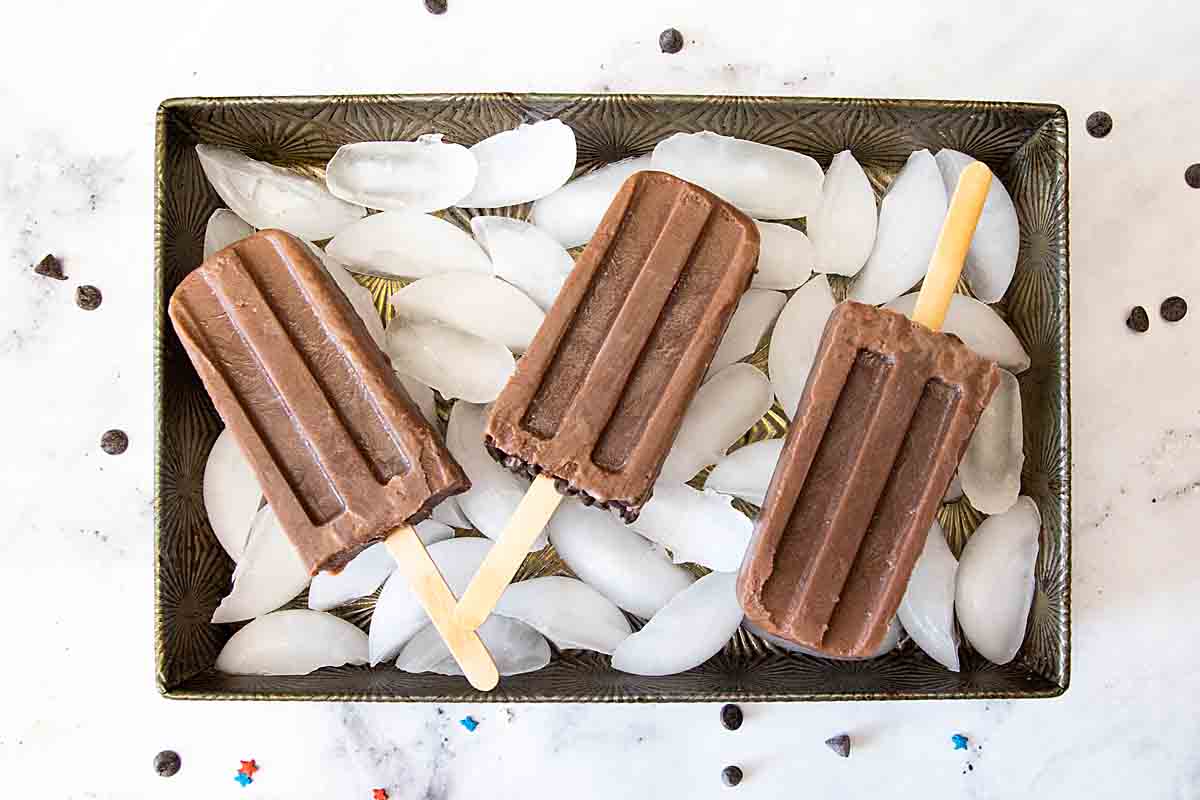
Homemade Fudgesicles make a fun summer dessert or snack. They’re especially nice when the kids bring home friends or for summer parties or events. Eat them outdoors for the least mess!
Variations
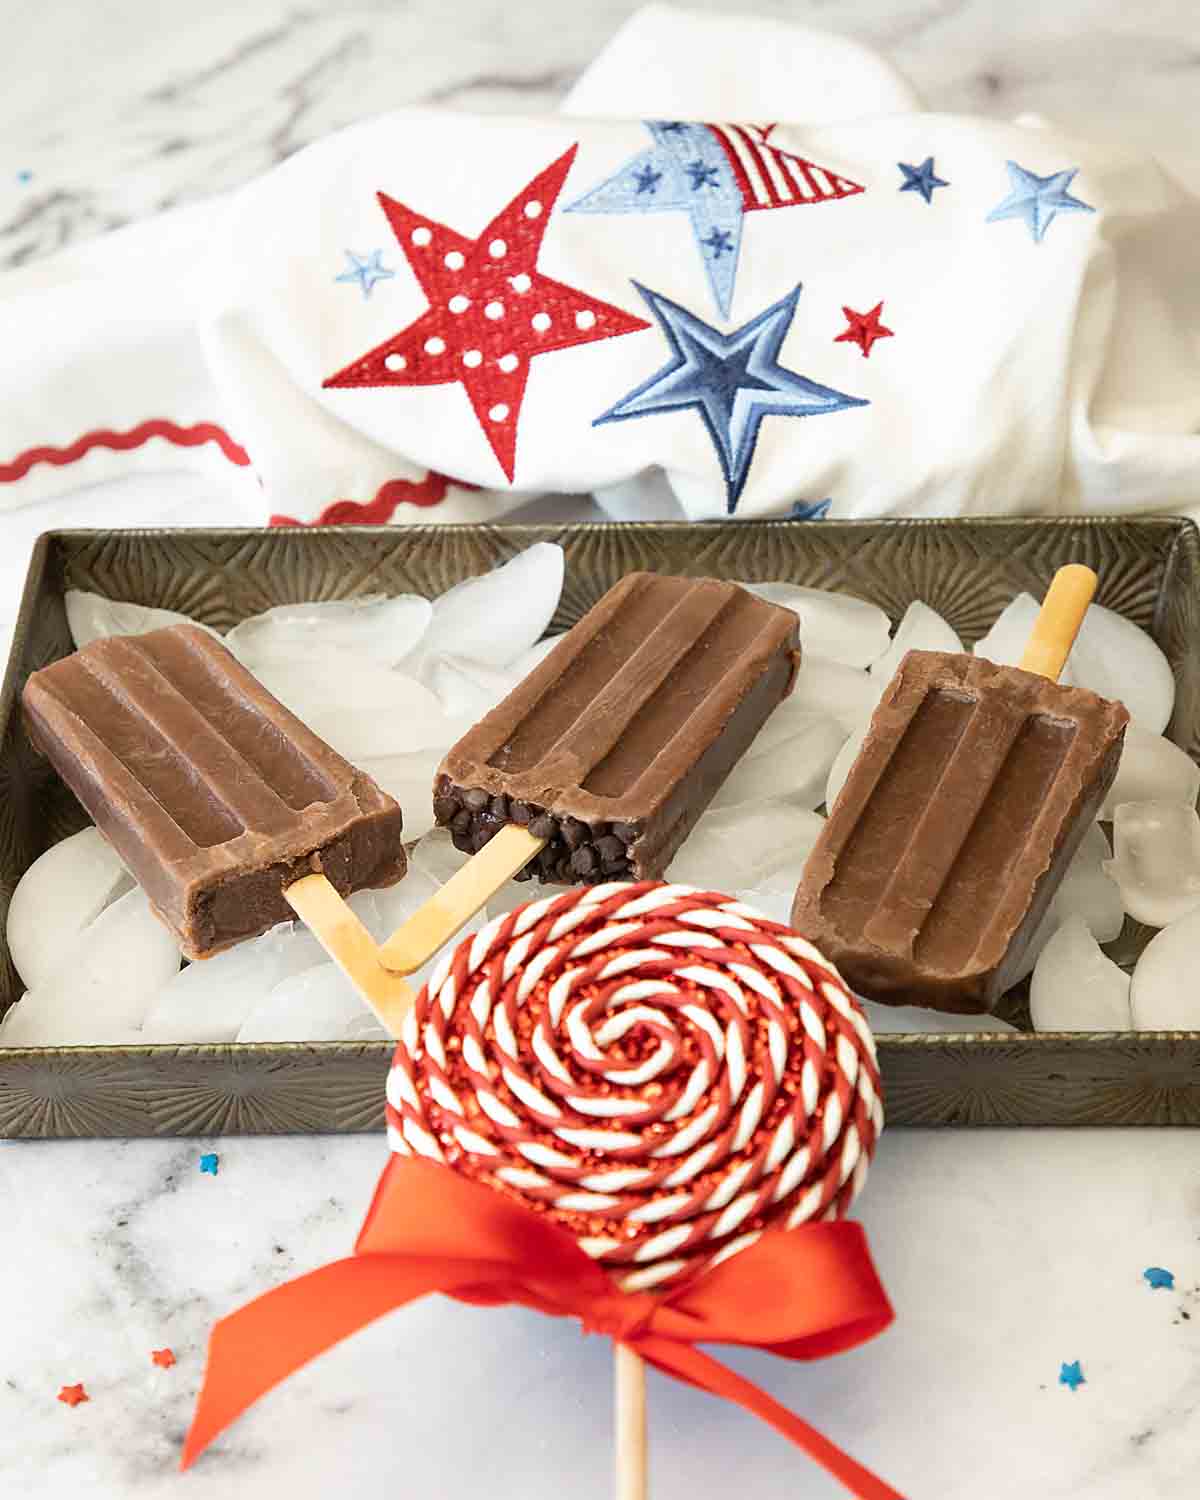
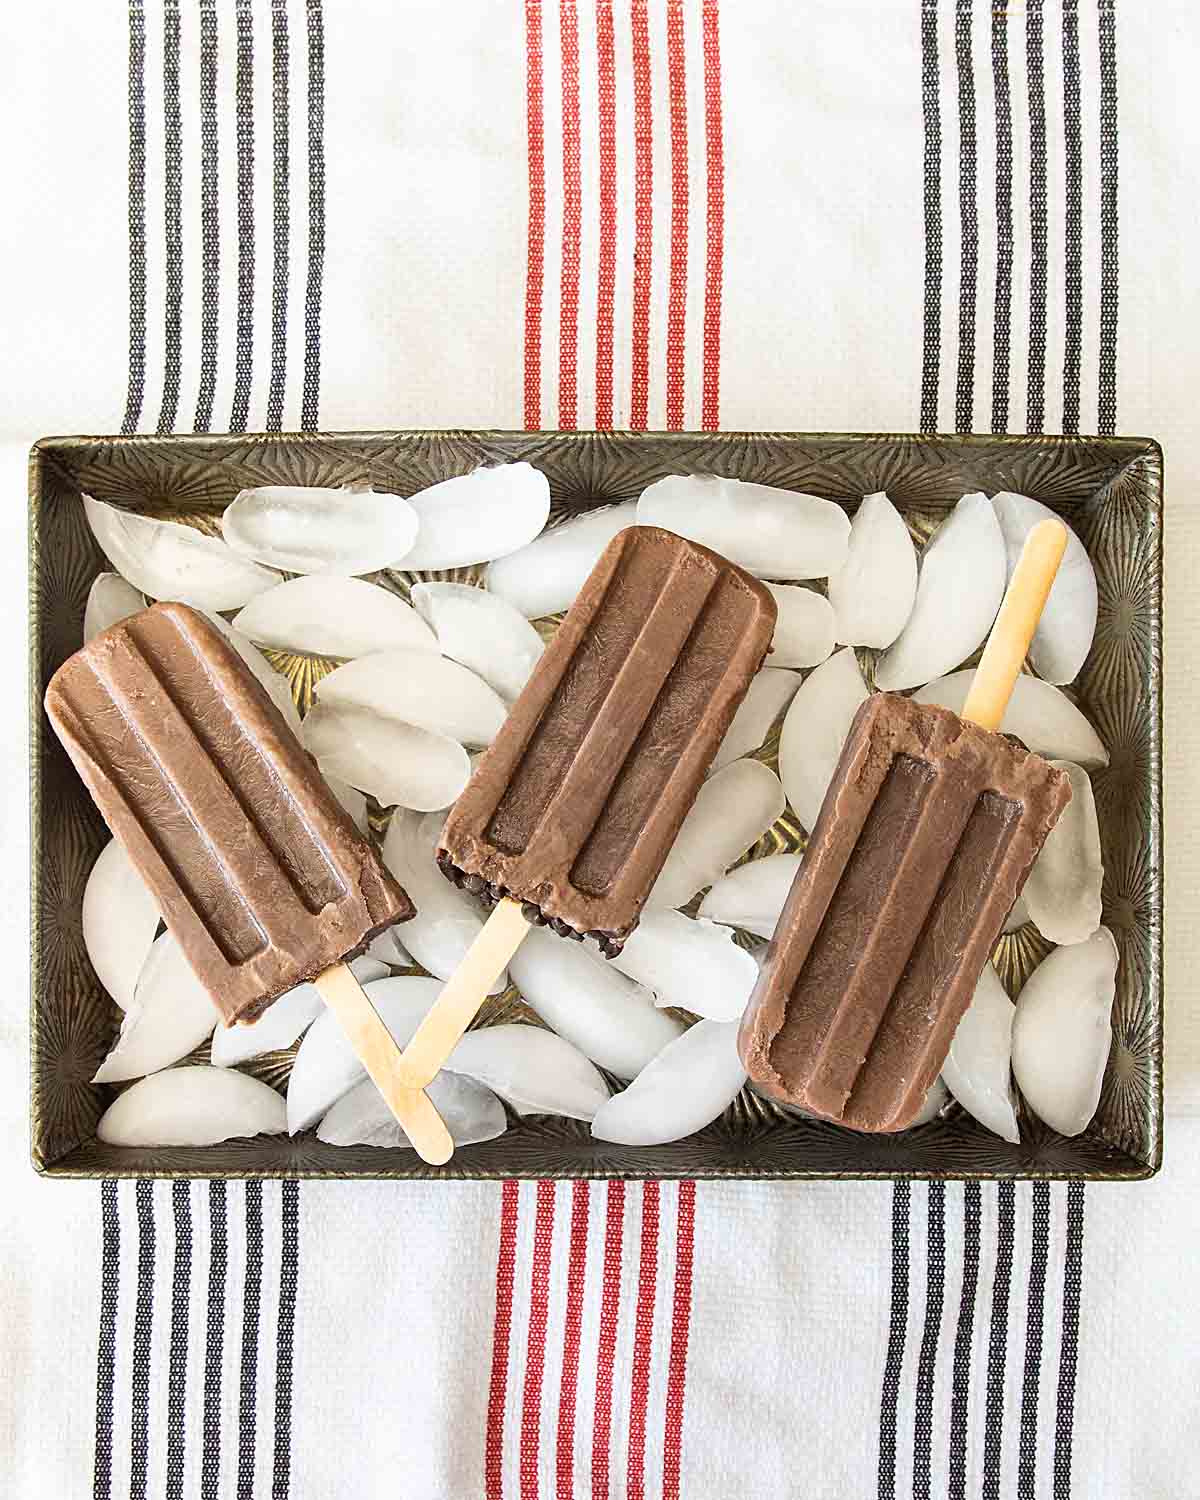
You can decorate the ends if you’d like. I used mini chocolate chips for one (see below), but colored sprinkles would be fun too!
And more fun frozen treats, take a look at:
- Cannoli Ice Cream with Pistachios and Chocolate from A Kitchen Hoor’s Adventures
- Fresh Watermelon Slush from Palatable Pastime
- Frozen S’mores from Hezzi-D’s Recipe Box
- Mango Float (Frozen) from Karen’s Kitchen Stories
- Plum Sorbet from That Recipe
Leftovers
Keep whatever you don’t need frozen and as tightly wrapped as possible. And if you have the option, freeze leftovers in a deep freeze that isn’t frost free for the best longevity.
Tips & FAQs
This made six fudgesicles with my molds, but different molds may yield different amounts.
Whole milk will give you a creamier, less icy texture. Since I rarely have whole milk, but usually have 2% milk and cream, I sometimes add a little cream to my reduced fat milk to nudge up the fat levels.
The mixture was thick enough to keep a wooden popsicle stick centered. This is nice if you want to pull them out of the molds and make lots to serve a crowd!
To loosen, carefully run the sides of the mold under hot water and wiggle the stick to release. After removing, I popped each popsicle back in the freezer to re-firm the slightly soft edges.
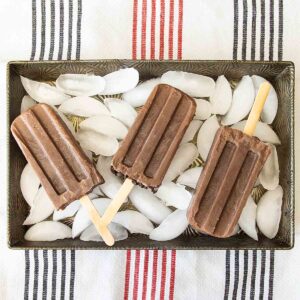
Homemade Fudgesicle
Ingredients
- 2 Tablespoons cocoa powder
- 2 Tablespoons cornstarch
- 6 Tablespoons sugar
- 1/8 teaspoon salt
- 2 cups whole milk
- 2 Tablespoons real chocolate chips or chopped chocolate
- ½ teaspoon vanilla
Instructions
- In a small to medium saucepan, mix together cocoa powder, cornstarch and sugar, stirring to eliminate any lumps.
- Add milk, then heat, stirring, until thickened, about 10 minutes. You will probably see a couple large bubbles appear. Remove from heat.
- Heat chocolate chips or chopped chocolate in a microwave in 10-20 second bursts, stirring in between bursts, until melted.
- Whisk the vanilla and melted chocolate into the saucepan. Pour into molds and insert mold tops or wooden sticks.
- Freeze until solid, ideally overnight.
- To remove pops, run the mold under hot water and jiggle stick until loosened.




Hey there! Your Homemade Fudgesicle recipe sounds like a total summer game-changer! I love how you emphasized getting the creamy texture just right—nothing worse than a popsicle full of ice crystals.
I agree Raymund!
What a wonderful summer blast! I haven’t had a fudgesicle in many, many decades. Many. Let’s not count. But now I want one. And I am kicking my for not buying the popsicle molds I saw at IKEA. I love your chemistry lesson within and how you worked to remove the ice crystals!
If you go into one of the TJ Maxx (HomeGoods, Marshalls) stores, they have a ton of molds at least up here now.
Great tip to stick them back into the freezer before serving!
Yes, just as good as new then!
Oh yum, I’ve got to try this!!!
All the comforts of home!
Great idea to make them for yourself at home!
I agree!