Whole Roast Buttercup Squash (or Any Winter Squash)
Whole Roast Buttercup Squash (or Any Winter Squash) is super easy if you bake it in one piece. Just wash and pop in the oven. When it’s done it will cut with a butter knife! 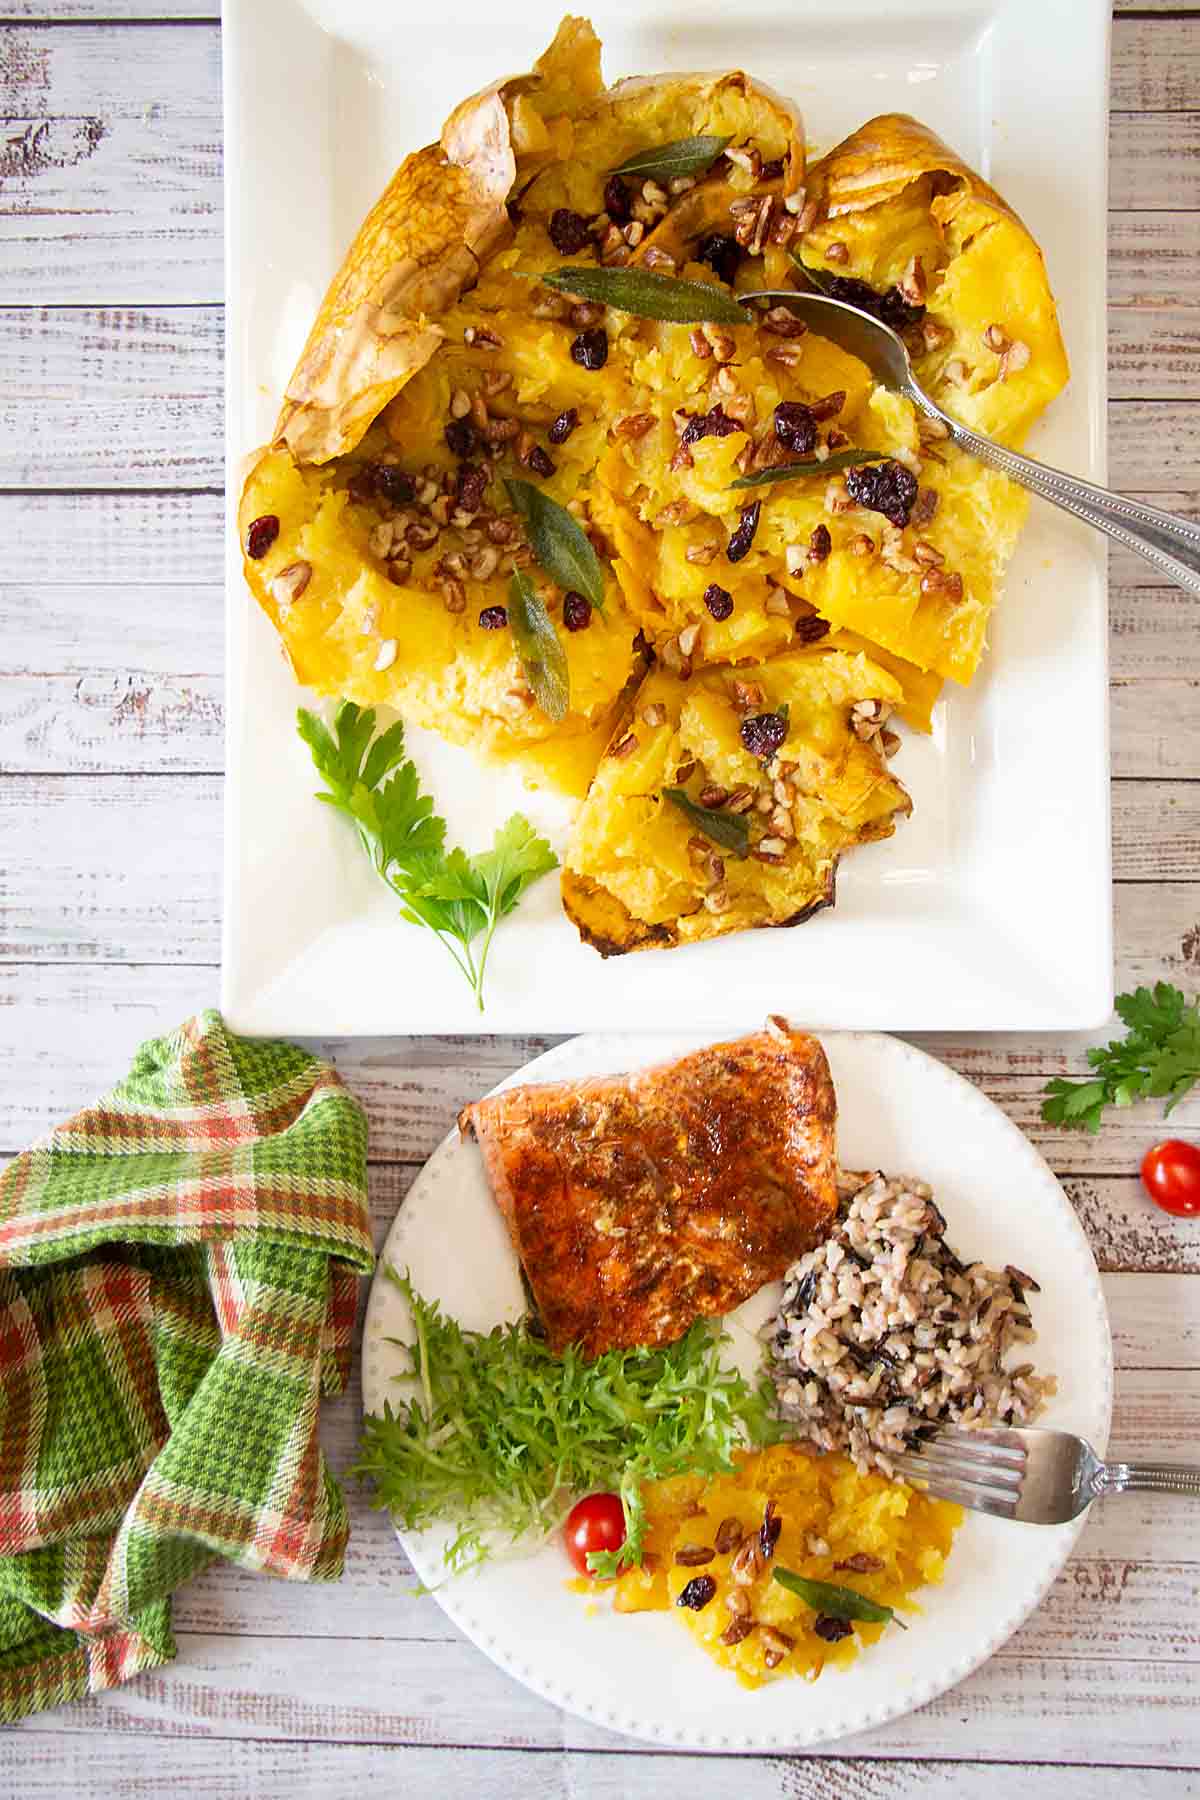
There is a favorite farm stand I go to every year. Though not certified organic, they sell produce grown with many of the same standards.
A few weeks ago, I picked up a large banana squash which the seller said was her favorite. I was feeling pretty good until I got it home and my husband said he needed a saw.
Alas, he was only partly kidding. Bigger, older squash often have particularly thick, tough skins. And while I may soften a hard butternut in the microwave to make it easier to cut, this was tougher. And possibly bigger than the microwave.
And while I have almost always roasted squash as halves, set cut side down in water, I wondered—how feasible would it be to make Whole Roast Buttercup Squash–or another Winter Squash? After checking a number of websites, I learned that people do indeed do this.
What Makes This Method a Winner
I don’t know about you, but putting a knife into a tough squash has always scared me. And my husband’s dentist recently mentioned that she is too protective of her hands to ever cut into a squash. Yes, this method has a number of advantages including:
- Reduces knife danger. By the time the squash comes out of the oven you can rip it apart bare-handed!
- Lets you use bigger squash. Did you know those big old squash are actually quite tasty? Now they’re easy too. (Alas this will not hold true for summer squash.)
- Super easy & equally tasty. How much easier does it get than to put a whole winter squash in the oven, then come back a couple hours later. And the flavor is indistinguishable.
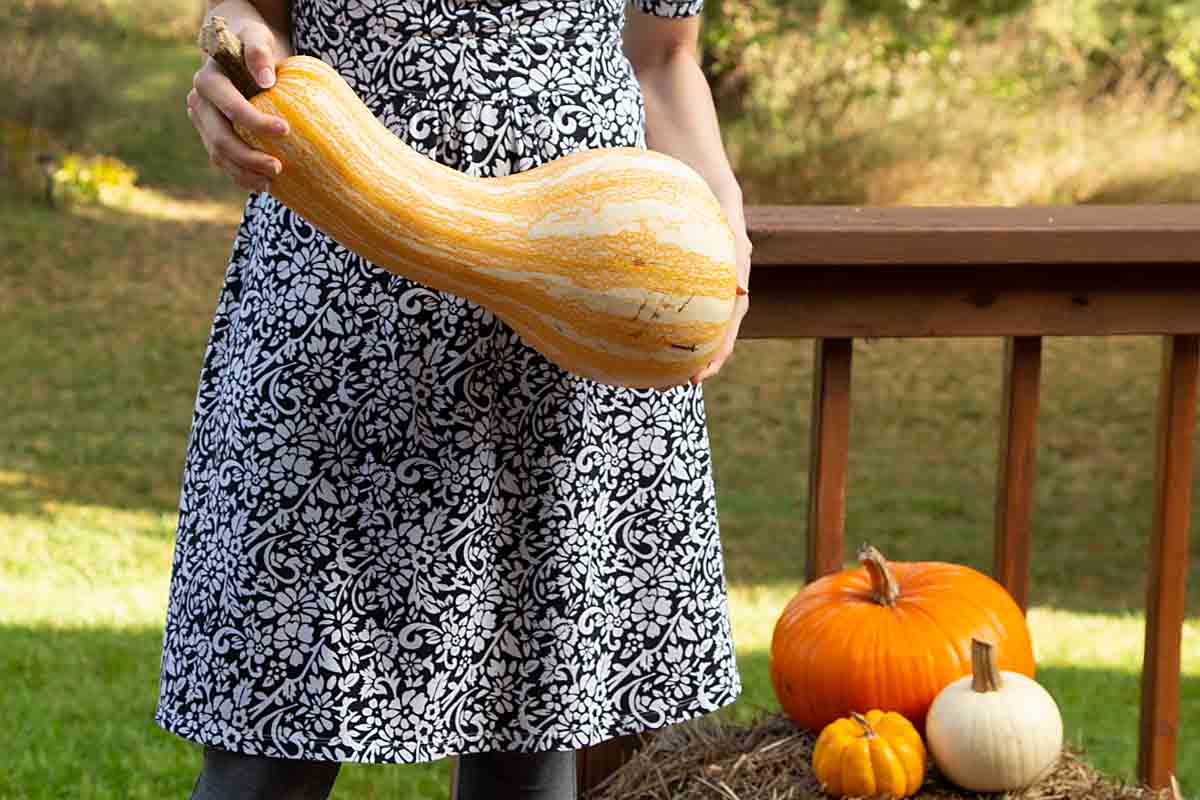
- Go from décor to table. Did you know that some squash work well both as decoration and food. We had a very large orange striped cushaw (see picture of the cushaw below) that went right from a hay bale on the deck to the oven after the first frost! Blue Hokkaido is next!
Step by Step Directions
Wash squash well and place on rimmed baking sheet. (This is the banana squash, my largest to date.) 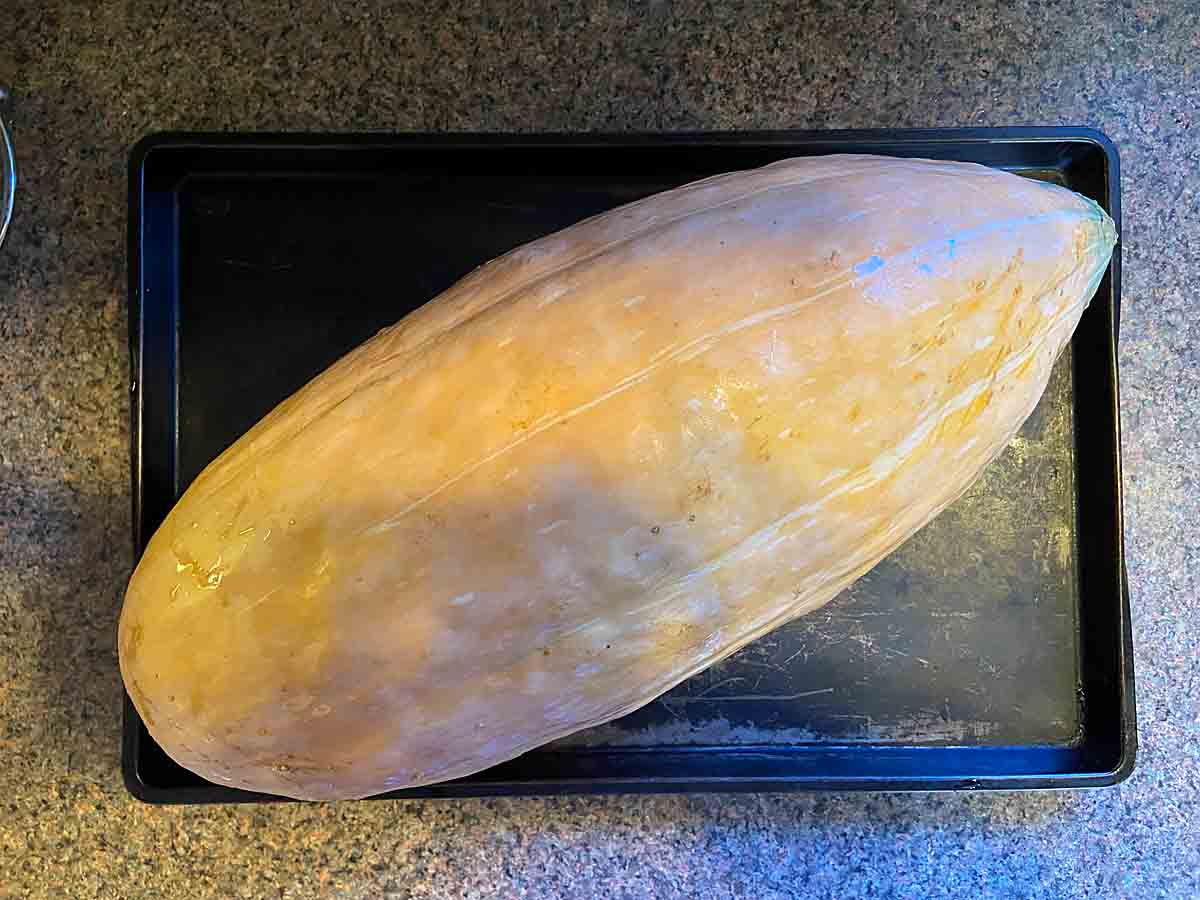
Bake for 1 – 2 hours (depending on size) until soft and starting to collapse. 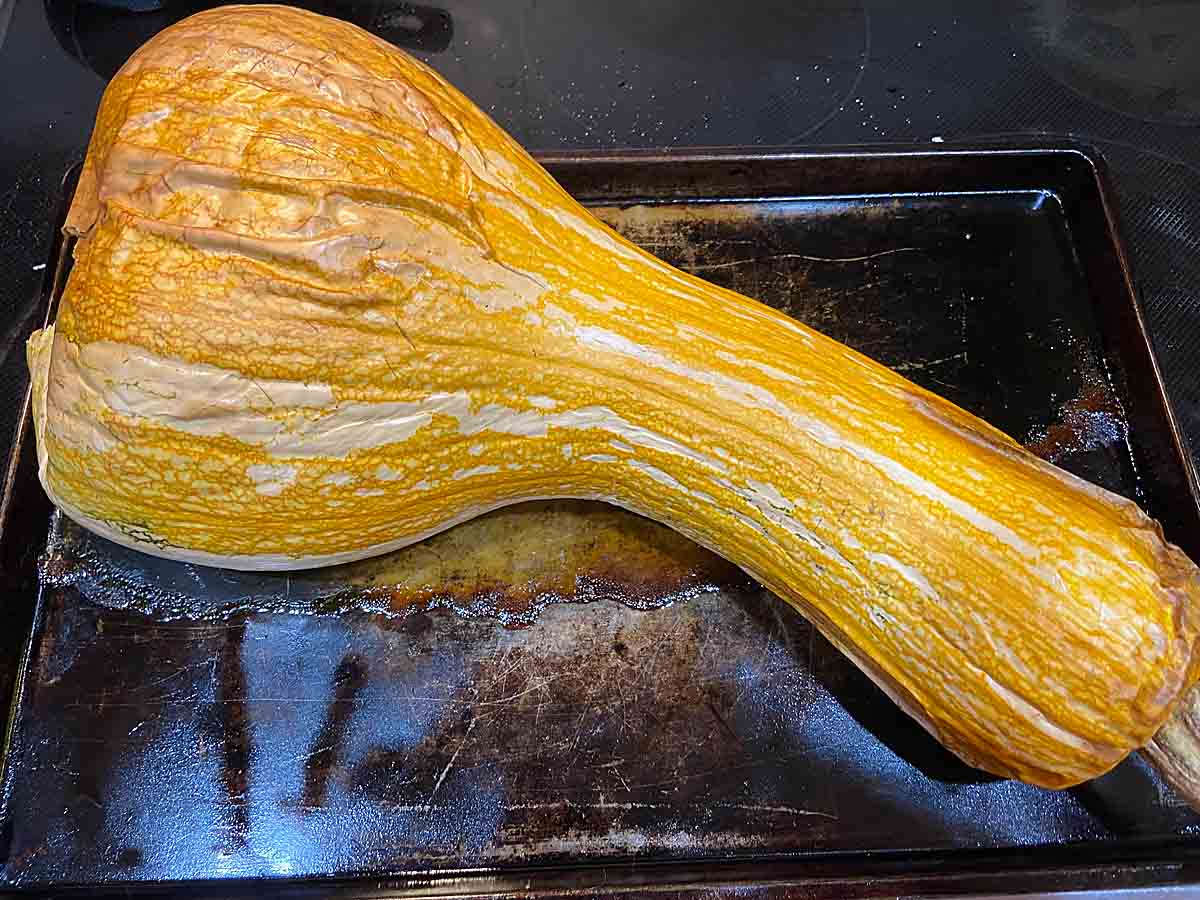
When squash is nearly done, prepare topping if using. In a small saucepan, brown pecan pieces in butter, then remove from heat but keep warm. 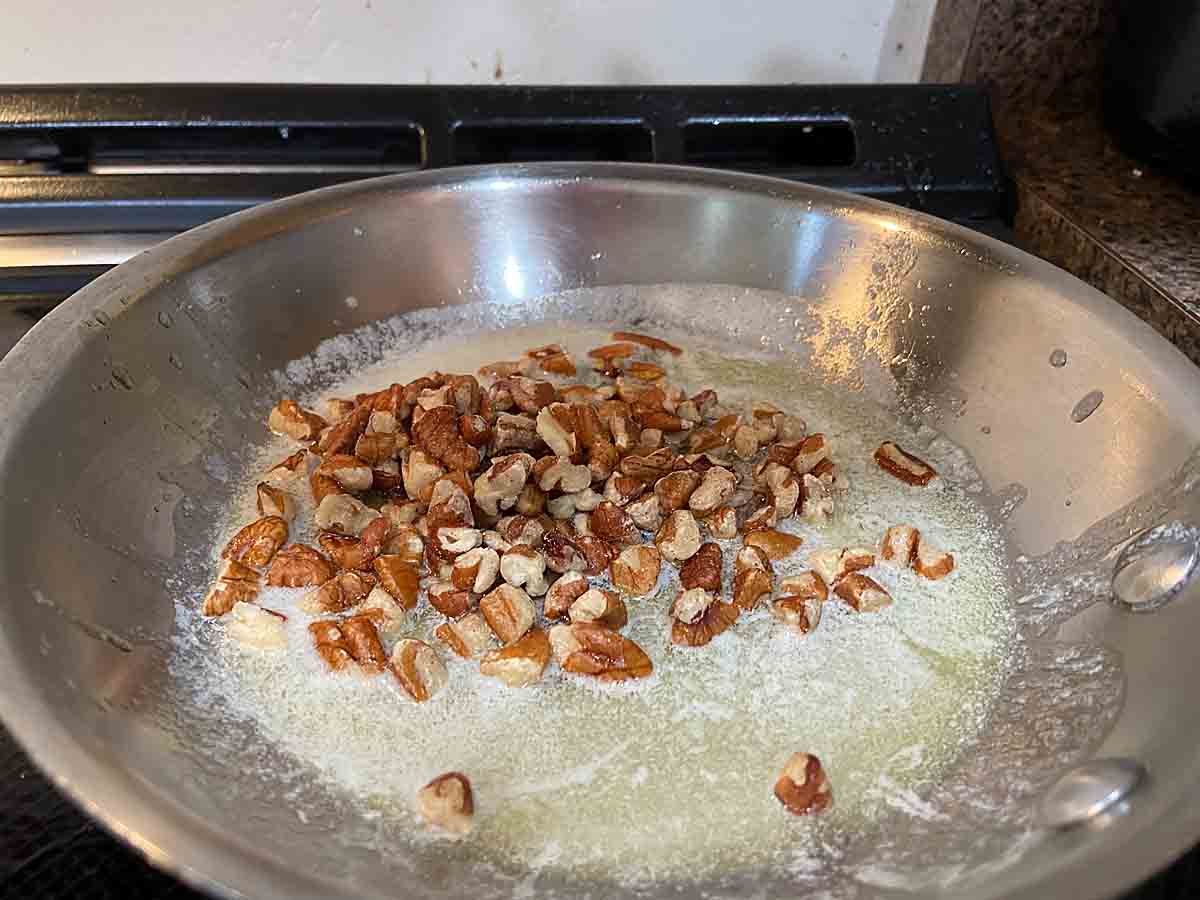
In a small frying pan heat oil until a drop of water sizzles. Place a few fresh sage leaves in hot oil and cook until they stop sizzling. Use a fork to remove to a plate. Repeat with the remaining sage leaves. 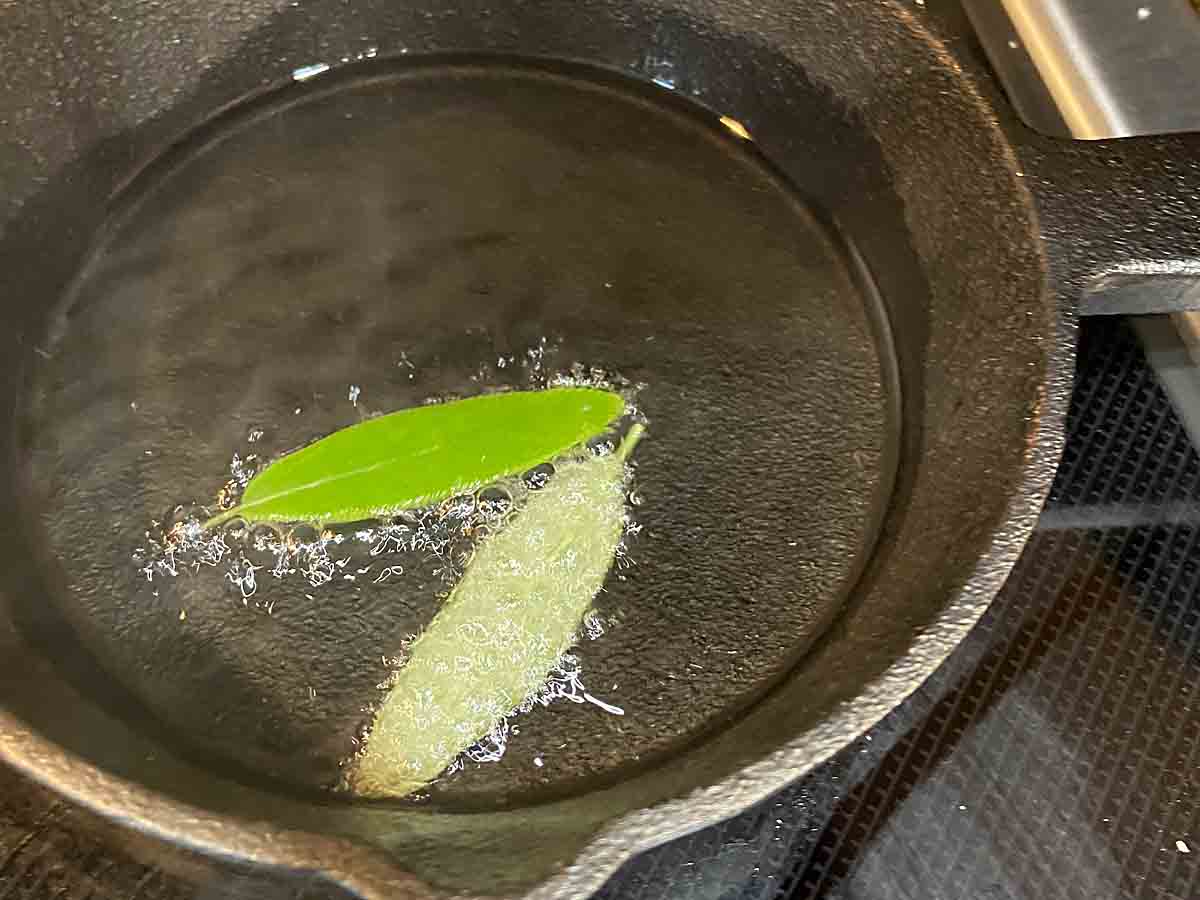
Remove squash from oven. Cut open with a large knife and expose inside of squash. Remove and discard seeds. 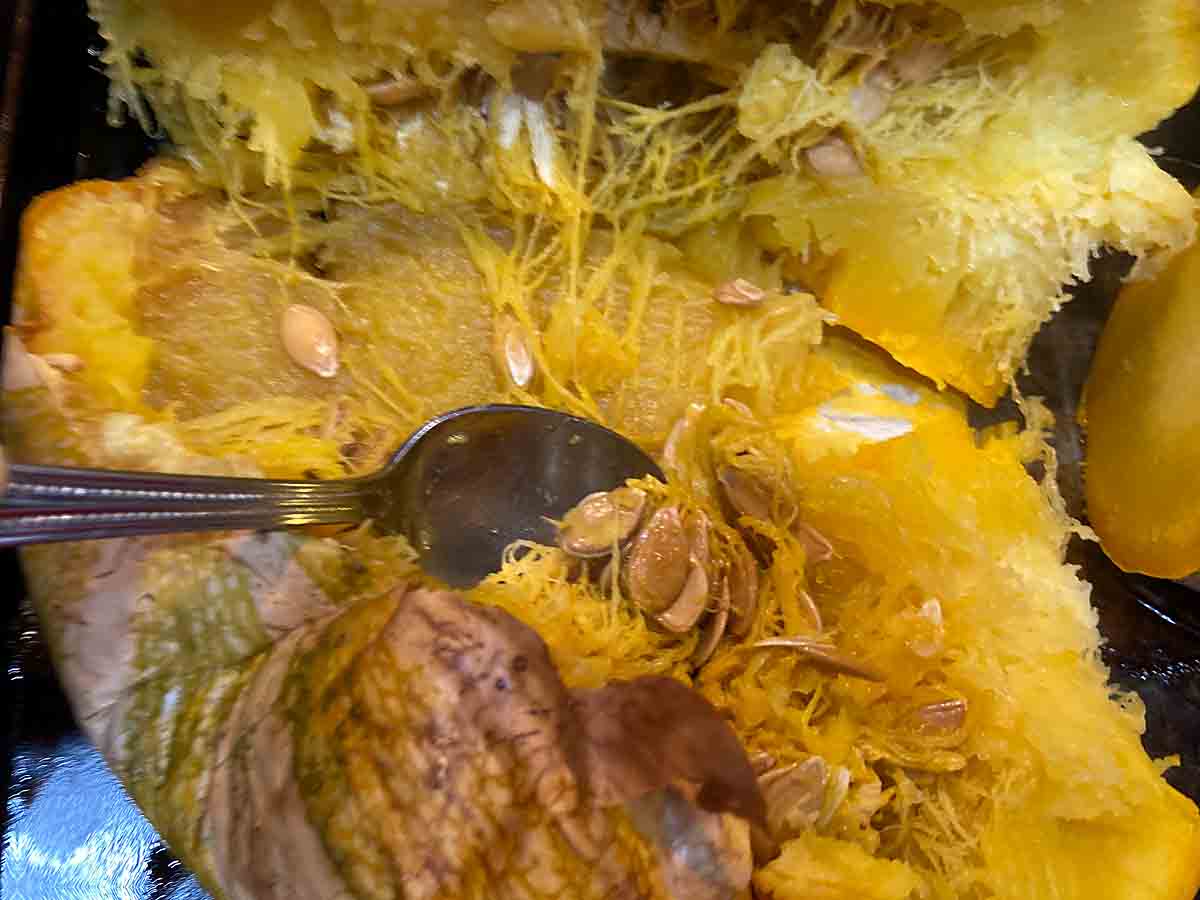
Move squash to serving platter then drizzle with browned pecan butter. 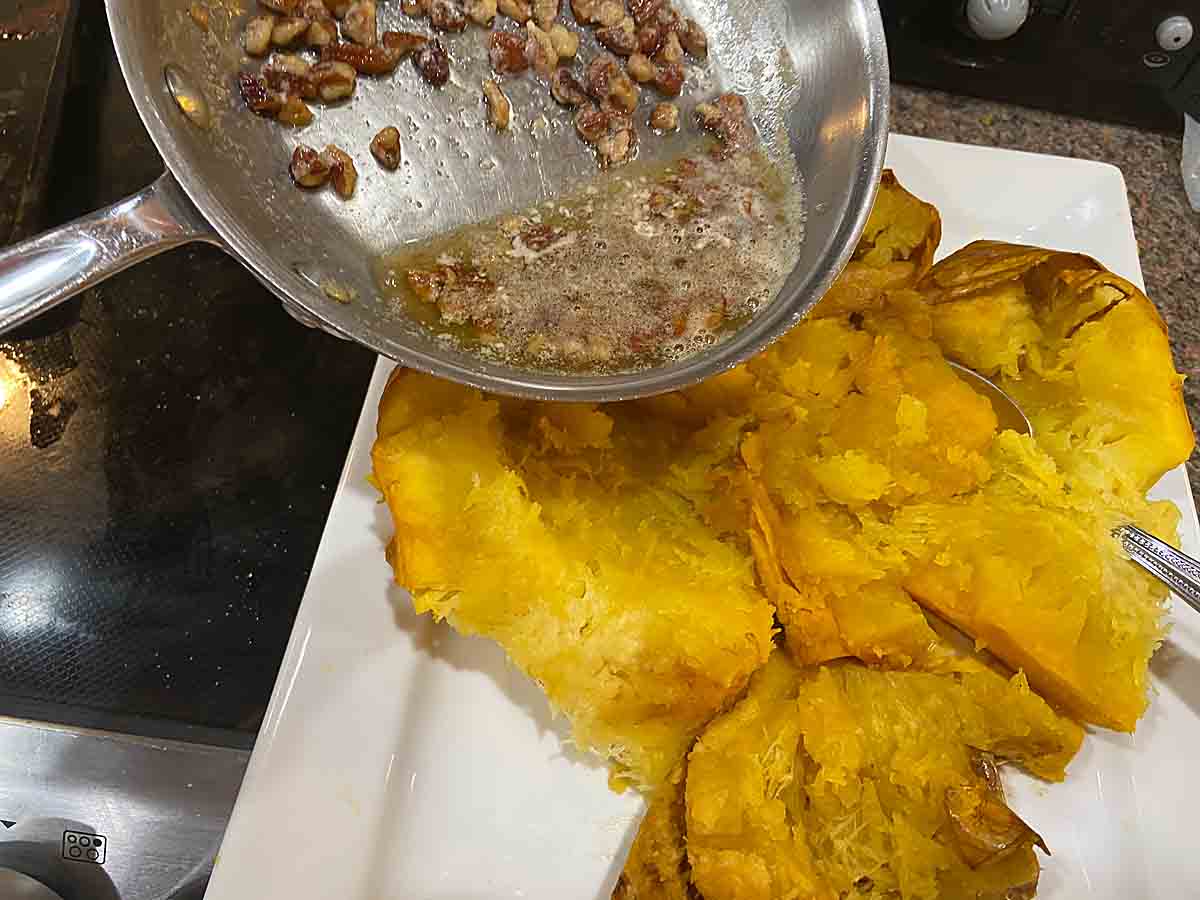
Top with fried sage and dried cranberries. Serve with brown sugar on the side. 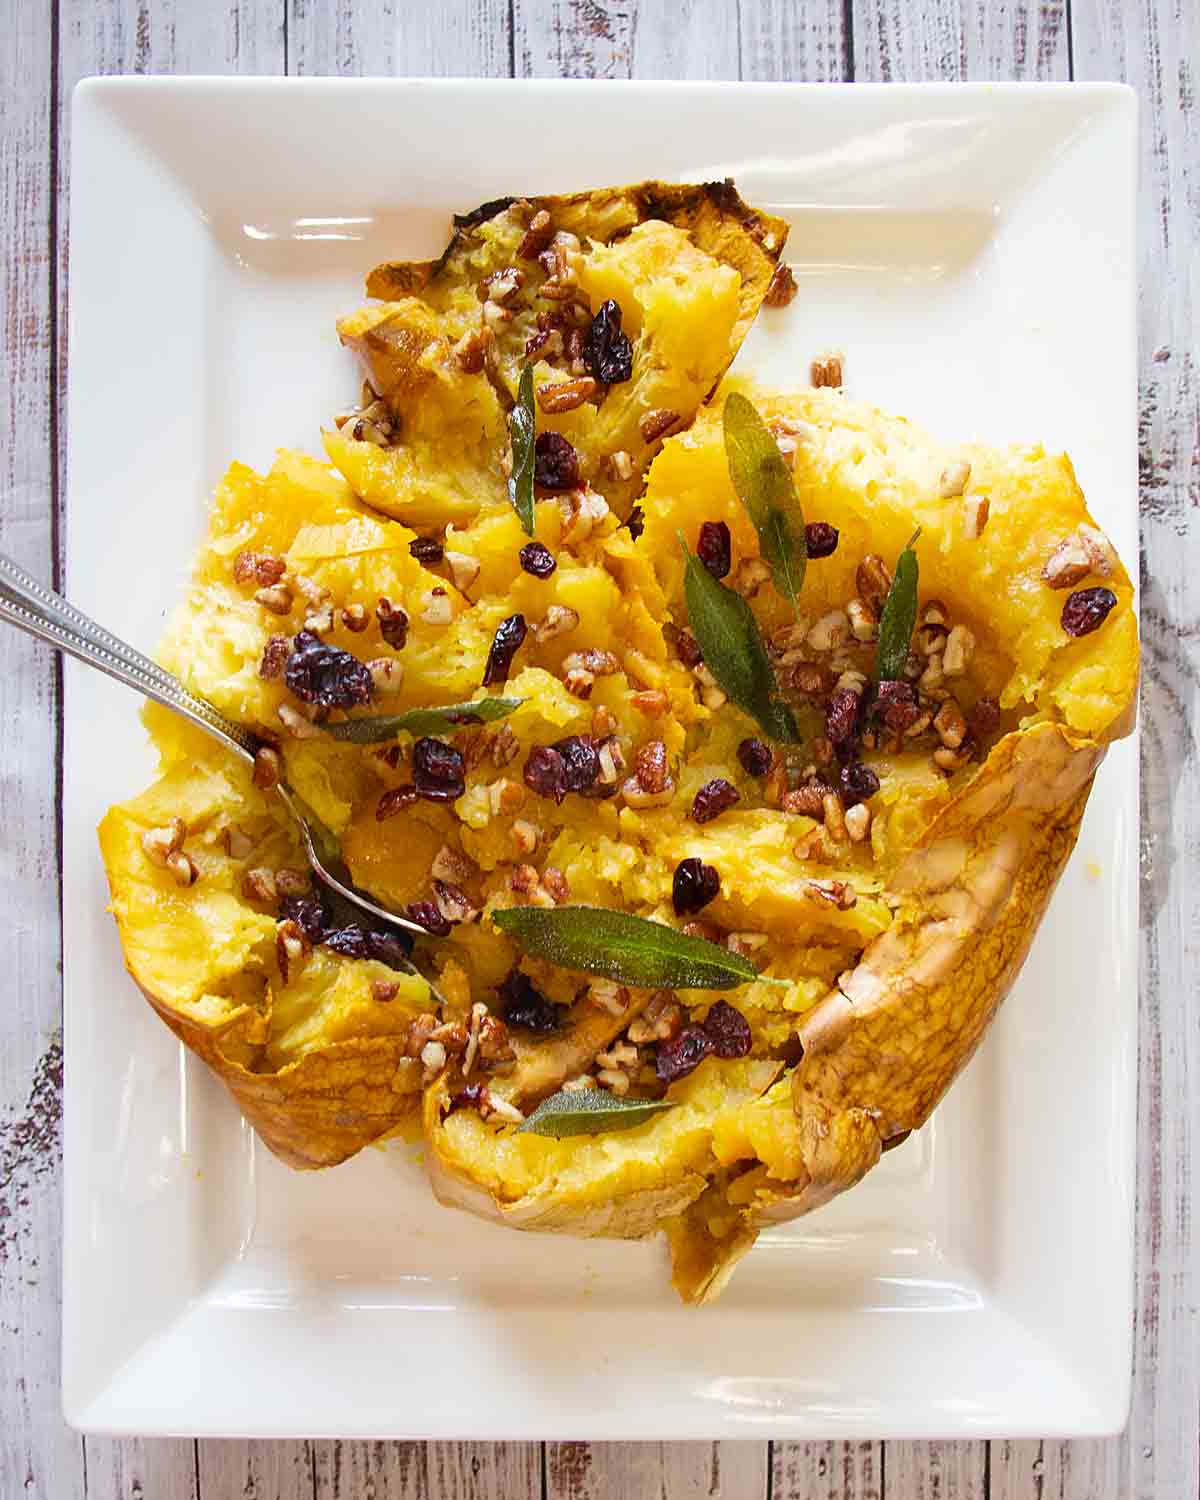
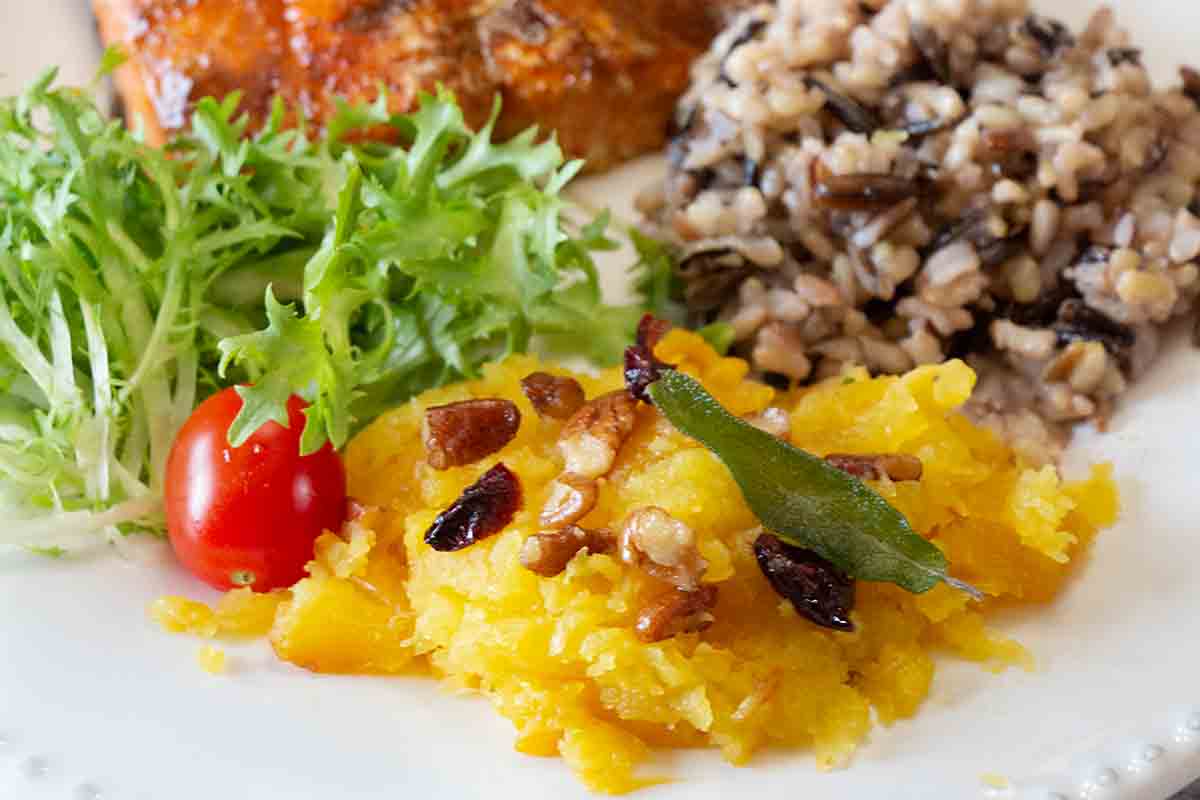
If you want to stay super easy, you can skip the topping and just serve the squash, either still in the skin, or scooped into a serving bowl. Set butter and brown sugar on the table and allow diners to serve themselves.
Leftovers
So far we’ve been eating the leftovers over a few days, but when the novelty wears off I’m going to start putting them in the freezer.
In fact when I asked my canning group for advice on canning squash cubes (to save freezer space), they suggested the following instead. Store a supply of squash, whole, in a cool location. Roast a single big squash and freeze leftovers. Eat the frozen leftovers to free up space. Move on to the next squash. Sounds like a plan! 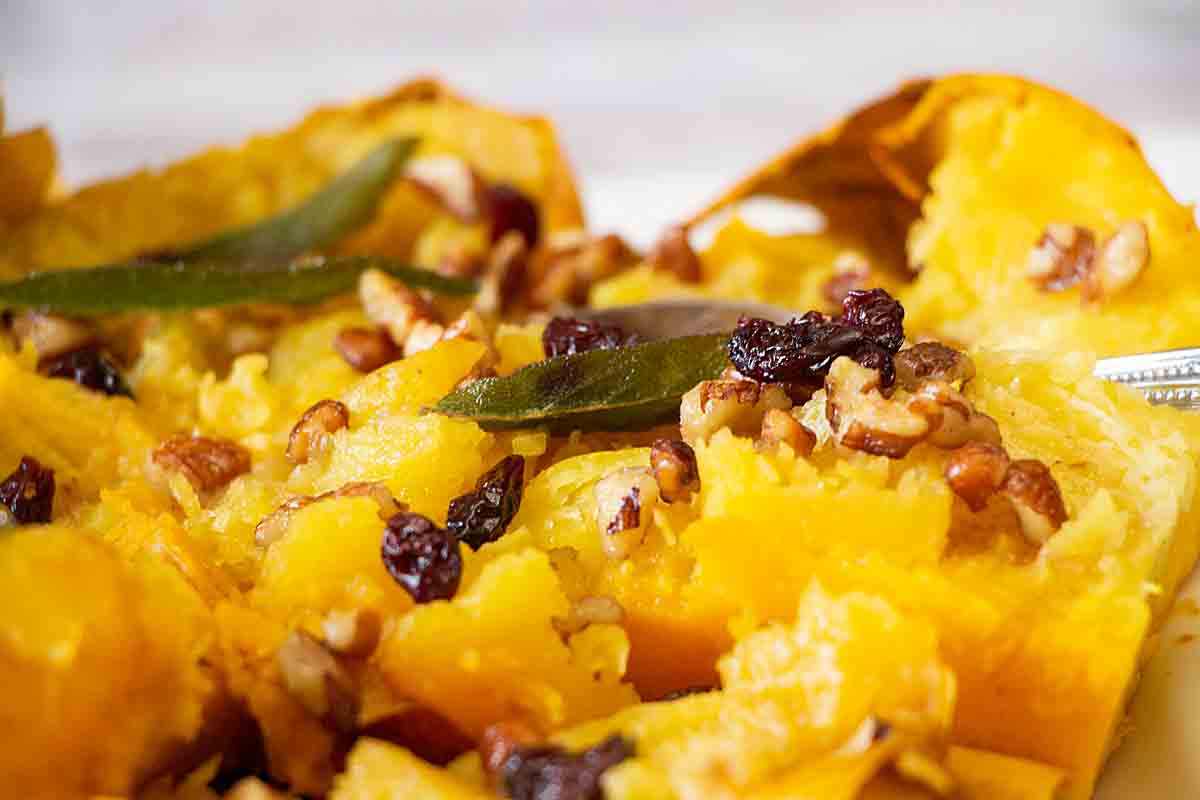
But squash is also delicious in many recipes, so leftovers aren’t likely to be a problem. It is especially nice for roast squash soup. Some of my favorites include:
You can also use squash puree in place of pumpkin in baked goods since many squash varieties are beautifully sweet and orange. Just go for a sweeter variety, drain it very well first ( see Recipe Tips) and be ready to adjust flour if needed.
This means you could use for “pumpkin” pie or in baked goods like:
So many winter squash recipes, so little time! 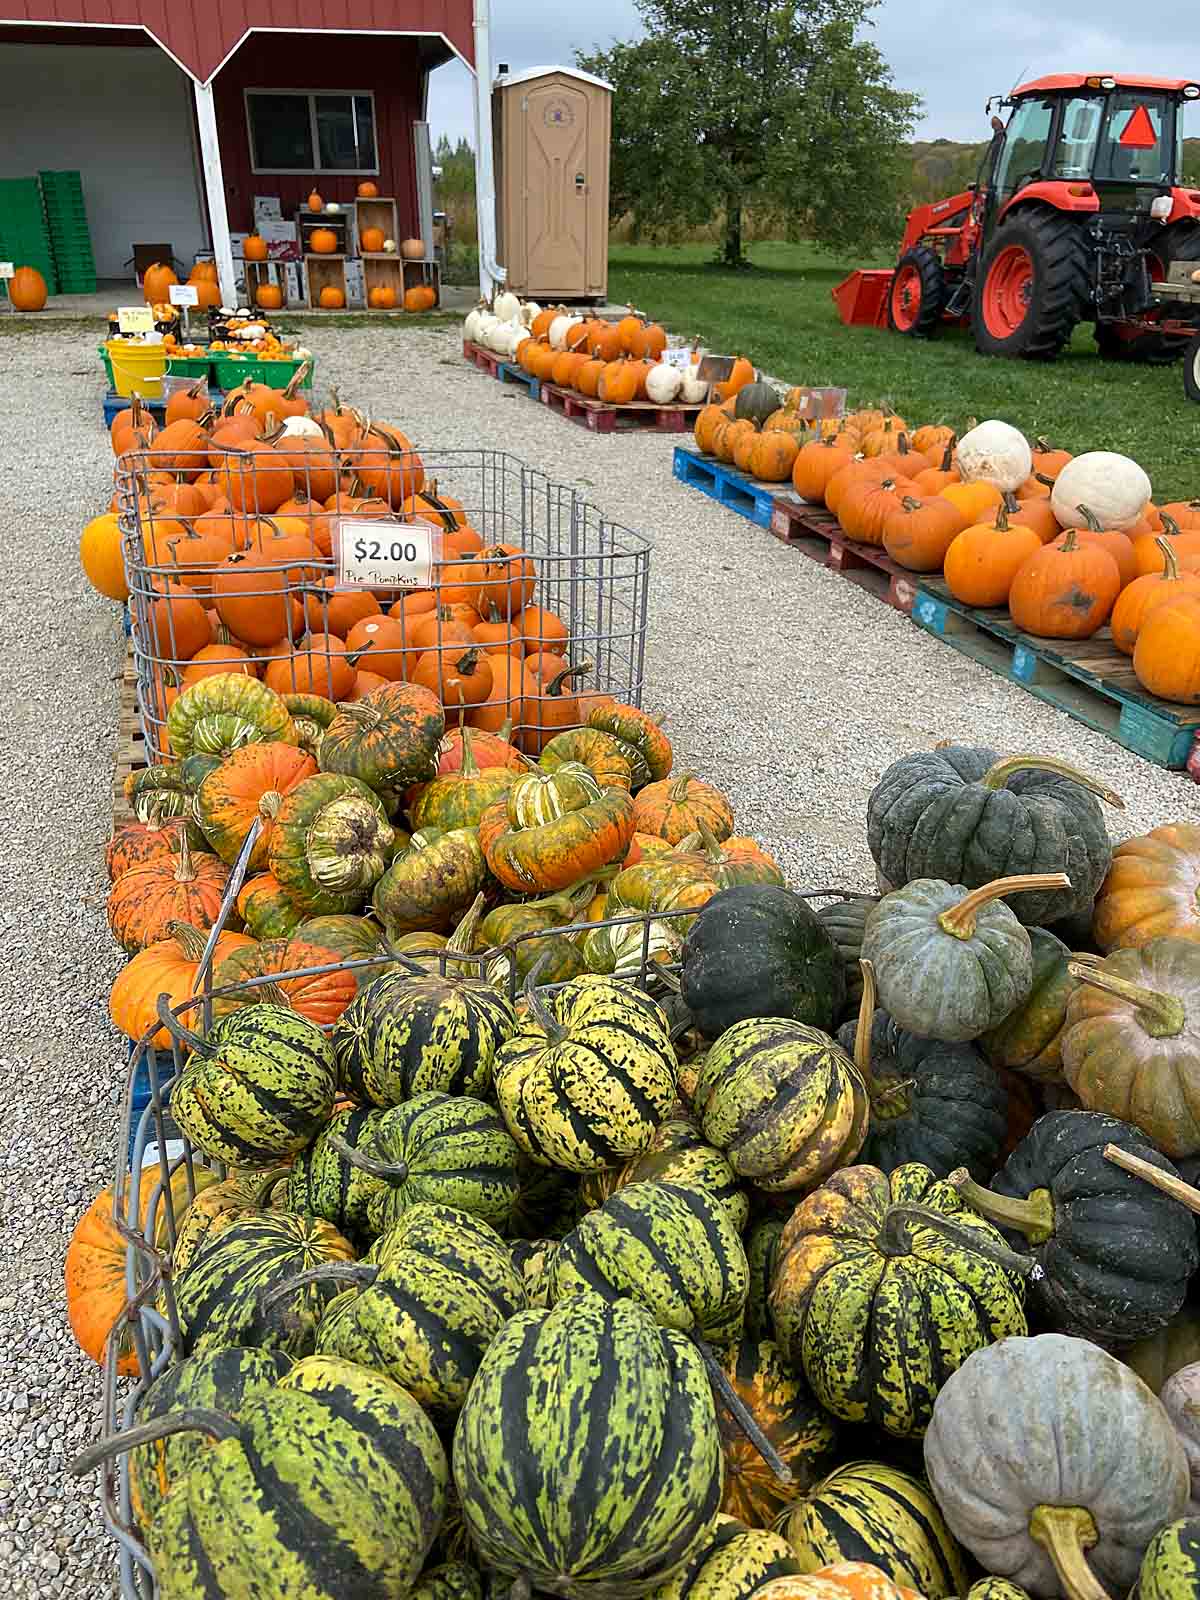
Winter Squash Varieties
There are many types of delicious winter squash and I usually rely on my farmer for advice on varieties. But here are some of my observations.
I did the first whole roasting on the banana squash, which was good but a little stringy. My second was a stiped cushaw which was wonderful. Since them I’ve also done whole roasted buttercup squash and whole roasted butternut squash. Baking butternut squash whole or other squash with a long neck like cushaw is especially nice since the neck portion is seedless!
For smaller squash like delicata, acorn or sweet dumpling you may decide to stick with the traditional roasting method of halving, removing seeds then baking. But that is up to you.
Now for (added) notes on keeping: As of Feb 6, my remaining banana squash and blue hubbard have gone bad and will be composted. The buttercup and cheese pumpkin are still beautiful and if fact the cheese pumpkin turned out to be one of my favorite eating pumpkins. Everything else has been eaten!
While I’m starting to develop preferences, so far I haven’t found a variety I wouldn’t eat! 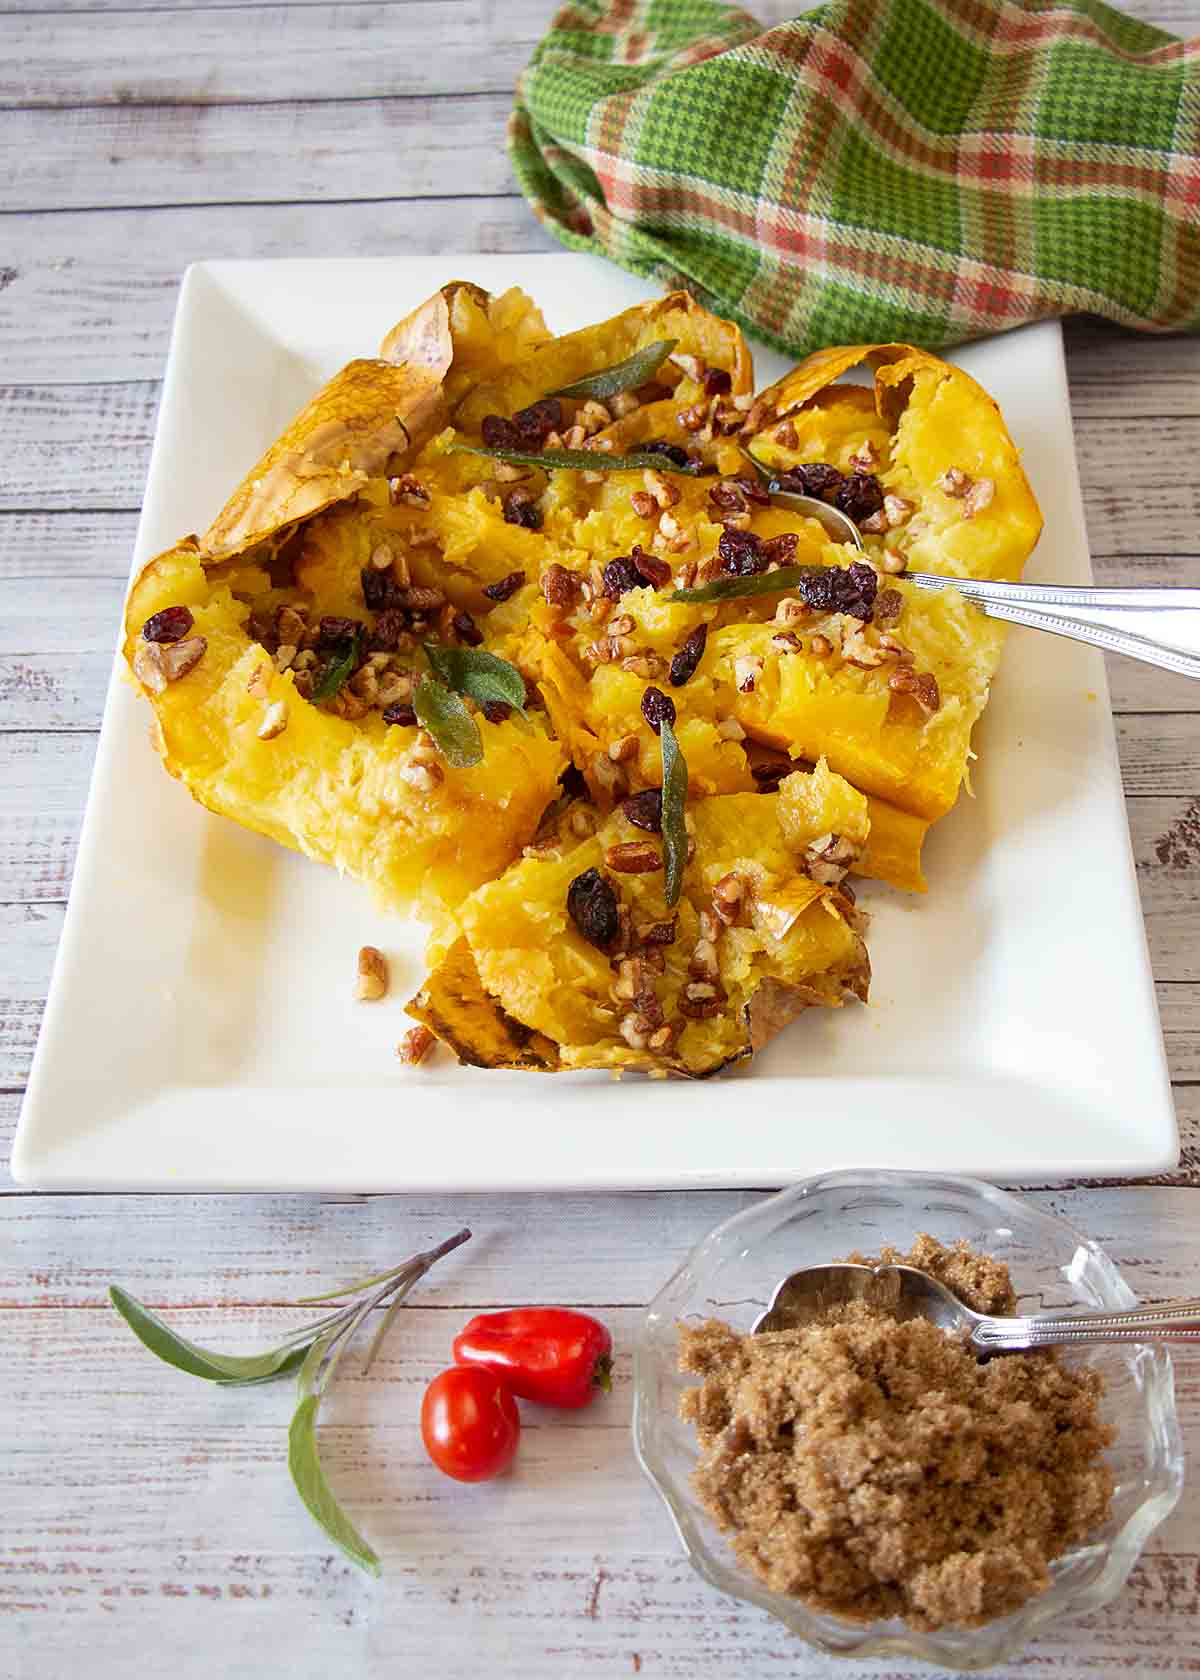
How to Store Squash for the Winter
Because I try to eat as locally as possible–and they last so well, I usually keep plenty of squash over the winter. I have stored then in a coolish basement (55-60 F) or an unheated attached garage (40-50 F). The latter seems to work better even though I hear that 55 is the ideal storage temperature. But I’ve even had squash and pumpkins that I’m using for decoration in the house (68 F) still look good come summer.
Before storing, I make sure my squash are clean but haven’t actually washed them. But recently I’ve read that washing in mild dish soap and water or wiping down with a ¼ strength vinegar water mixture can help preserve them longer.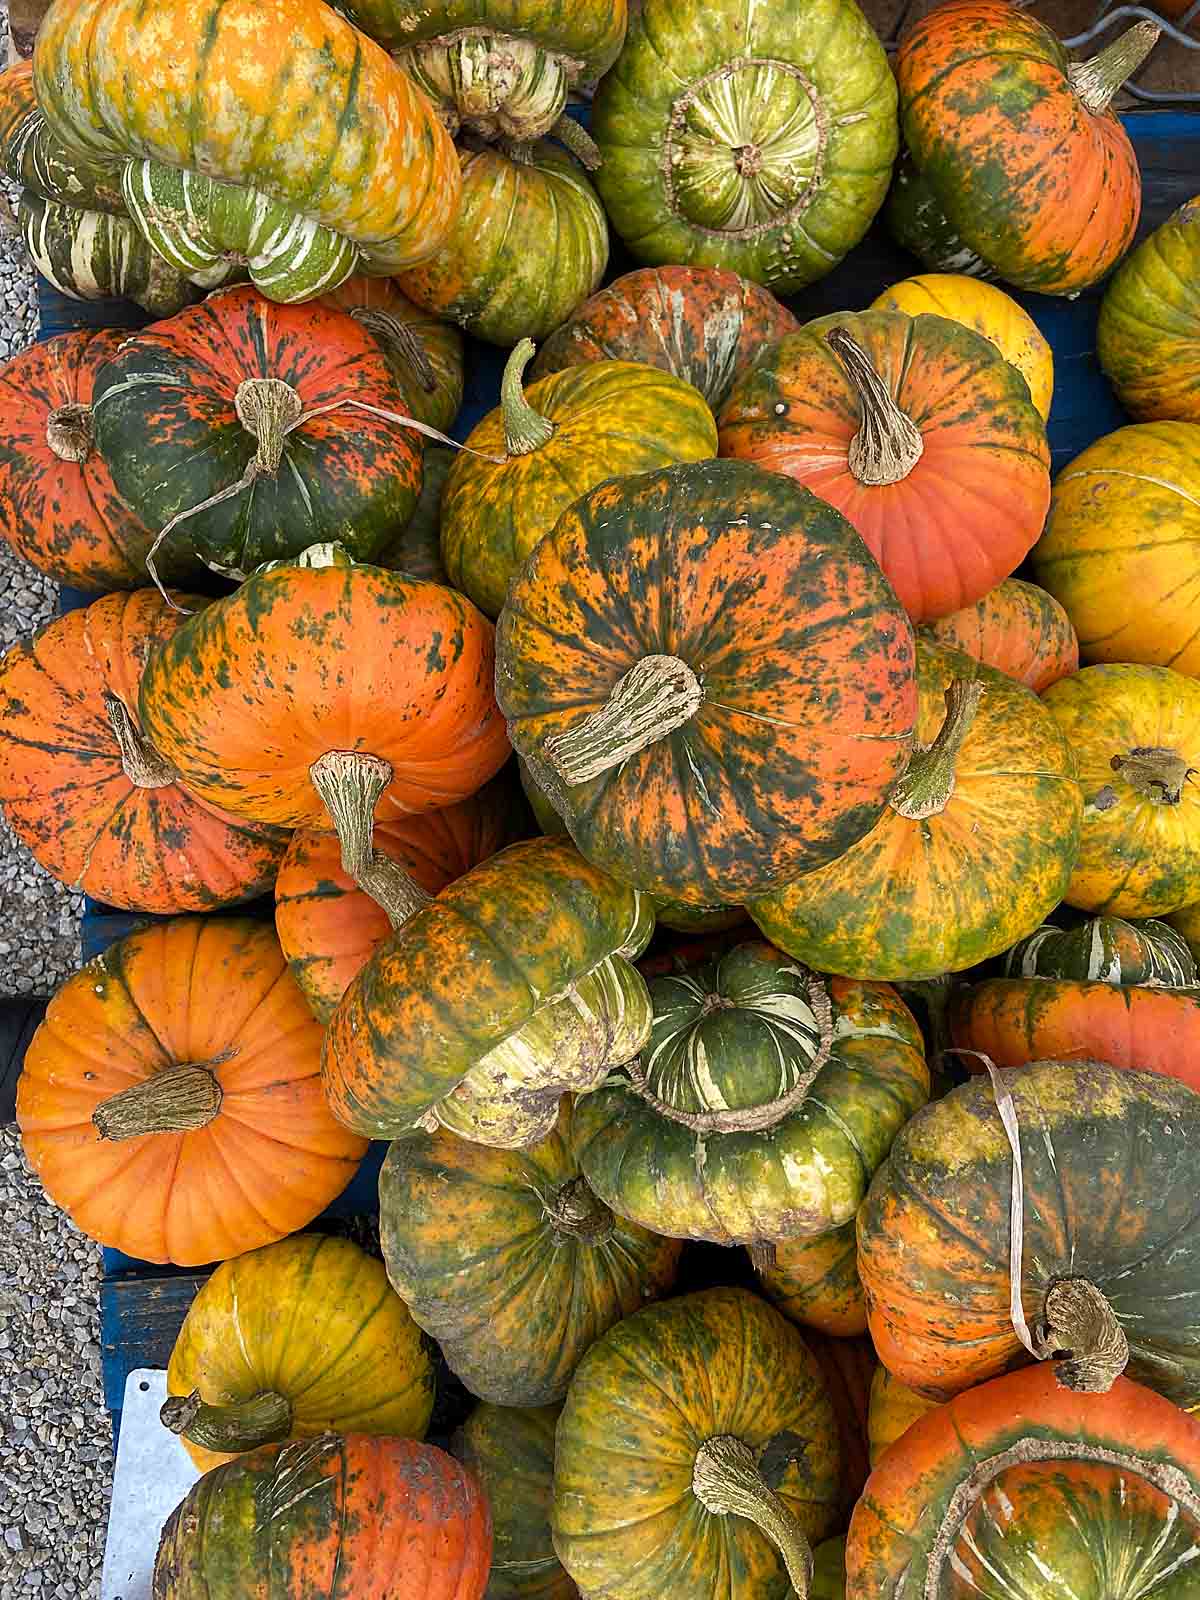
Inspect the squash before you store them and periodically thereafter. Eat those with any blemishes first. All squash does not keep equally well so eat the more tender varieties, like delicata first.
I like to store squash in a single layer which is another plus for the big squash!
Finally I’ve had mice get into my storage areas, and they love winter squash. So unless you are storing them in a tight new house, keep your eyes open for nibble marks. 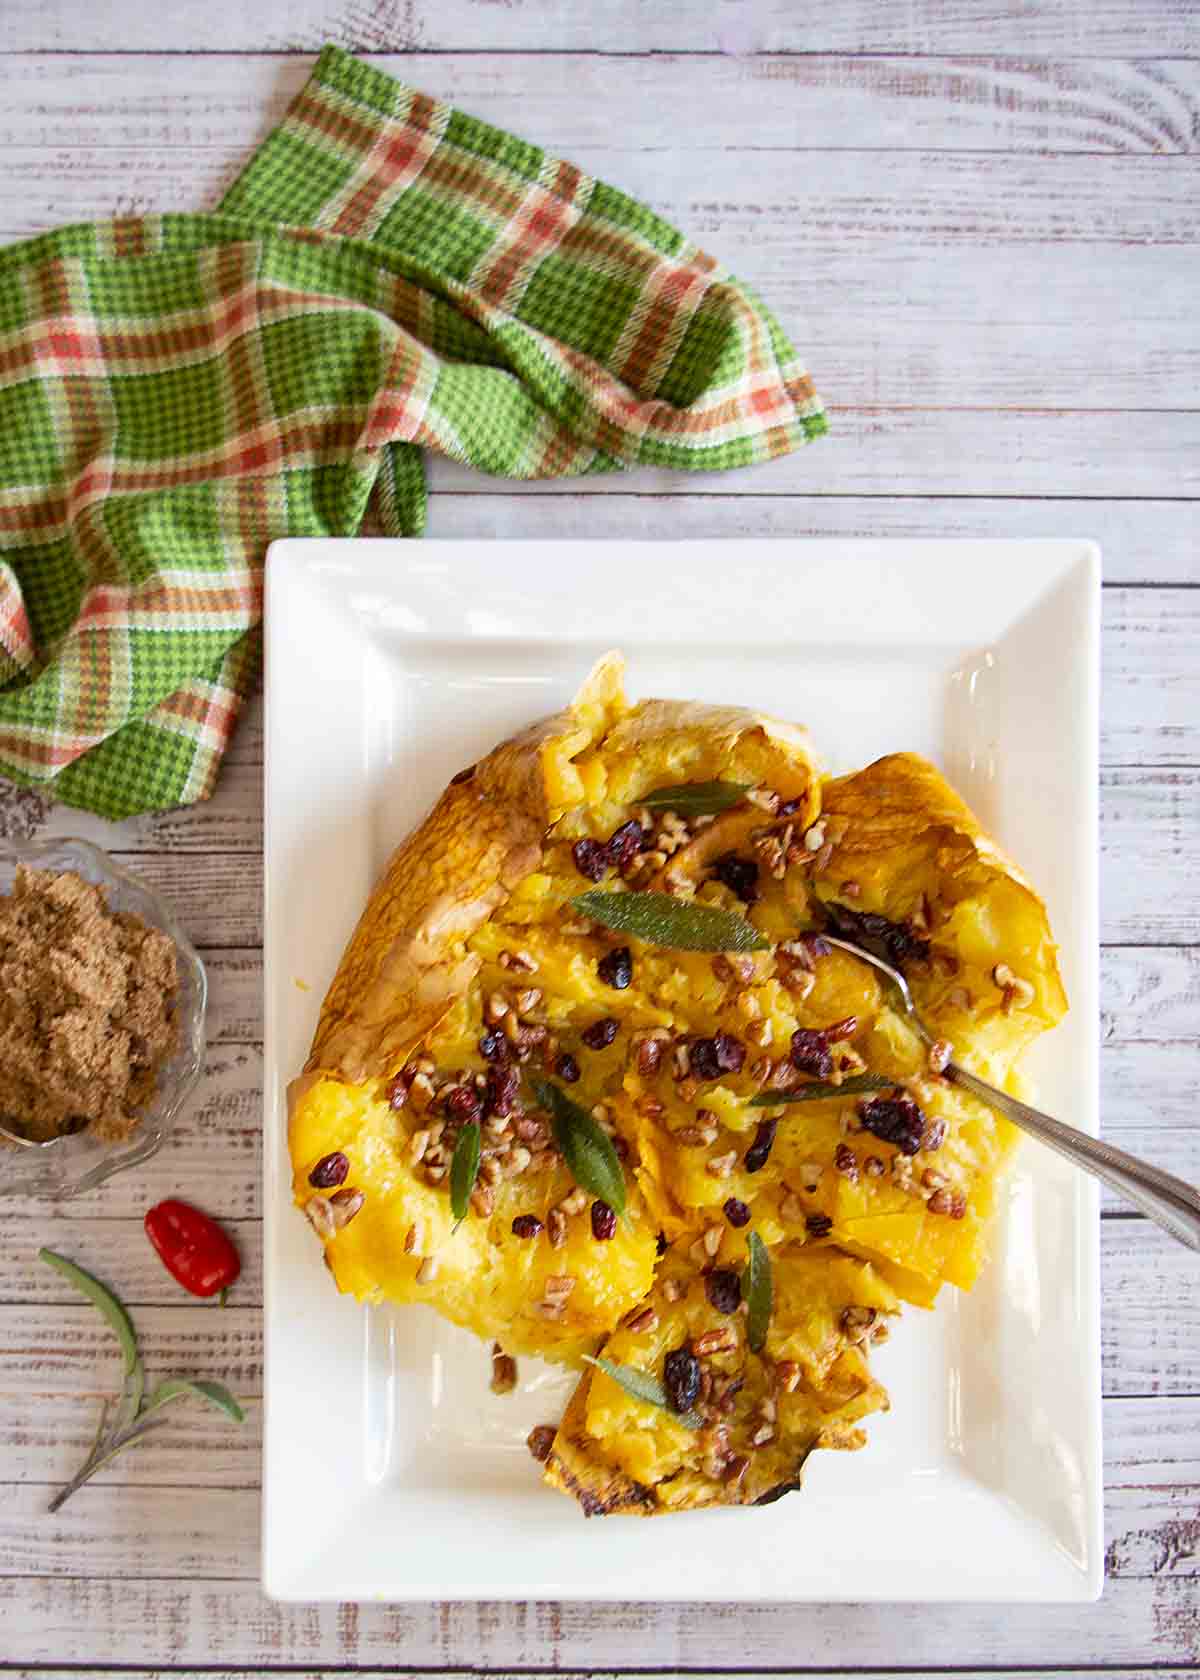
Tips & FAQs
The seeds come out plump and moist after whole roasting. While that sounds good, it might make roasting more difficult (did you know you can roast squash seeds like pumpkin seeds?) If you try it, let me know how it goes.
Here are more Side Dish recipes:
- 1 Hour Soft and Buttery Dinner Rolls from Hezzi-D’s Books and Cooks
- Apple Stuffing Muffin Cups from Blogghetti
- Braised Red Cabbage with Cranberry and Juniper from Palatable Pastime
- Carrot Peanut Slaw from A Kitchen Hoor’s Adventures
- Creamy Kale and Corn from Magical Ingredients
- Garlic Parmesan Green Beans from Cookaholic Wife
- Mashed Potato Gratin from Leftovers Then Breakfast
- Mashed Sweet Potatoes with Bacon & Chives from Sweet Beginnings
- Roasted Brussel Sprouts with Bacon, Pecans, and Cranberries from Jen Around the World
- Roasted Butternut Squash & Rice Salad from Jolene’s Recipe Journal
- Roasted Carrots with Carrot-Top Pesto from Kate’s Recipe Box
- Skillet Corn from Devour Dinner
- Whole Roasted Squash from Art of Natural Living

Whole Roast Buttercup Squash (or Any Winter Squash)
Ingredients
Squash:
- 1 buttercup squash or other winter squash
Optional Topping:
- ¼ cup butter or margarine or oil
- 3 Tablespoons pecan pieces
- 2 Tablespoons dried cranberries
- 12 fresh sage leaves optional
- Oil for frying the sage optional
- Brown Sugar and extra butter for serving
Instructions
- Preheat oven to 325F.
- Wash squash well and place on rimmed baking sheet. Bake for 1 - 2 hours (depending on size--see note below) until soft and starting to collapse.
- When squash is nearly done, prepare topping if using. In a small saucepan, brown pecan pieces in butter, then remove from heat but keep warm. In a small frying pan heat oil until a drop of water sizzles. Place a few fresh sage leaves in hot oil and cook until they stop sizzling. Use a fork to remove to a plate. Repeat with the remaining sage leaves.
- Remove squash from oven. Cut open with a large knife and expose inside of squash. Remove and discard seeds. Move squash to serving platter then drizzle with browned pecan butter and top with fried sage leaves and dried craanberries. Serve with brown sugar on the side.


Just wondering if anyone out in Cook Cookie Land has actually done this?
Lot of this seems like a good idea?
I tried it – had to cook longer. Almost 4 1/2 hours but I dropped the smaller onions and garlic cloves inside. Worked out so well and got 2 dinners and 2 breakfasts (garlic/onion/squash omelets… WOW! )
Hi John–
The year I posted this, I got over a dozen large squash that were left when the farmer I mentioned closed up their farmstand for winter. They were lots of different varieties and I cooked them all except a couple that went bad before I got to them. I believe there was one squash that wouldn’t get tender no matter what I did–I even tried boiling it after baking failed. So some squash are seriously tough! I’m glad yours finally worked!
I never thought of roasting other veggies with it–that’s a great idea!
The taste of the topping was good, but I baked a small buttercup squash at 325 for an hour as directed. After 2 hours and still not done I increased the temperature to 350. After 2.5 hours it was finally soft enough to scoop out the seeds. I didn’t find this to be an easier way to make squash. Bake at 350 or higher and it might be done in an hour.
Such a good idea! And great tips. I have a little pumpkin leftover. I might just try that for dinner tonight.
The size of the squash always puts me off buying a big one! When we get a few from backyard, we cut and distribute within friends! But your tips are very informative on how to roast a big one and stoing them too! I am to try your recipe! Great info and a great recipe!
When I was able to get the big squash so inexpensively at the end of the seasons, I knew I needed this!
Your directions and step by step photos are great. What a fun recipe.
Thanks Rebecca!
So genius! Less work and all the flavor! The addition of the fried sage leaves takes it over the top!
I actually have some sage potted so get me through the holidays!
Love this recipe!
So many great tips! Love that it’s done whole because cutting squash is always a dicey proposition for me LOL
Me too Jolene!
This looks like the perfect side dish. I love butternut squash.
That works especially well for this with the seedless neck of the butternut!
What a lovely side dish and I love all of the flavors
Thanks Lisa!
I usually eat the pips as well as the flesh but as Dave is not a fan, I seldom buy squash.
It’s very much a winter staple here. Which I guess makes sense since it’s native to North/South America. I know a fellow student in Ireland (many years ago) had a very hard time finding a pumpkin to make pie.
I totally agree with the knife issue, removing squash skin is one of the dangerous activities you can do in your kitchen, your method here totally eliminates that.
If I need cubed squash for a recipe I often buy it pre-cubed, I hate cutting it up so much!
Yum! Love that you added cranberries and pecans to the squash.
You eat with your eyes first right!
Know what you mean about the fear of cutting into an uncooked winter squash! This looks like a wonderful method — gotta give it a try. Thanks!
I was really excited when roasting the squash whole worked so well!
I’ve never roasted a whole squash like this. It seems like a great idea, especially when the skin is so tough. I will give your method to try… When I use squash for soups, I like to rust at first, and this is a great way to get that taken care of without any fuss.
I usually roast squash before making soup too–so much easier than peeling. Now I’ll do it even easier!