Sous Vide Yogurt (or Regular Homemade Yogurt)
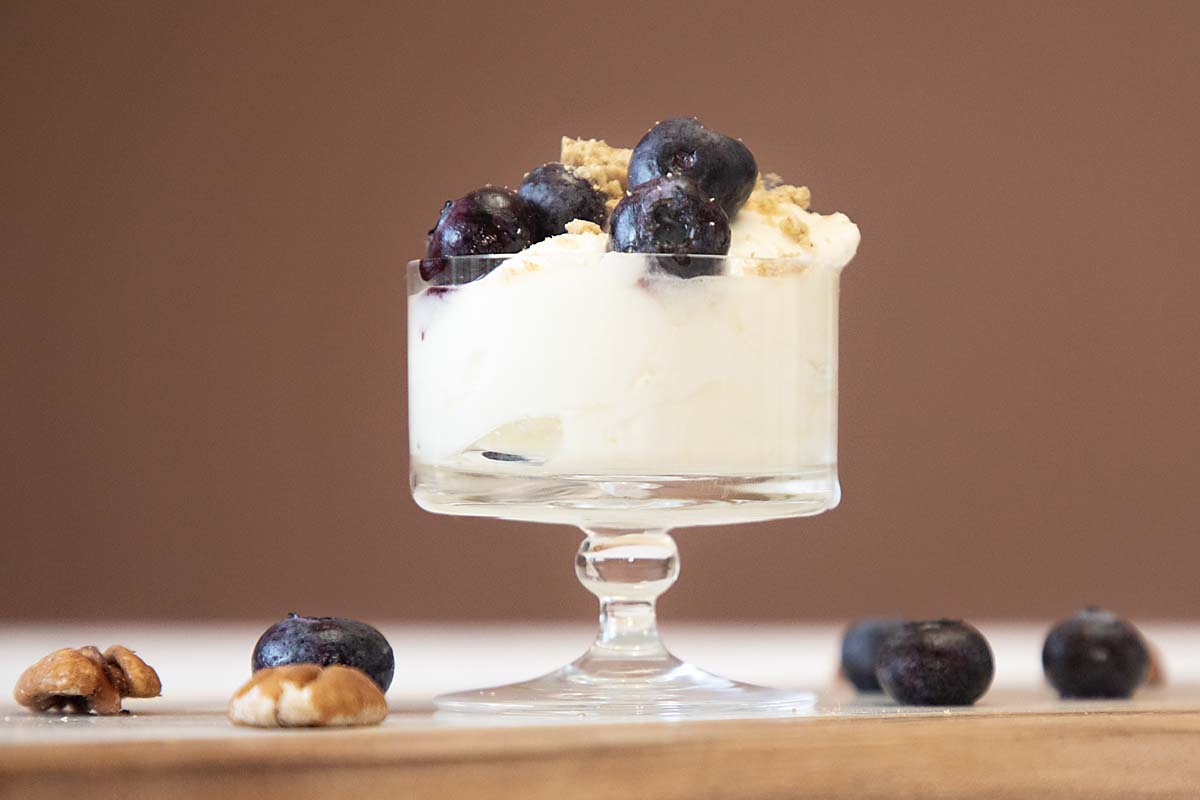
Thick, creamy and nutritious, it’s easy to make sous vide yogurt at home. Great for breakfast, desserts and even as a sour cream substitute.
I recently started making yogurt again! And just like I remembered, it’s lots of fun–plus I love the ability to control my ingredients!
Yes, over the decades, err, years, I’ve made a lot of yogurt. I even made it in my college dorm room in a big thermos bowl on top of my radiator!
Tart, creamy and healthy, yogurt is great for breakfast or snacking and can be used in so many different ways, from smoothies to Key Lime Yogurt Pie!
Today I make sous vide yogurt because it’s super easy and gives you lots of control. Plus I love a gadget that can be used for a variety of things. But the tips I am sharing will enhance your yogurt making even if you use a devoted yogurt maker or an instant pot.
What is Yogurt and What’s New in Science
Per Wikipedia, yogurt “is a food produced by bacterial fermentation of milk. The bacteria used to make yogurt are known as yogurt cultures. Fermentation of sugars in the milk by these bacteria produces lactic acid, which acts on milk protein to give yogurt its texture and characteristic tart flavor.”
And here’s something hot off the presses! Yogurt is attracting more and more attention from the medical community as the importance of the gut microbiome (the bacteria, yeasts, etc. in your digestive systems) is better understood.
Yes, scientists are now learning that the specific organisms in your gut can impact your overall health—not just your gut health. Hopefully someday doctors will be able to address specific conditions like diabetes or arthritis simply by altering the gut microbiome.
In the meantime, yogurt is a tasty and healthy food that’s fun to make at home.
Why You’ll Love This!
By going homemade, you can:
Control your ingredients. If you’d like, you can go organic, eliminate artificial thickeners & gums, or even use a specific culture. All good!
Thick and Tasty. My recipe is naturally thick and flavorful.
Calcium rich. Avoid the loss of calcium that comes from common methods of making Greek yogurt.
What You’ll Need
Ingredient Notes
- Inulin. Optional. This is a prebiotic and helps to feed the yogurt culture.
- Milk. This is the base for your yogurt.
- Powdered milk. This helps the yogurt thicken and adds additional nutrition.
- Starter culture. I use Lifeways Kefir for my starter culture.
Special Tools
- Sous vide equipment or alternative, like a yogurt maker. I use an Anova sous vide.
Step by Step Directions
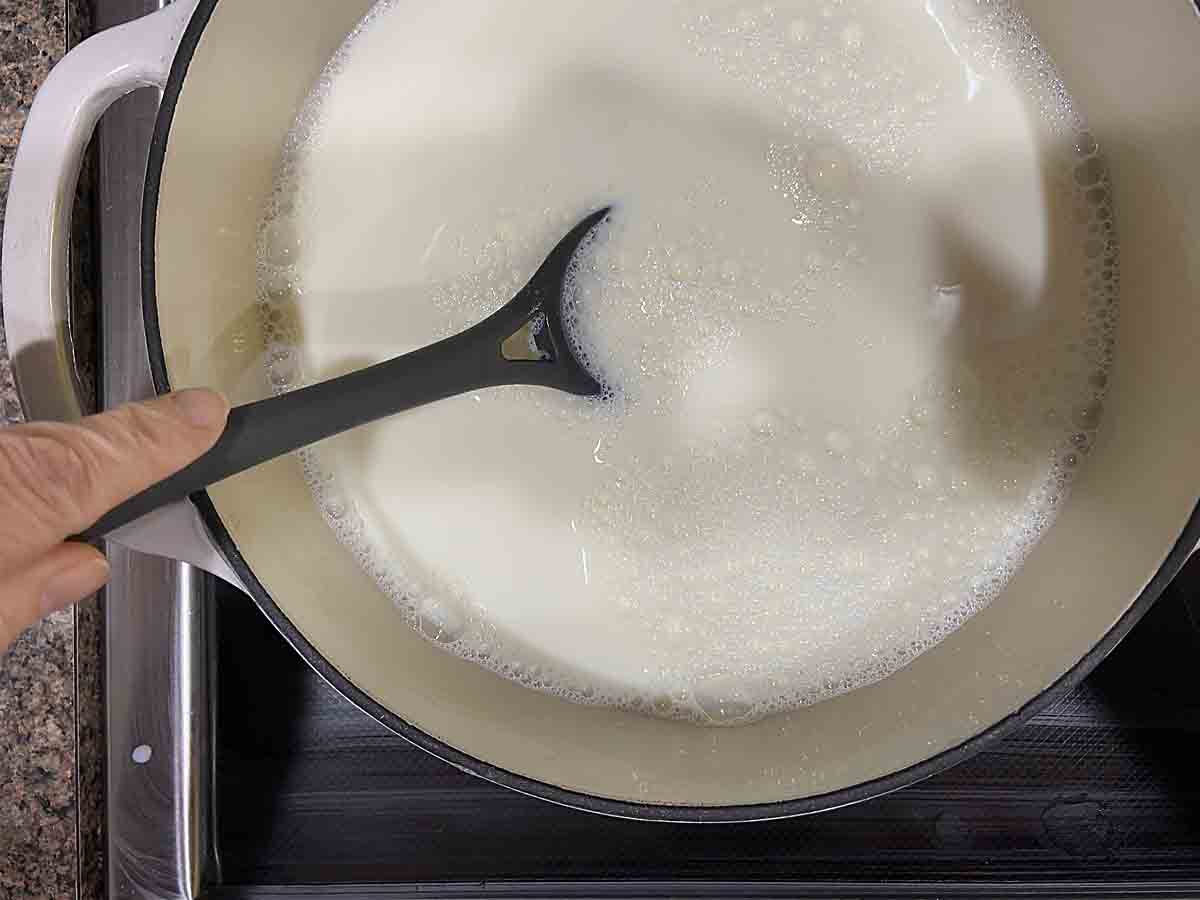
Optional but recommended. Heat your milk to 180 F and hold it there for 30 minutes. I heat mine on the stove in a Dutch Oven then move it to a 180F oven. This will denature the milk proteins and result in a (slightly) creamier yogurt. Let it cool to 110F.
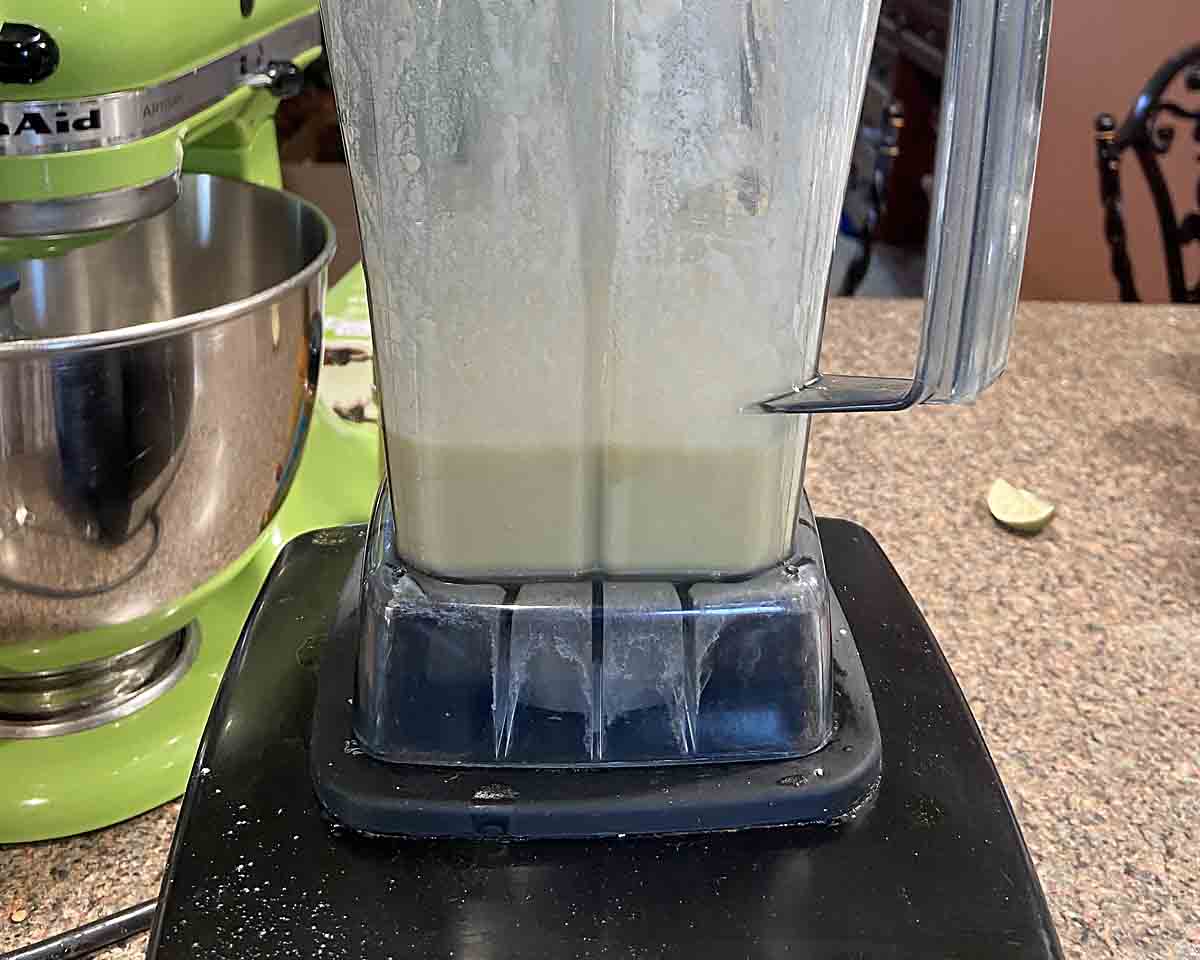
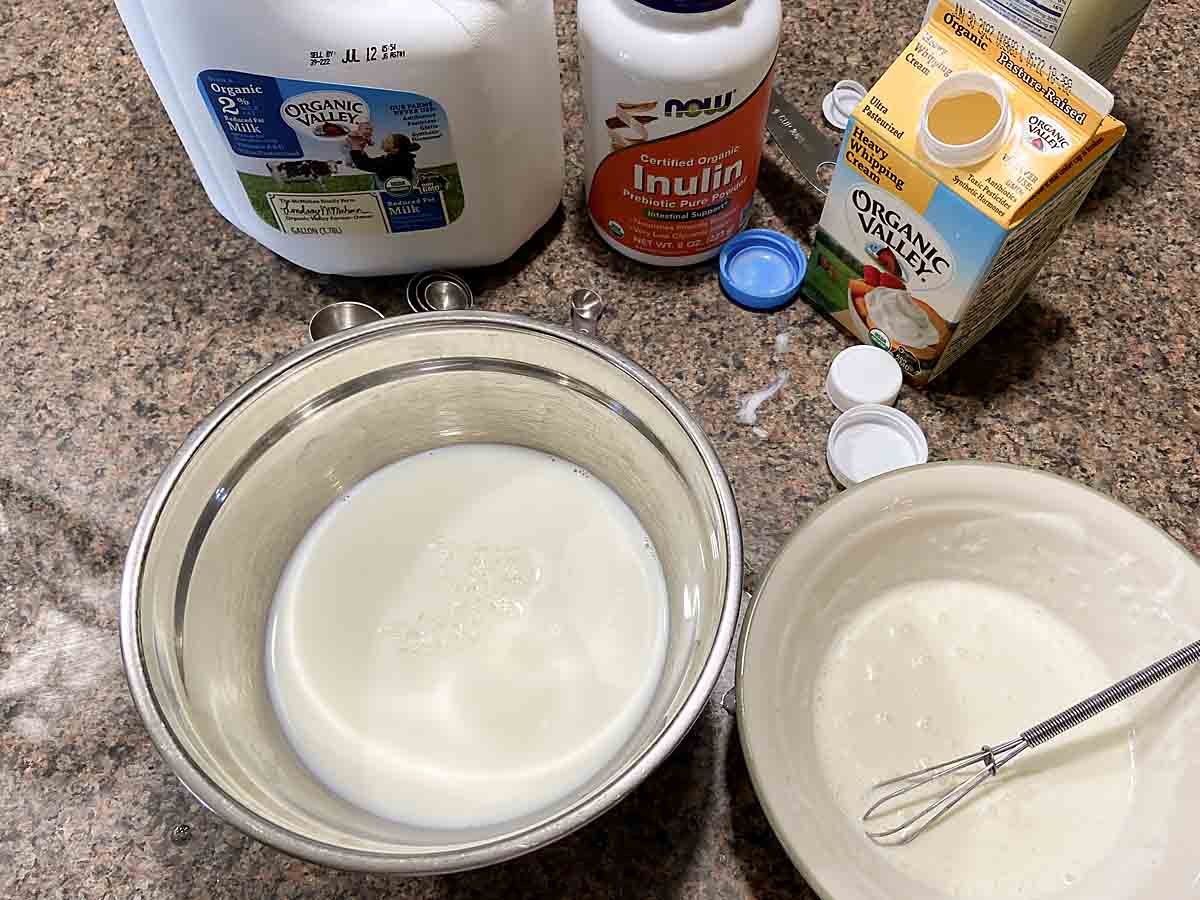
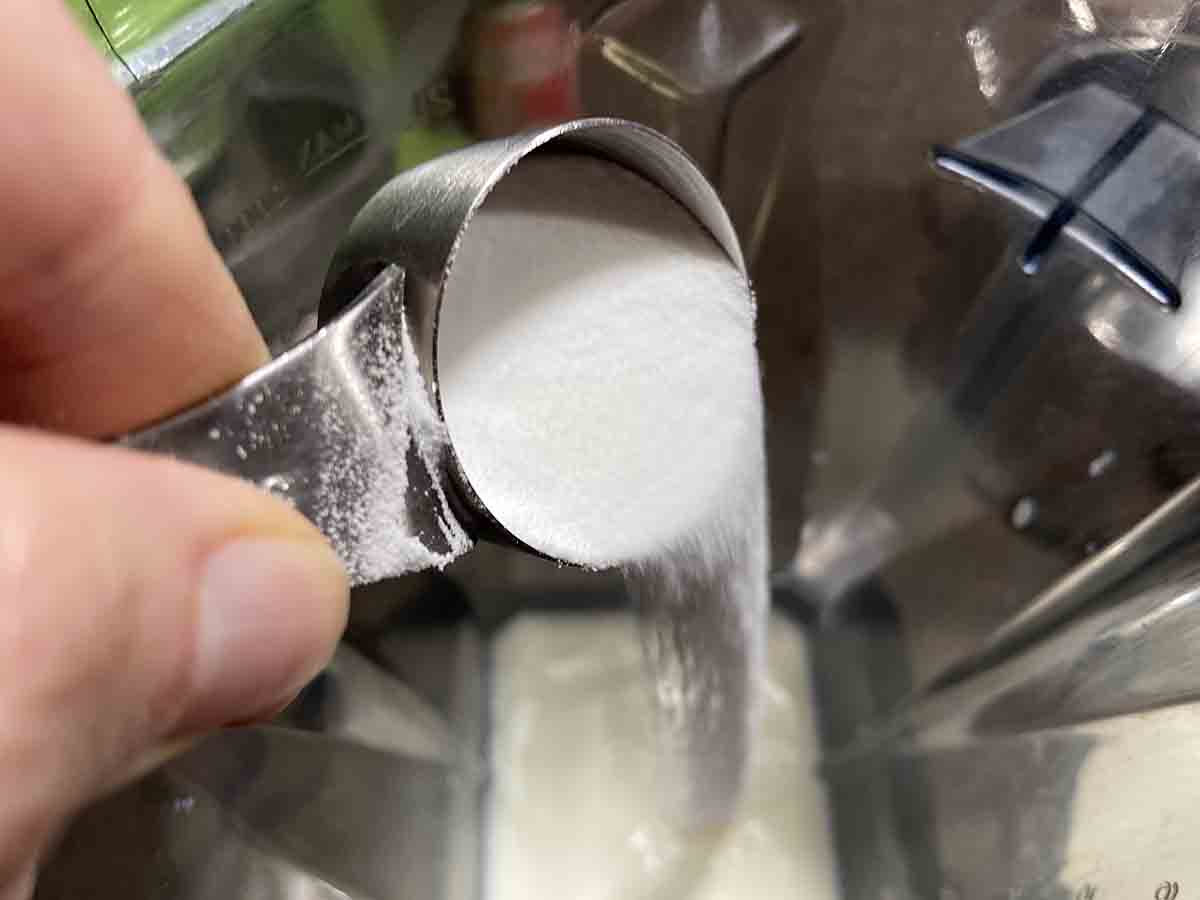
In a blender, mix inulin (if using), powdered milk, and one cup of milk. You want to make sure the the powder is dissolved in the milk. If there is a little residue in the blender, that’s okay. I like to get the milk agitating, then gradually pour in the powdered milk to minimize anything not blended.
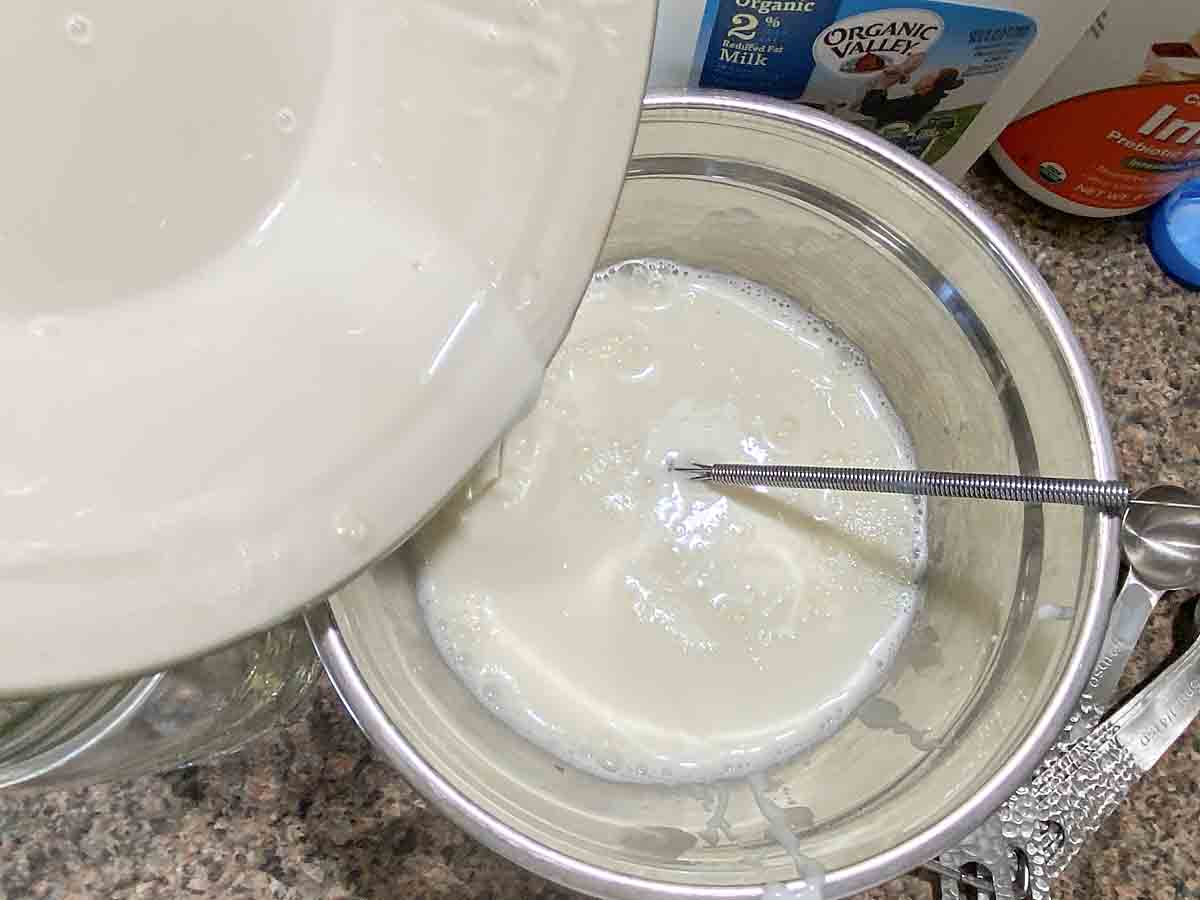
Stir remaining milk into the mixture, then whisk in your starter culture by hand.
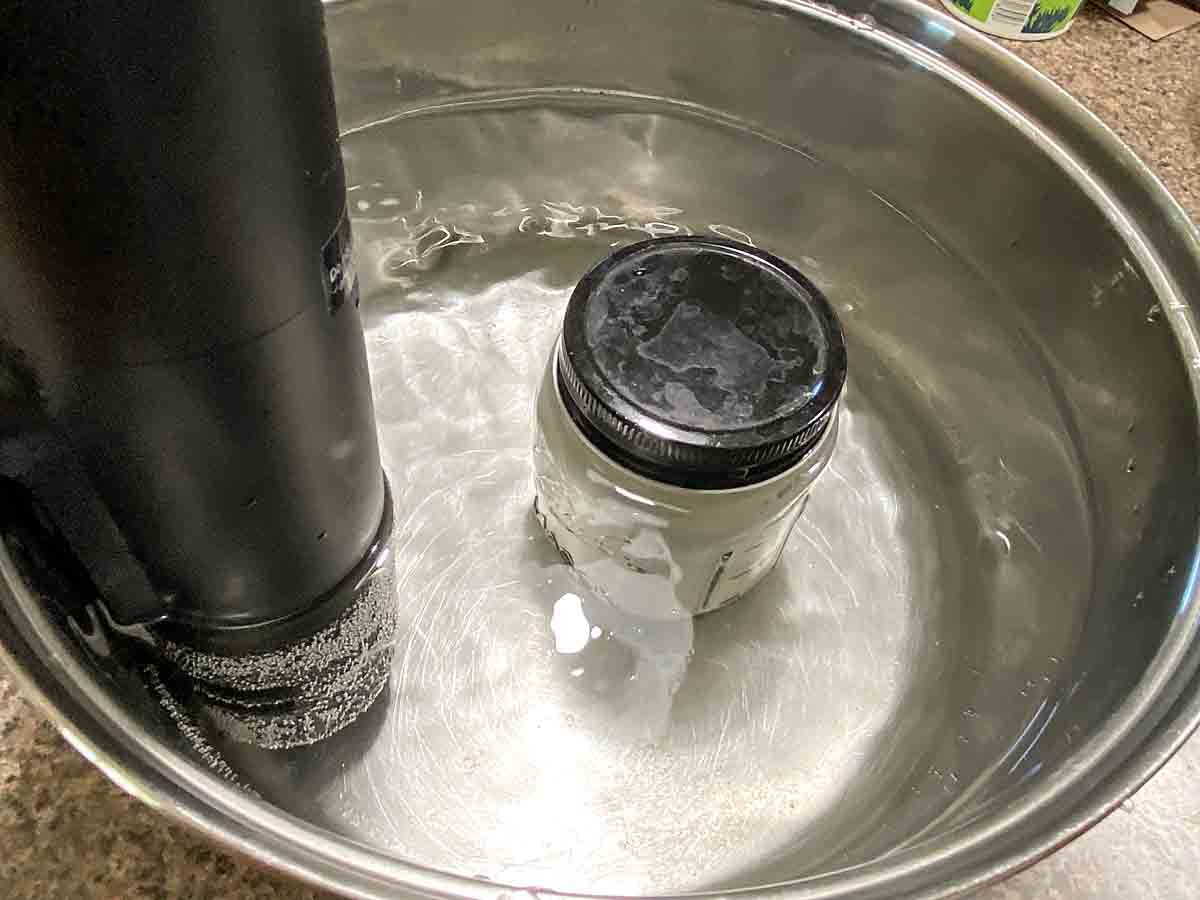
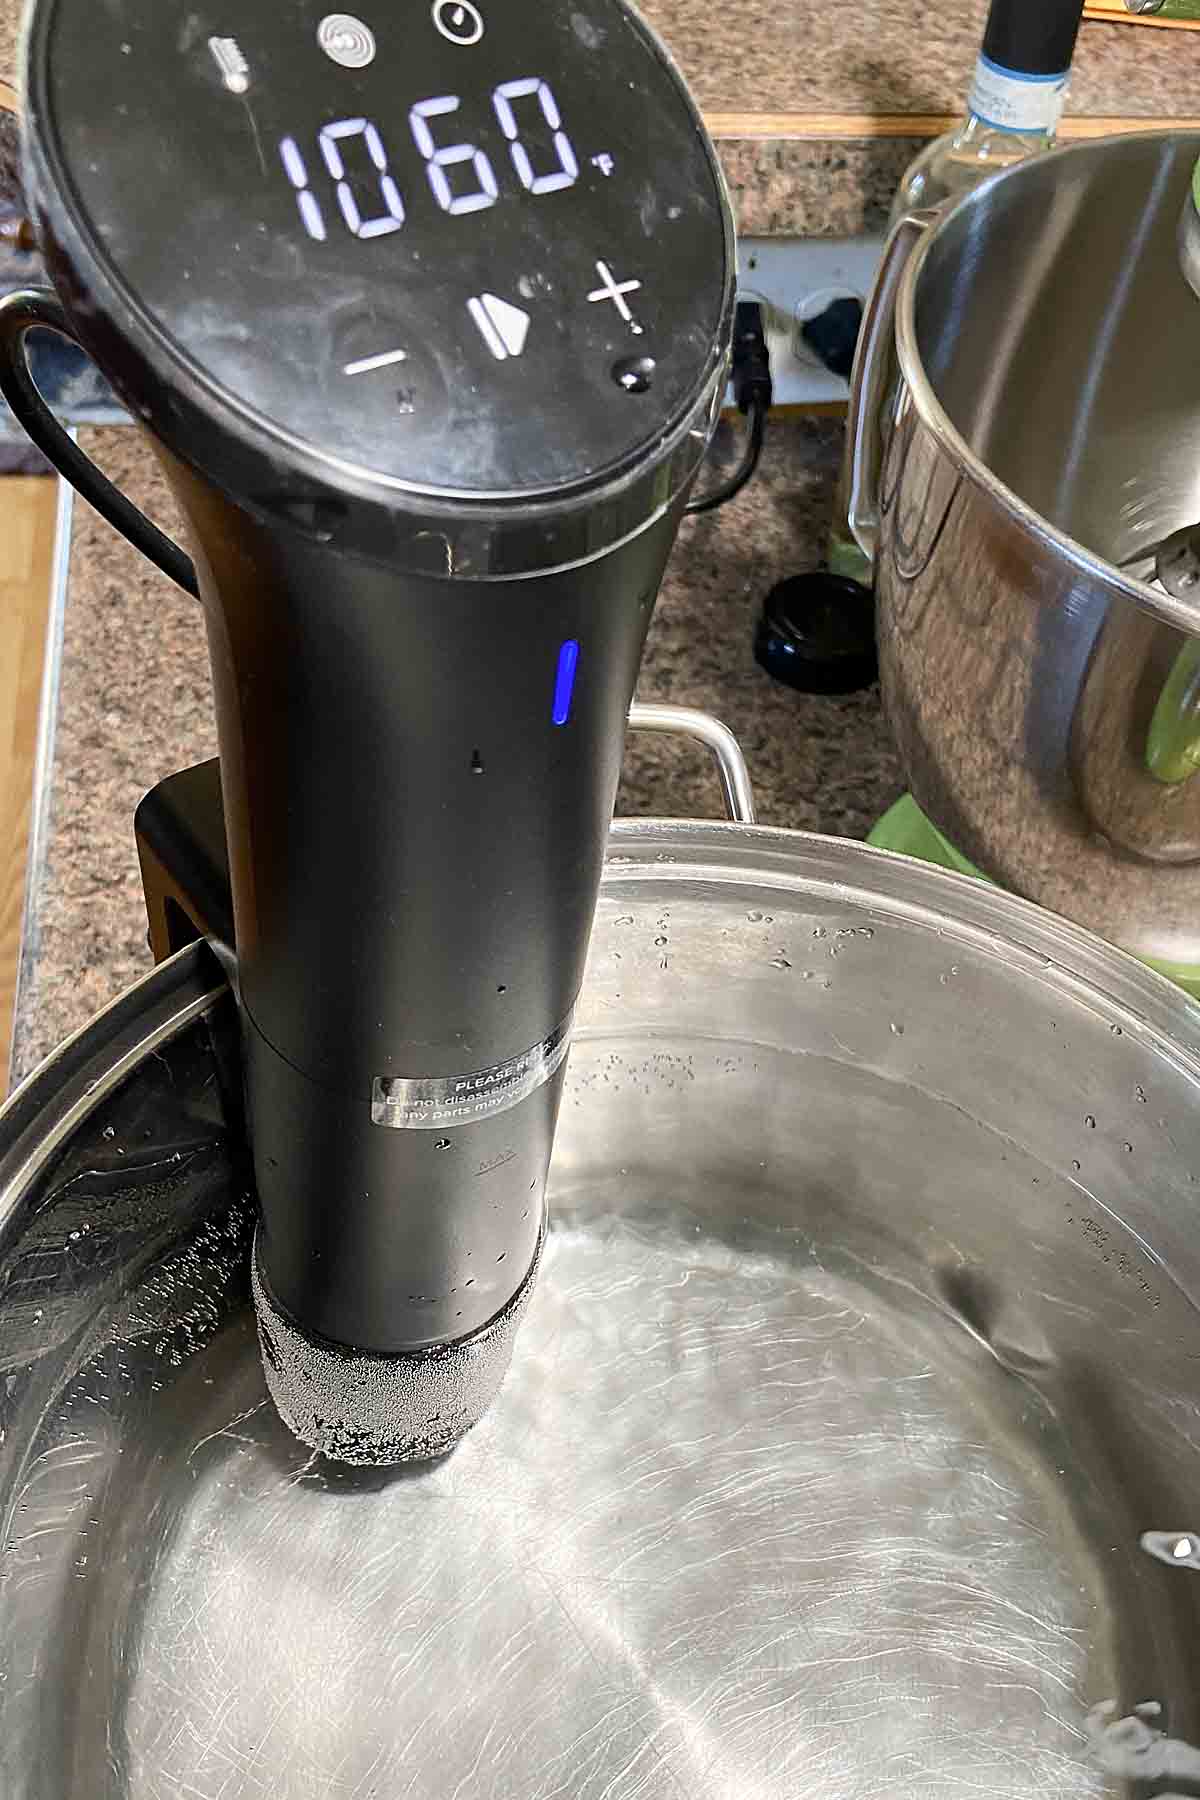
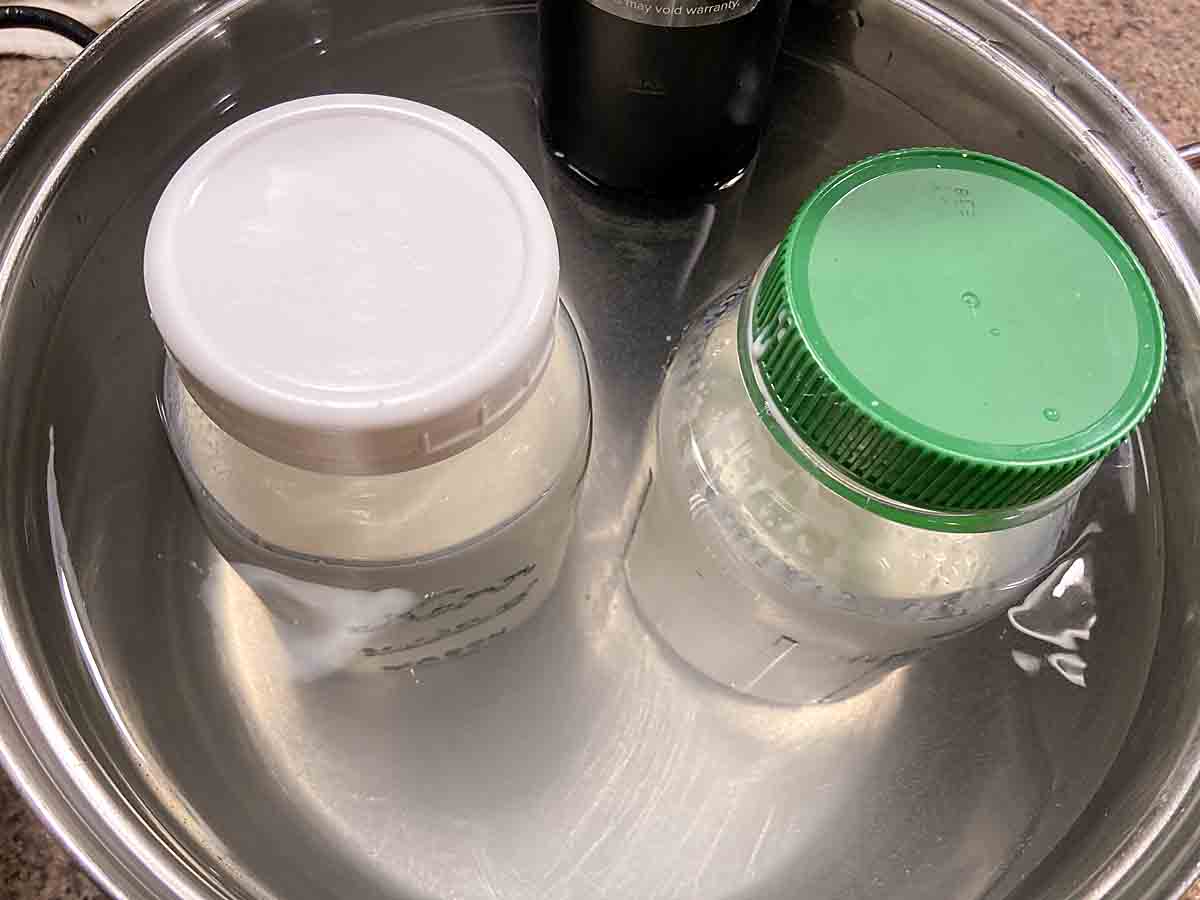
Place in a glass jar and cover. Following your sous vide directions, heat at 106F for 24 hours, then cool in refrigerator.
How to Make Thick Yogurt
Thick yogurt is everyone’s dream—that’s why Greek yogurt is so popular. But did you know there is a downside to the most common method of making commercial Greek yogurt?
The Downside of (Most) Greek Yogurt
Yes, Greek Yogurt is a nice thick yogurt that has great mouthfeel and works well in lots of recipes. It is (usually) created by straining off some of the liquid after the yogurt is done. Unfortunately, this has a drawback–drained yogurt has less calcium than the original.
The reason is that the discarded liquid (the whey) has lots of calcium in it. This phenomenon is not unique to yogurt but also occurs in some more acidic cheeses like feta–see Cheese Science). Since I know I need more calcium in my diet this is a problem for me.
Other ways to create thick yogurt
Happily, there are other ways to create thick yogurt. Thickness is influenced by a variety of factors like the culture selection, the fermentation time and the level of milkfat. My sister makes hers thick by using half and half instead of milk.
But my favorite solution is the addition of a little powdered milk. This means that not only do you not lose part of the original calcium, you add a little more—along with some milk solids that help with thickening.
A third common method is to add gelatin. While this is a natural additive (just not vegetarian), when I tried it, my yogurt was the slightest bit rubbery and less creamy. More experimentation might fix this but since adding milk powder worked so well, I stopped experimenting.
Other Yogurt Making Choices
There are a lot of decisions here for a simple 4-ingredient recipe! And it would be easy to write pages and pages on the this and perhaps someday I’ll write “Yogurt 102.” But here is a (relatively) quick summary of my choices.
I did a lot of experimentation to create this recipe and I plan to continue experimenting. But if you want to change things, be warned that a percentage of experiments will result in poorer results or complete failure!
Milk Choice
With the recipe here, I have successfully made nice thick yogurt with many different types of milk. I have used raw (aka unpasteurized, legal in some states), pasteurized and ultra-pasteurized (ultra-heat treated) milk. They all worked successfully. I have also varied the milkfat levels, using skim, 2% and whole milk with success.
My sister uses half and half–and in general more fat produces a creamier yogurt. But for simplicity, I would suggest using whatever milk you use for drinking.
Starter Culture
The culture you use can impact the taste and thickness of your yogurt—and potentially some of the specific benefits. I start my yogurt with Lifeway Kefir which is readily available and has 12 different organisms.
After the initial batch, I use a couple Tablespoons of yogurt from my prior batch. If my prior yogurt has gotten a little old, I start with fresh new kefir again.
Inulin
Inulin is a pre-biotic, or “food” for the cultures. I buy it online and my biggest caution is to keep it dry and sealed or you will end up with an unusable inulin rock. Ask me how I know this.
Culture Temperature
Temperature selection is one place where sous vide really shines, since it allows so much flexibility.
Most yogurt is cultured around 110F. But different starter cultures have different temperature ranges at which they grow better or die. Temperatures can also impact the texture and tartness of the yogurt. I usually use 106 F but I’m confident this recipe will work at standard yogurt maker temperatures too.
How Long to Culture
Did you know that you can culture your yogurt for different lengths of time? The minimum is whatever it takes to get thick (usually about 8 hours) and the maximum is about 36 hours. The theory behind longer times is that they reduce the lactose even more and produce higher numbers of beneficial bacteria. I usually culture for 24 hours.
In theory a longer culturing time might also increase the likelihood of food safety issues because you can also grow more of a bad organism. So always remember, if your yogurt smells, looks or tastes bad (and don’t taste it if it smells or looks bad), throw it out, sterilize your equipment, get fresh ingredients, and start over.
Flavored versus Plain Yogurt
I usually flavor my yogurt after it is finished, and I do this for a variety of reasons.
The biggest reason is that I like the flexibility to add flavor later–or not, depending on how I decide to use it. That way I can mix some of it with berries for breakfast and then add a dollop to my baked potato at dinner. Yogurt makes a great sour cream substitute and I recently squeezed it all over my Steak Nachos!
My second reason is that, while your yogurt is culturing, sugar can feed some less-desirable organisms. Since yogurt making is basically growing bacteria, I prefer to be as safe as possible.
Third, if you sweeten it later, everyone can sweeten and flavor to taste. I’ll use (a little) stevia while my kids will use (more) sugar. I might add blueberries and vanilla one day and apples and cinnamon the next.
And finally, the couple of times I tried flavoring the yogurt from the start, I was less happy with the results.
Leftovers
The standard answer to how long to keep leftover yogurt is two weeks. I find that my yogurt lasts longer, though the older it gets the more risk you run of spoilage or quality degradation.
How to Serve
There are so many ways to use yogurt, for both sweet and savory dishes!
Sweet dishes are probably the most well known. These include:
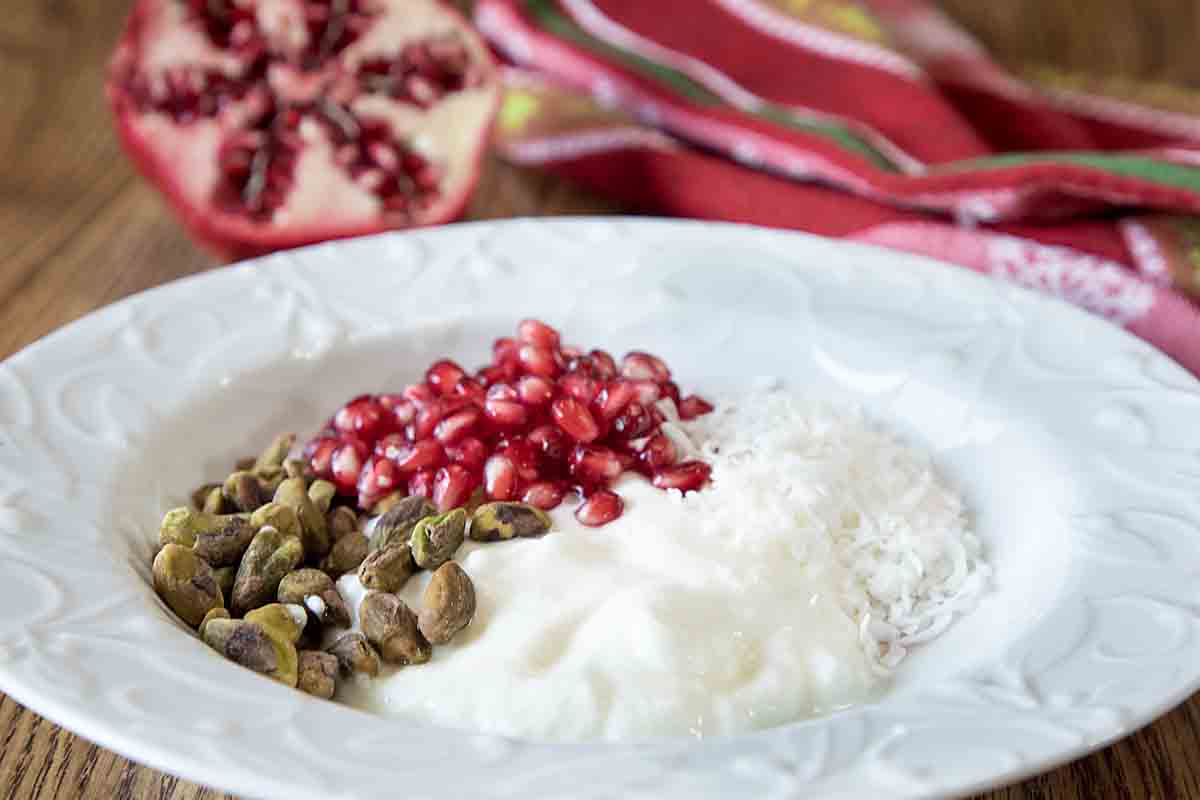
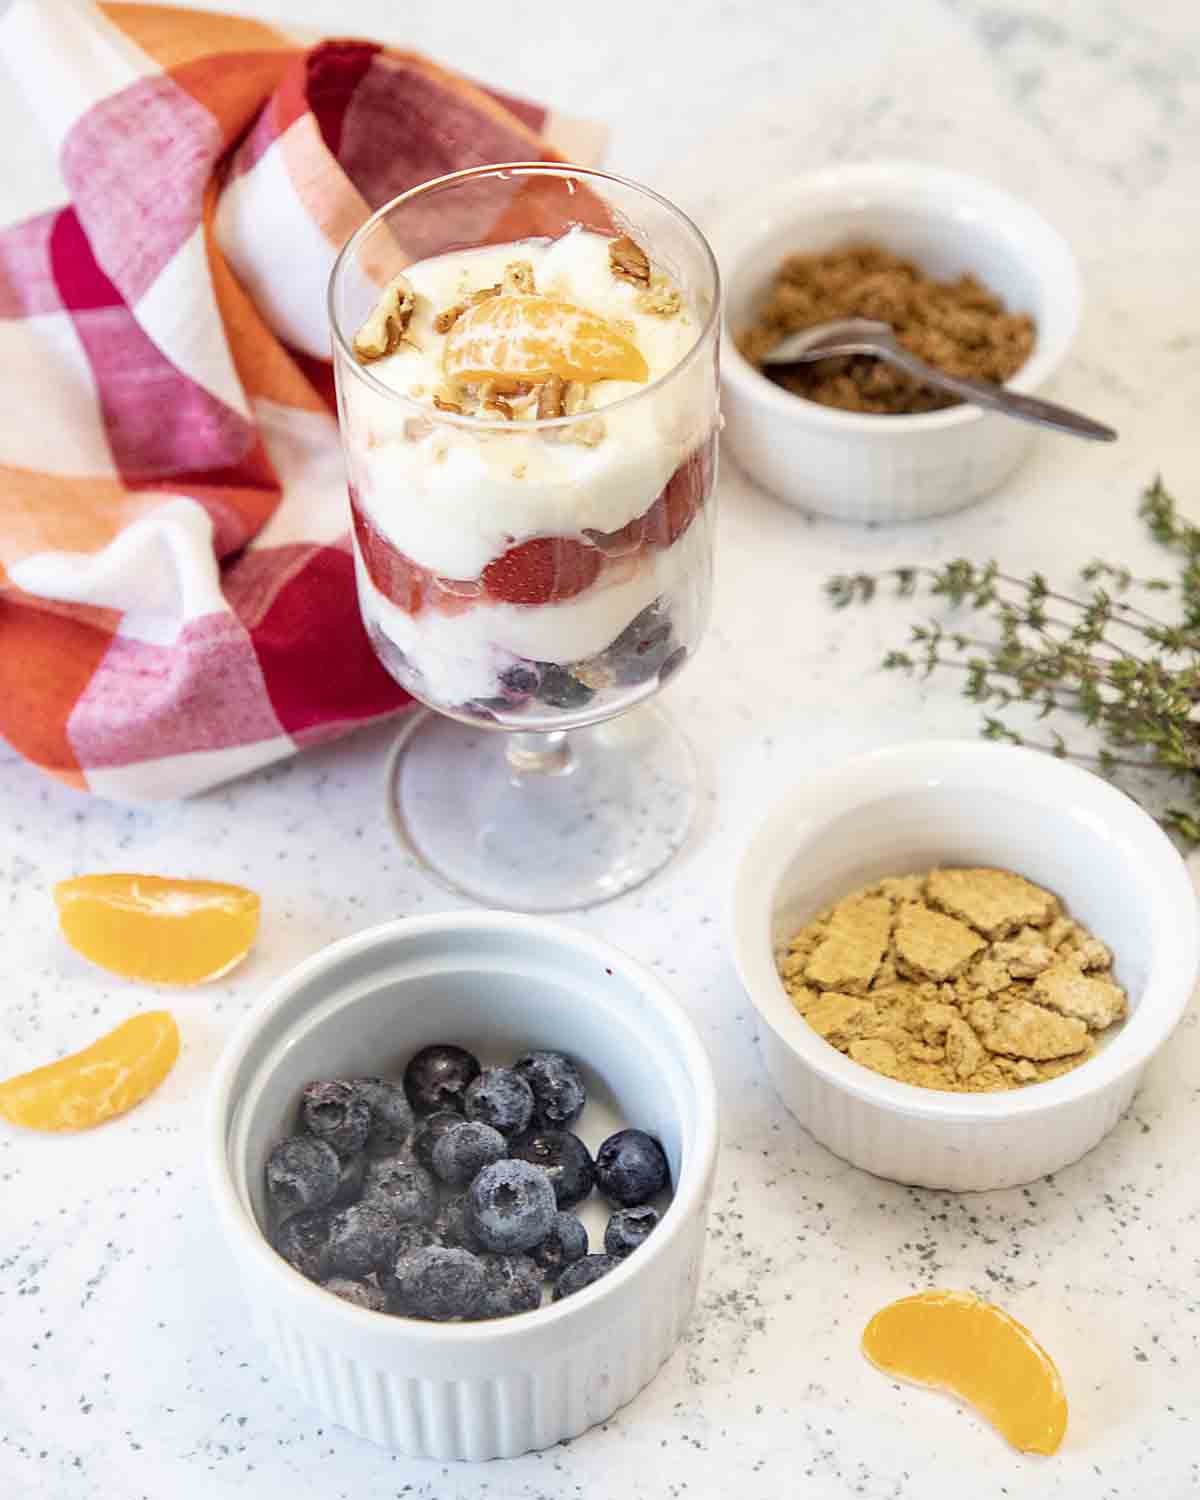
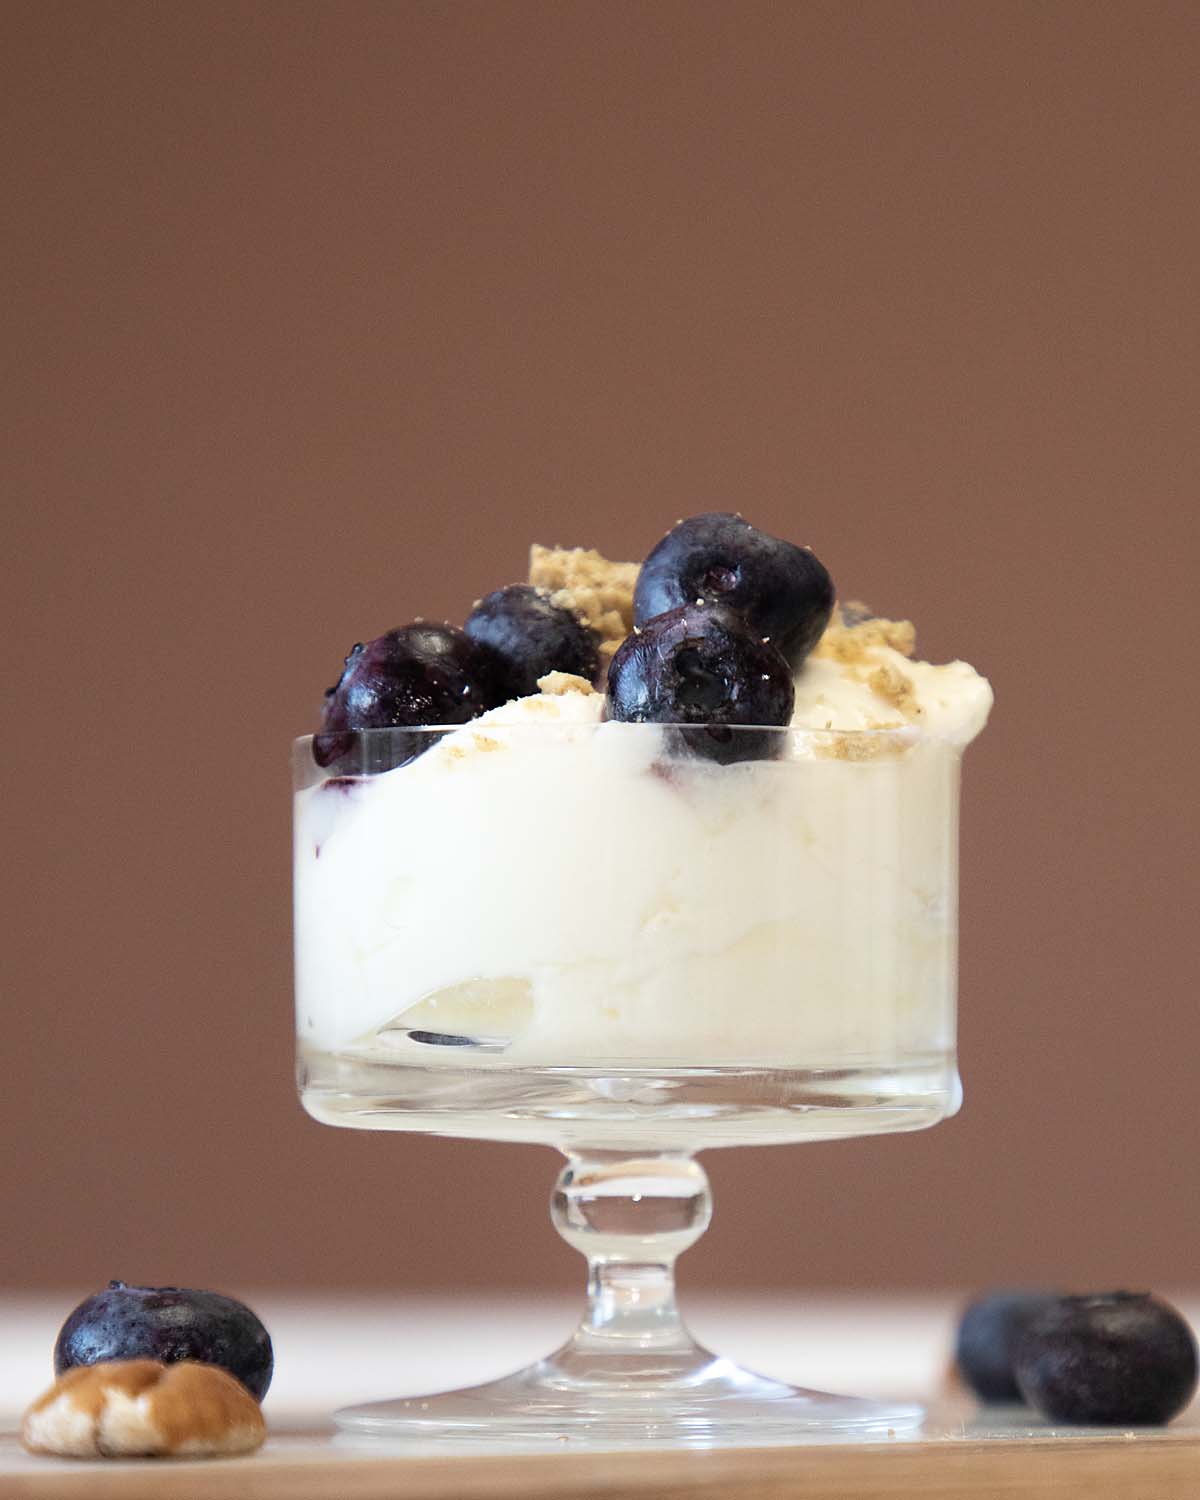
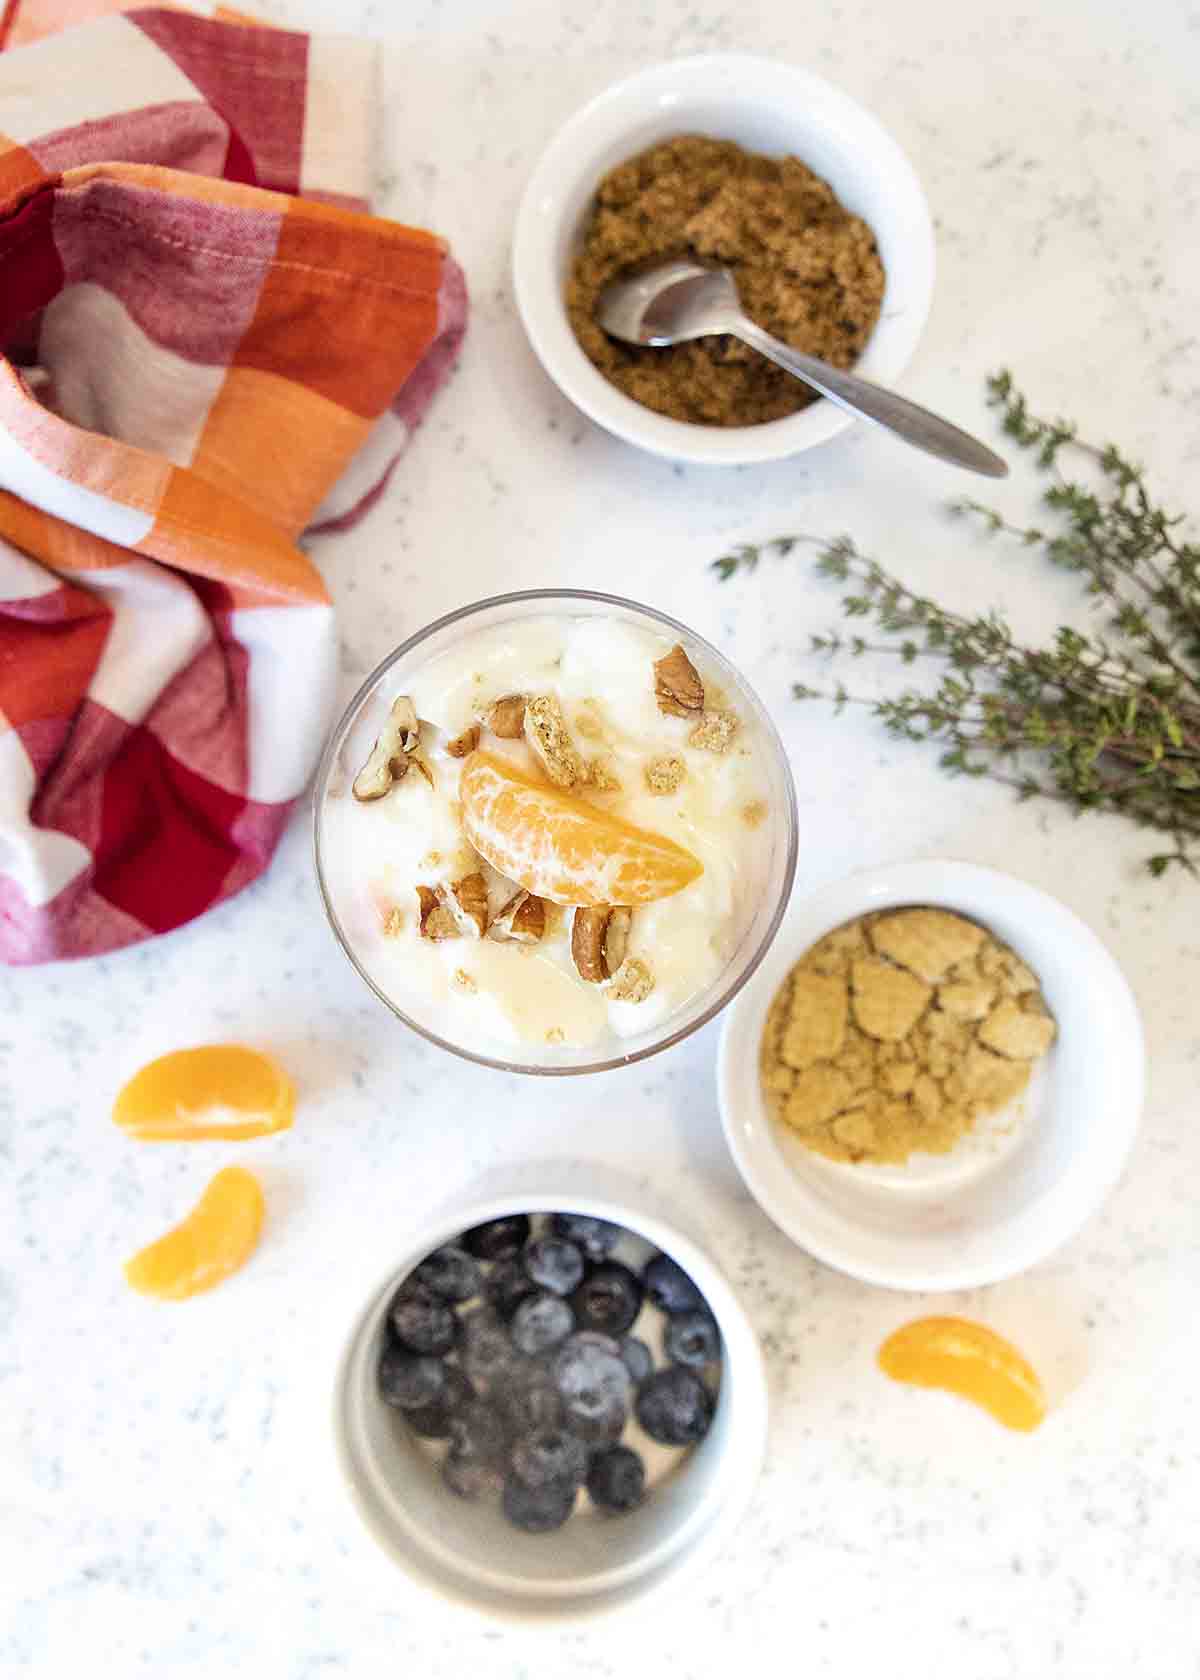
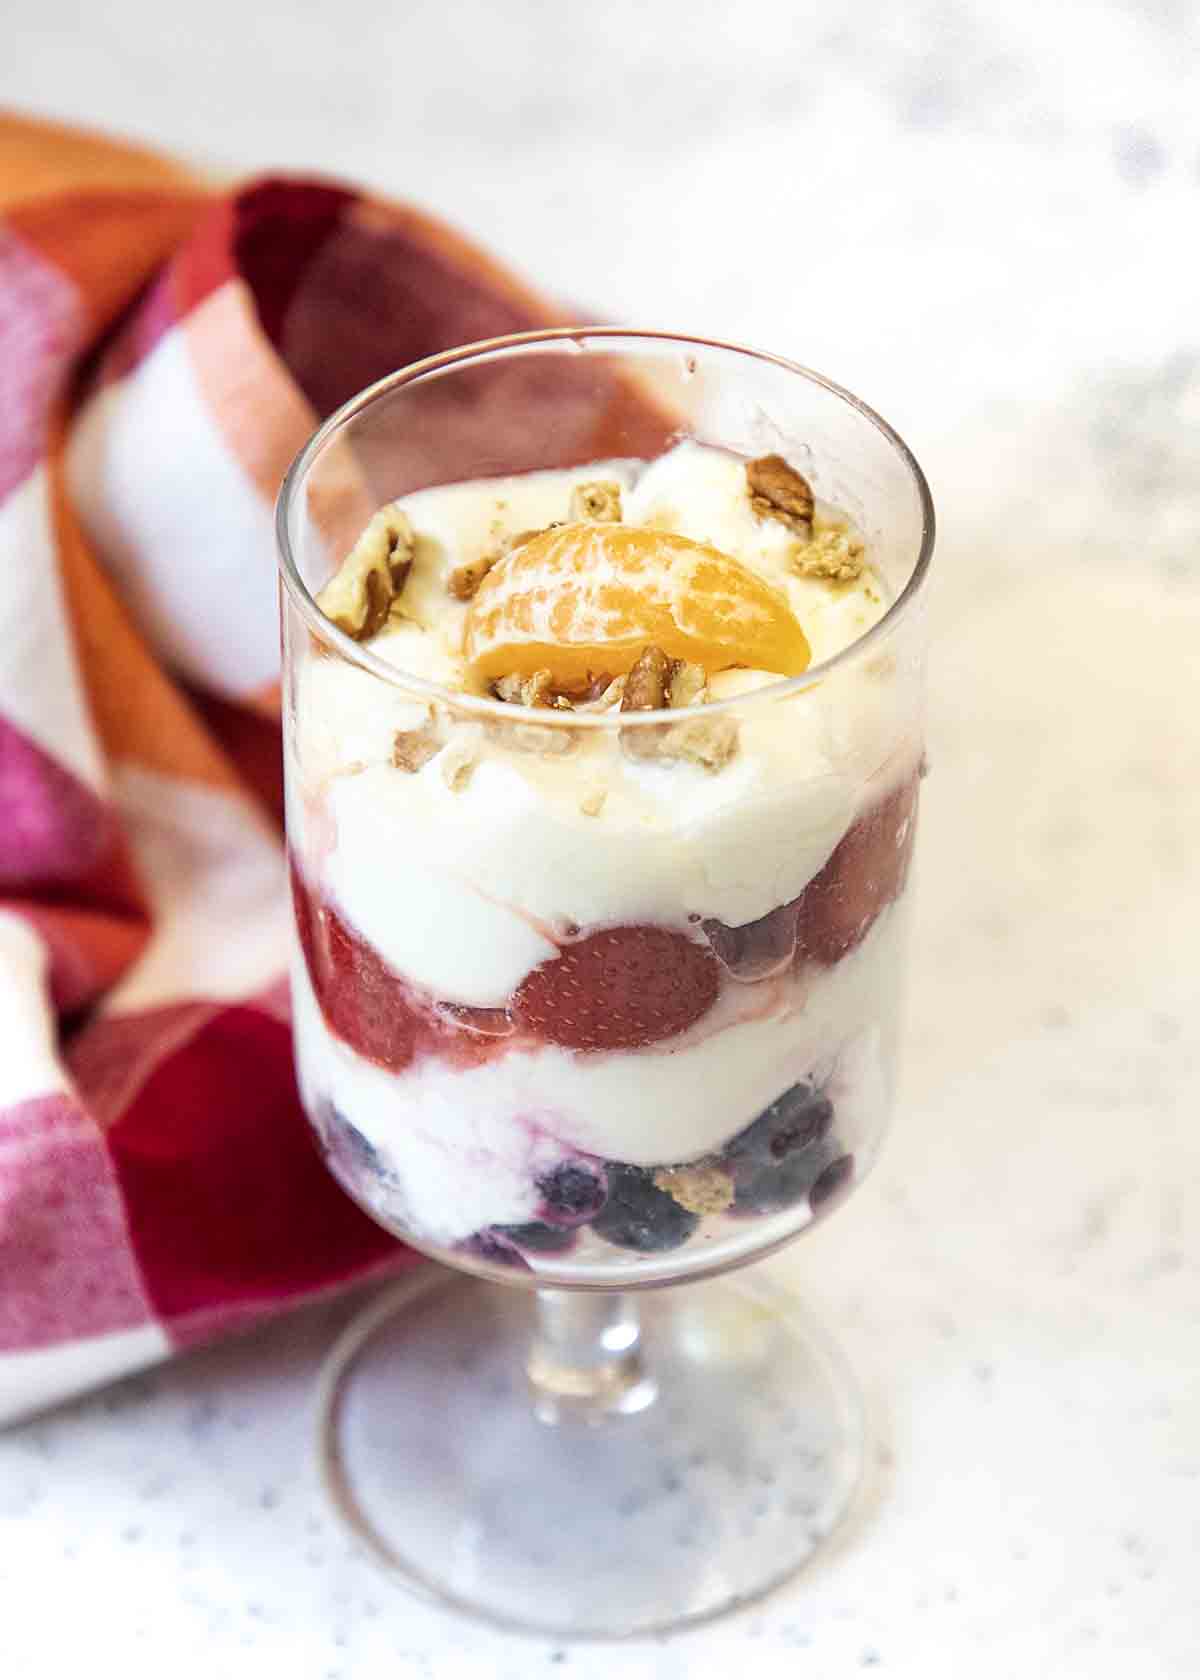
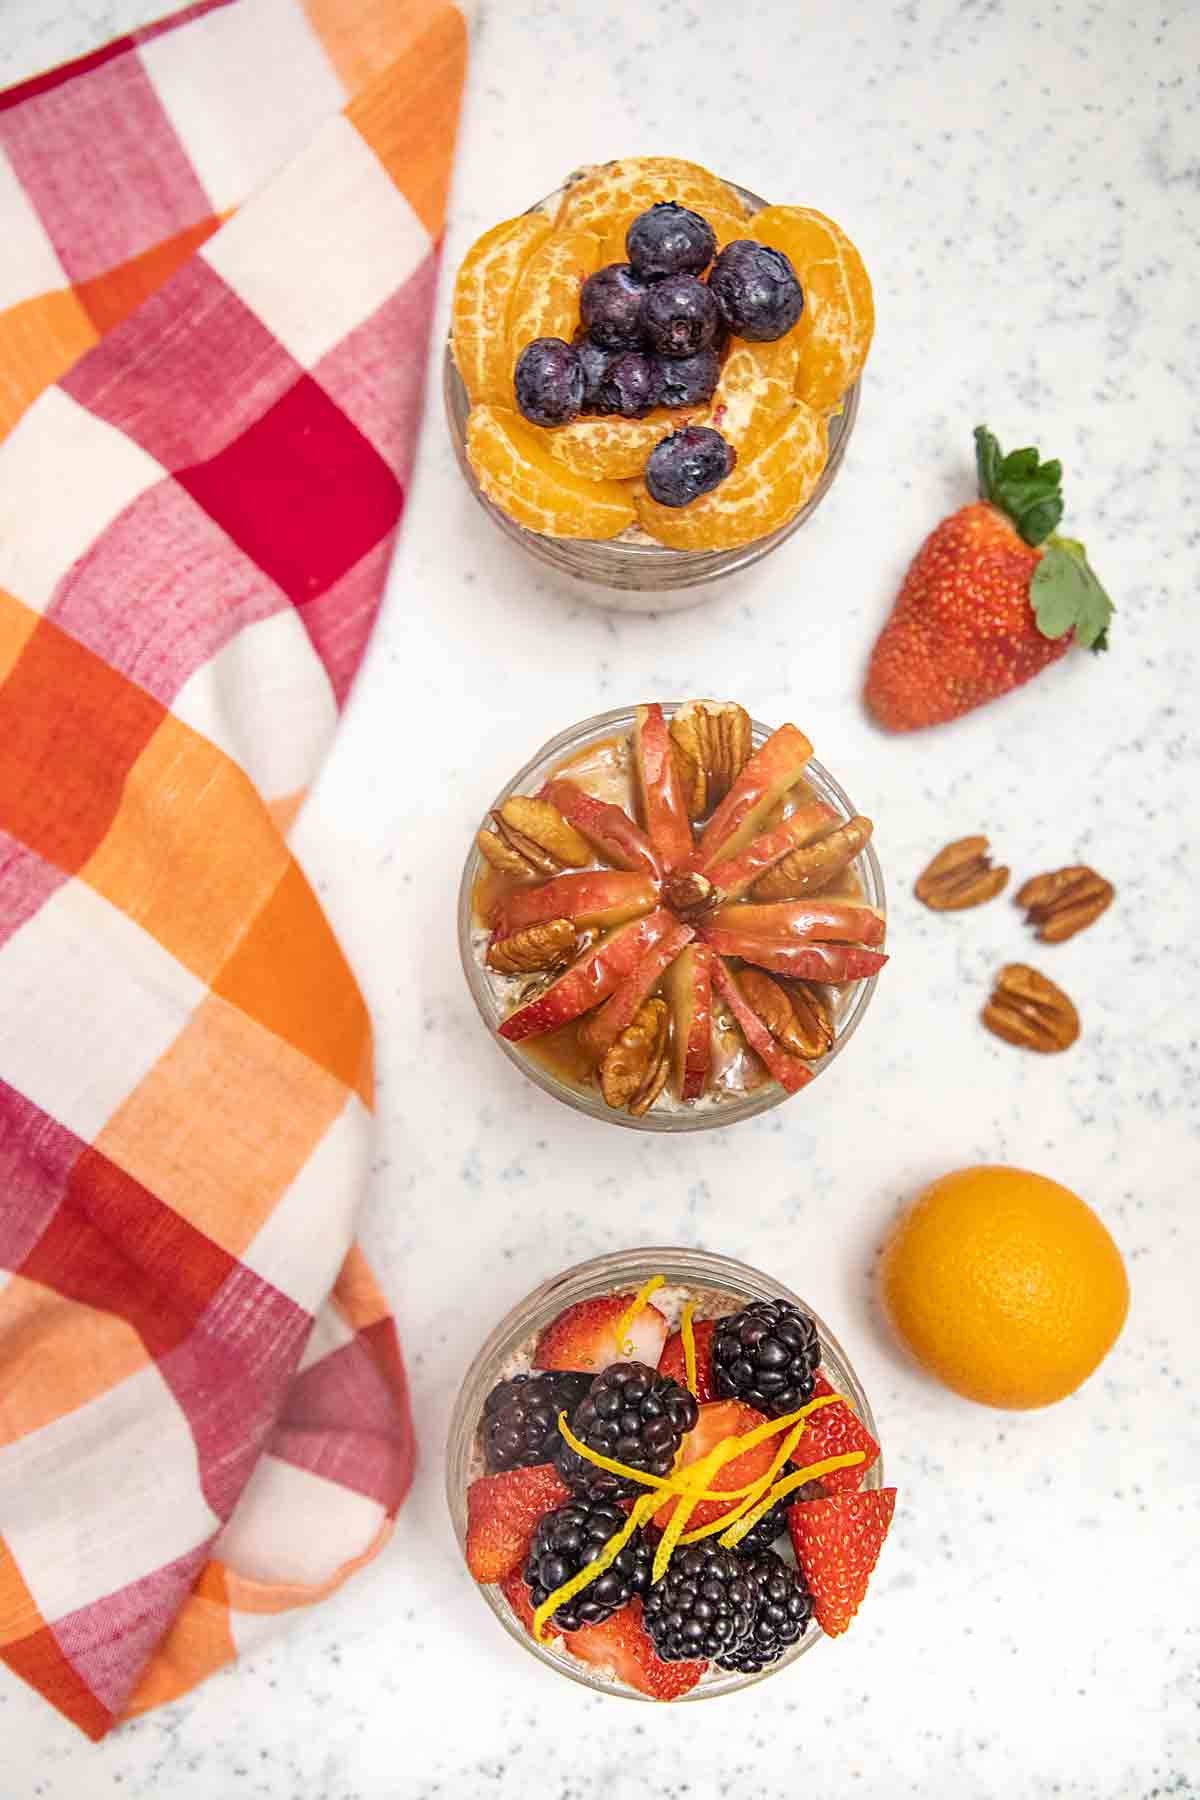
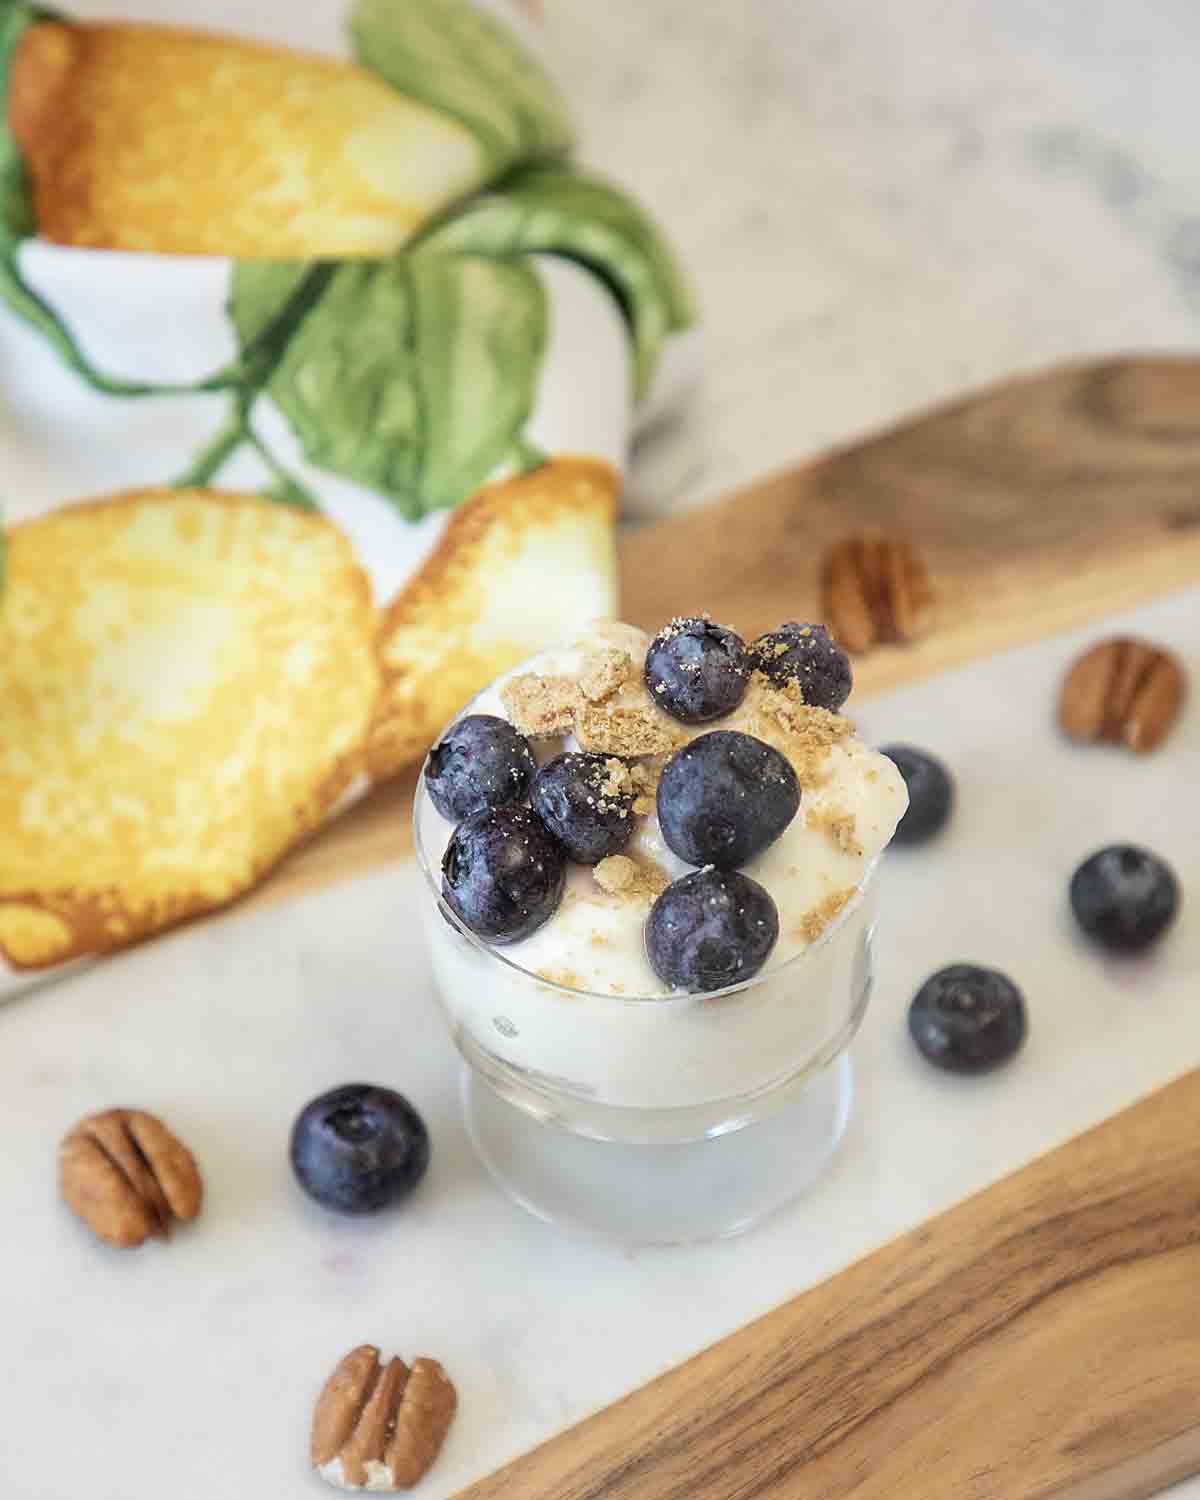
Yogurt parfait with fruit and nuts.
Homemade frozen yogurt.
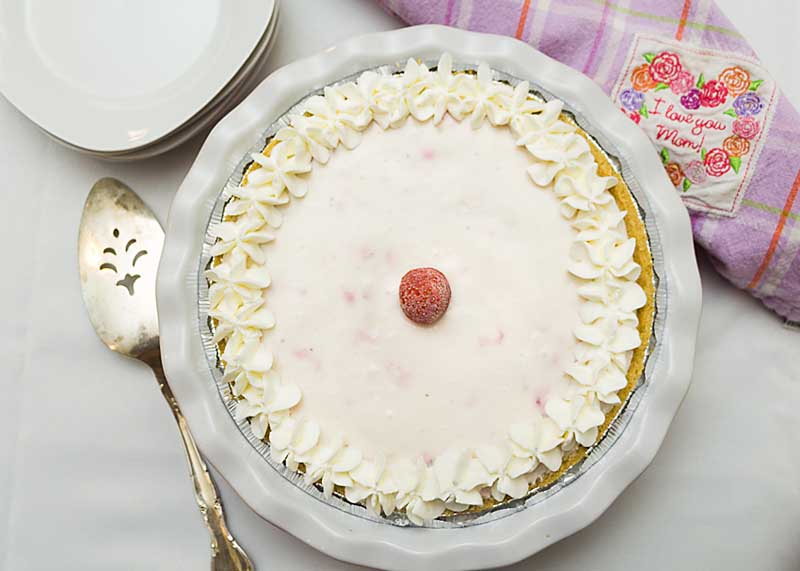
How about a Strawberry Yogurt Pie?
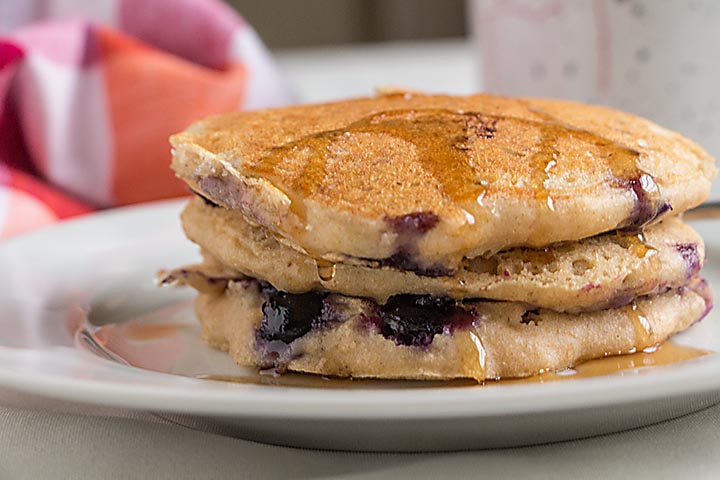
Use in place of buttermilk in sweet breads or whole wheat pancakes.
And don’t forget the savory uses for yogurt.
Use in creamy salad dressings.
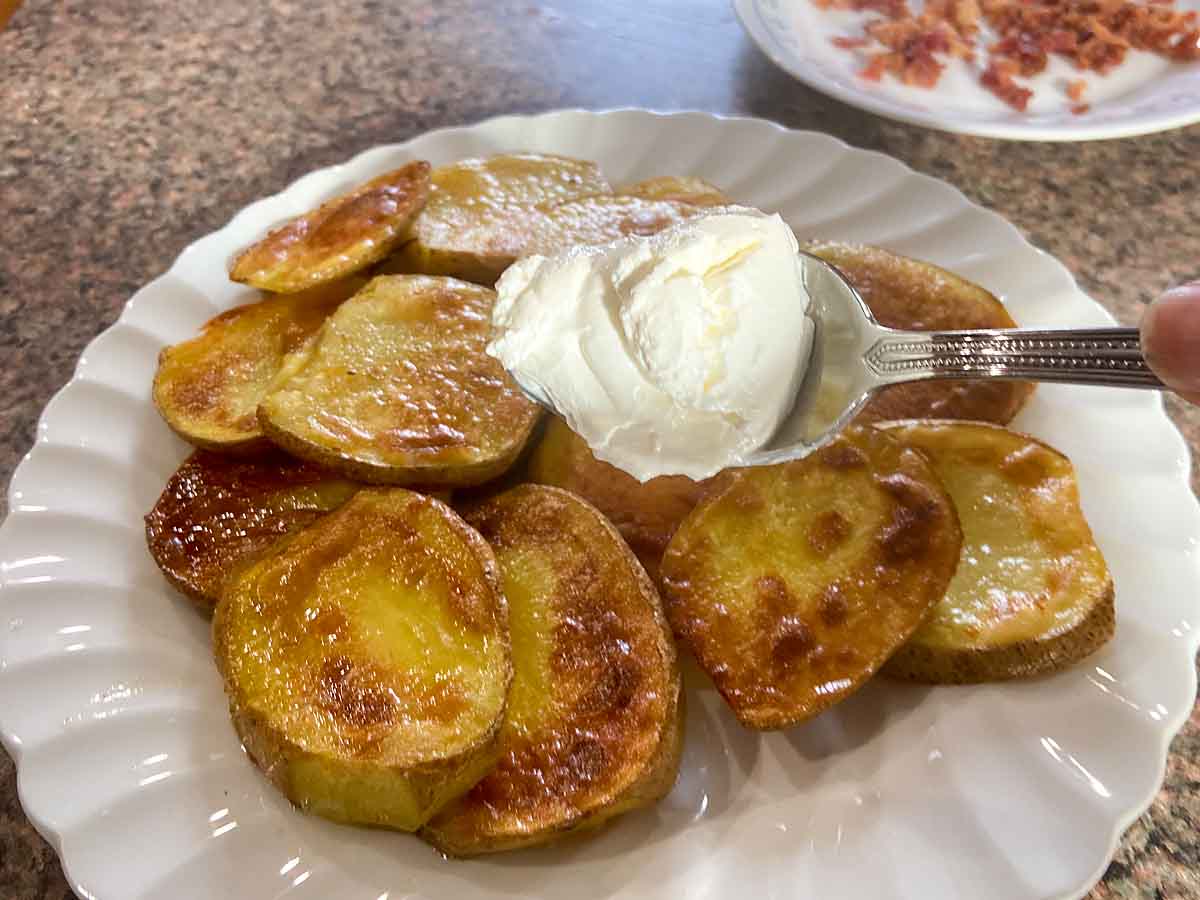
Top baked potatoes or fried potato slices with yogurt instead of sour cream
Stir into Beef Stroganoff.
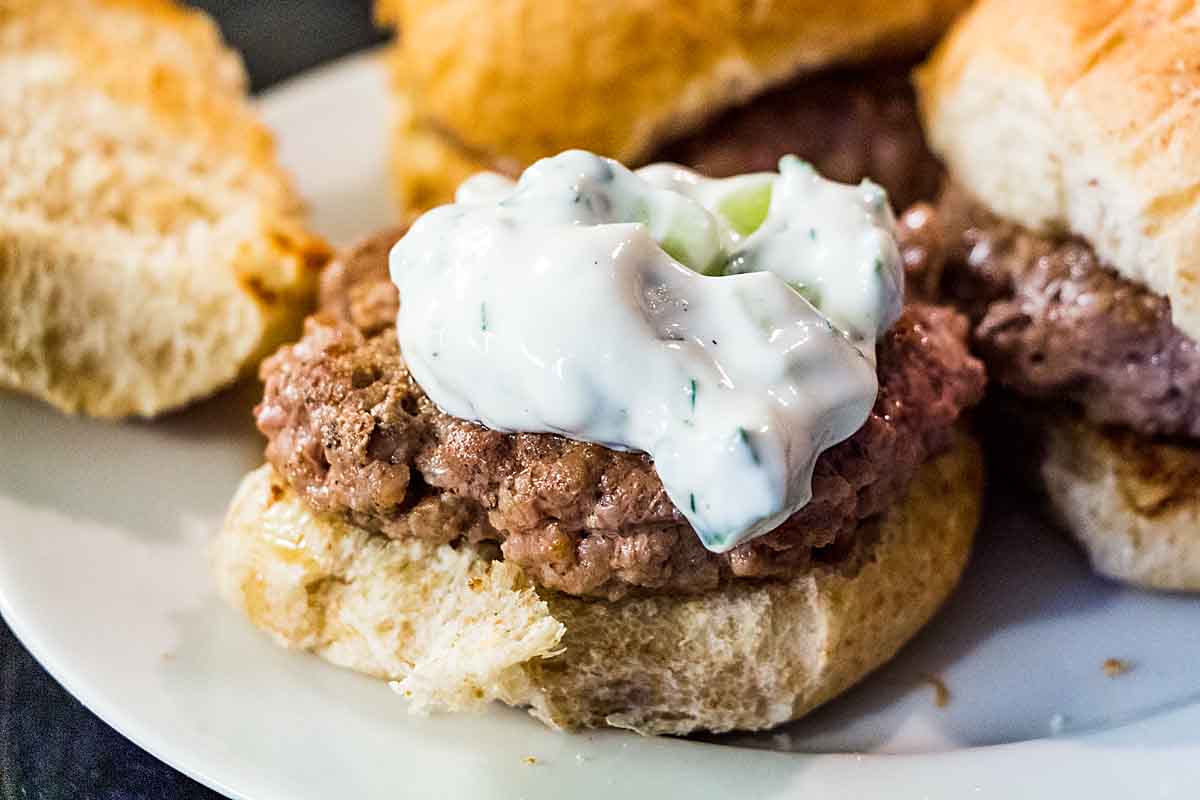
Use in exotic recipes like tandoori chicken or Tzatziki sauce
Add to dips.
Use it in place of buttermilk in savory baked goods like white whole wheat biscuits.
Tips & FAQs
While I explicitly discuss sous vide yogurt since that’s what I do, much of my discussion is relevant to other methods of culturing. So if you have a yogurt maker, you can use my recipe with that and follow the manufacturer’s directions for heating.
Can I Make Yogurt in an Instant Pot? Some but not all Instant Pots have a yogurt setting. If yours does, follow the manufacturers directions. But note that Consumer Reports compared making instant pot yogurt to sous vide and while both worked, they preferred the sous vide.
Don’t eat your yogurt out of the jar (unless you’re eating the whole jar) and be sure to always use a clean spoon. There are bacteria in your mouth that you don’t want to add to the mix–especially if you might use your last yogurt to start the next batch. Plus the enzymes in your saliva can start breaking down the yogurt right in the jar. But this is good advice for any food!
While the recipe is for a scant 1 quart of yogurt, I usually make 3 quarts at a time, which is what the stockpot I use when I sous vide will fit. And the reason the amount is slightly less than a quart is that the milk, inulin and powdered milk mixture foams up when blended and I want it to fit in a standard canning jar.
Welcome to #BrunchWeek! This event has been around for over 7 years. It’s a fun way to share our love for all things brunch related to help celebrate Mother’s Day! We have 11 bloggers sharing over 30 recipes this year!! That’s 30 plus delicious recipes to help celebrate mothers, family, and friends. If you’re putting together a brunch, then you’ll appreciate all the variety this event offers! From cocktails to baked goods and even sandwiches, there’s something for everyone.
Here are today’s #BrunchWeek recipes:
- Chechebsa (Ethiopian Torn Flatbread Breakfast) from Tara’s Multicultural Table
- Hummingbird Granola from The Spiffy Cookie
- Iced Brown Sugar Tea Latte from Hezzi-D’s Books and Cooks
- Kombucha Sangria from Palatable Pastime
- Peaches and Cream Cookies from For the Love of Food
- Sous Vide Yogurt from Art of Natural Living
- Strawberry Lemonade from Magical Ingredients
- Verde Mary from A Kitchen Hoor’s Adventures
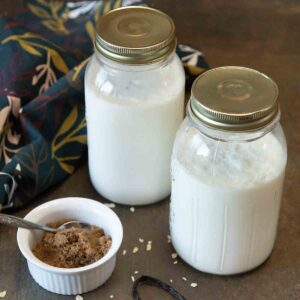
Sous Vide Yogurt
Ingredients
- 2 Tablespoons inulin optional
- 3 1/2 cups 2% milk
- 1/4 cup nonfat powdered milk
- 2 Tablespoons kefir Lifeways plain
Instructions
- Optional. Heat your milk to 180 F and hold it there for 30 minutes. I heat mine on the stove in a Dutch Oven then move it to a 180F oven. This will denature the milk proteins and result in a (slightly) creamier yogurt. Let it cool to 110F.
- In a blender, mix inulin (if using), powdered milk, and one cup of milk. You want to make sure the the powder is dissolved in the milk. If there is a little residue in the blender, that’s okay.
- Stir 2 cups of milk into the mixture, then whisk in your starter culture by hand (see note)
- Place in a glass jar and cover. Following your sous vide directions, heat at 106F for 24 hours, then cool in refrigerator.



I’m trying to make lactose free yogurt. Will using Lactose Free whole milk work to make yogurt?
I haven’t tried this Anne, but I hear that it works. I was worried it might not since the organisms eat the lactose, but I am guessing in lactose free milk, the bacteria just directly consume the sugars that the lactose was broken into. If you try it let me know. For people who are just mildly lactose intolerant (which I think I am), part of the lactose is digested by the bacteria and the longer you culture it, the less lactose remains.
Your sous vide yogurt recipe sounds delicious and I appreciate the tips on how to make it thick without losing calcium. It’s also interesting to learn about the new scientific findings on the importance of the gut microbiome and how yogurt can play a role in improving our overall health.
The science is really starting to take off Raymund so I’m planning to stay tuned!
You have me convinced I need to try this – as soon as we get back from Morocco, I am going to source the ingredients and give it a go!
Have fun in Morocco David!
I never thought of using the sous vide to make yogurt. That’s a great idea!
It’s a great bonus to sous vide ownership, isn’t it!
I eat yogurt all the time, but I’ve never made it. My mom does, but I haven’t. You’ve convinced me that I need to try making it at home.
It’s so easy that it’s really worth it!
Who knew you could make yogurt in your sous vide? Awesome1
My sister introduced me–hooray for sisters!
I am in! I love good home made yogurt and make it everyday. I have never tried inulin and going to give a shot.
People say the inulin is good for you too–not just the yogurt cultures!
Oh how fun! I love that the yogurt is homemade and all the tips to help make it perfect. Such a wonderful addition to brunch.
So useful Tara!